Hello! Here's a page I did for C.S.I. Case File #8. I also have another flower tutorial for you.
Here's the case file. I just LOVE this color palette!
Here's what I did with the
evidence:
*Liquid mediums (I used Glimmer mist on the light blue cardstock and on my journaling, which was done on white cardstock)
*Something that sparkles (The light green bling in the center of the flowers)
*Solid background (The light blue cardstock)
*Use the composition (I positioned my flowers similar to the glasses from the scene)
*Embellishment slice (The flowers were inspired by lemon slices as well as the scallop border I made on the left)
The
testimony I used was
recipe, and I included a lemonade recipe.
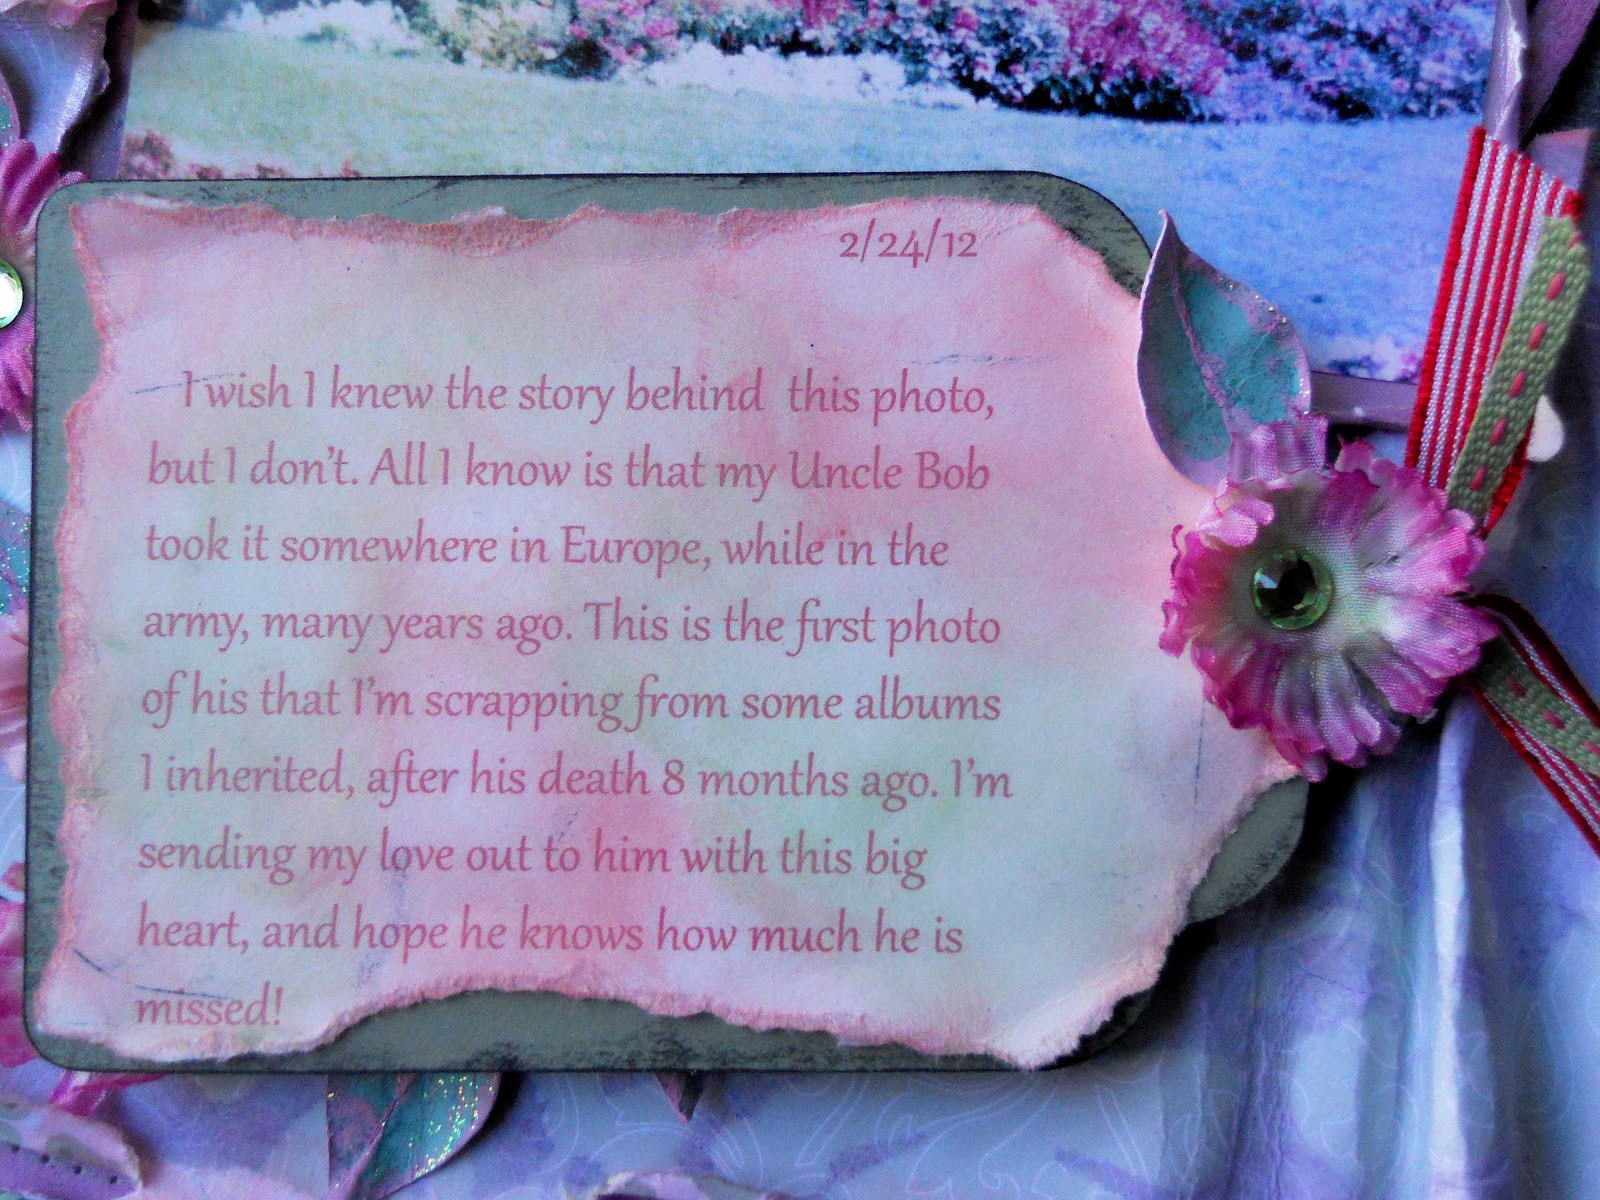
Here's a look at the journaling.
For the
lemon flowers I'll show you how to make the larger flower on the left.
Supplies:
Yellow and white cardstock, Cricut (Mother's Day Bouquet), ink, glue, and bling or brad for the centers.
Instructions:
Using your Cricut machine with the Mother's Day Bouquet cartridge, cut out 3 flowers #12 from yellow cardstock at 2", 2 1/2", and 3".
From the white cardstock cut out 3 circles at 2 1/4", 2 3/4" and 3 1/4".
Then ink the edges of the yellow flowers with whatever ink you want. I used an olive green on mine.
Now glue your yellow flowers onto the white circles. Then distress all the edges using a distressing tool or scissors. After distressing around the whole circle, I used my nails to create creases next to the scallops.
Next you'll need to shape your flower. I used the ends of a paintbrush along the white lines to shape it. I shaped the petals up and down holding the brush on top of the flower and then shaping the one next to it, under the flower. It will easily crease and make pleats, which is why I use the paintbrush to give it more of a curvy look.
Then glue all your layers together starting with the largest on the bottom.I used a green rhinestone for the center, but a brad or button would also look good.
Here's your finished flower.
For the other 2 flowers I used a smaller flower center and cut it out at 1 1/2". I hope you enjoyed this tutorial! Thanks for stopping by!


.png)