
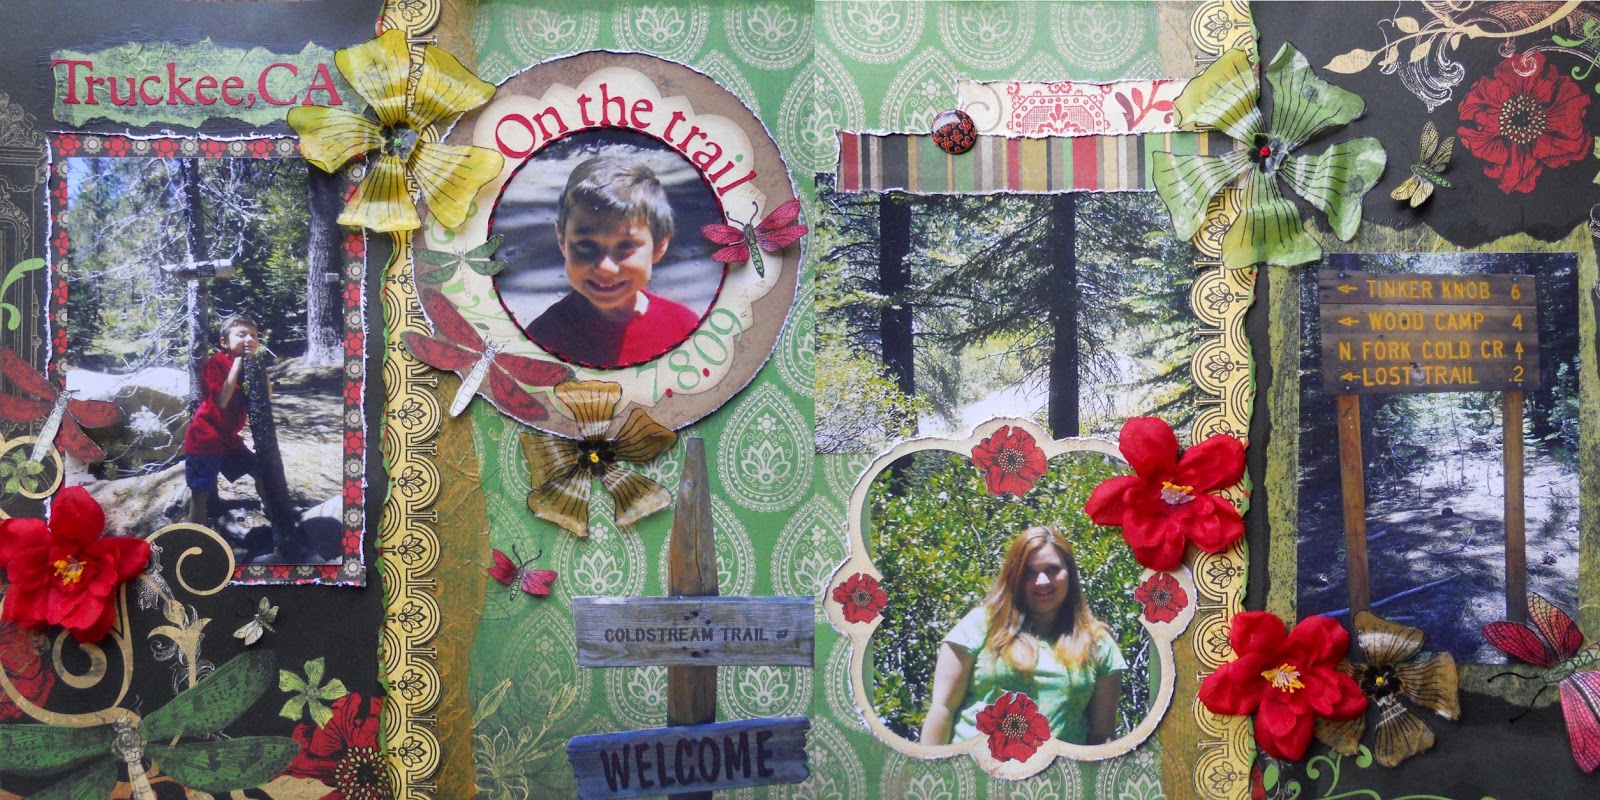
I hope you're all getting ready for a great weekend! I'm just staying warm and cozy, while enjoying the surprise snow that we're getting right now. I wanted to share another 2 pager that I made for the January Color Challenge at Scrapbook.com to use red, green, and yellow, and for the Pass the tissue challenge at Flying Unicorn. I knew I had to do this challenge, since I have a whole box full of tissue papers that I've had since junior high. Every Christmas the box gets fuller, so I decided to use green, yellow and a kraft color to add to these beautiful Bo Bunny papers (Serenade). But the real challenge, for myself, was figuring out how to make flowers from tissue paper, which at one point I almost abandoned.
 This was the first one that I made.

Here's what you'll need.
Tissue Paper
Decoupage Glue
Foam brush
Wax Paper
Scissors
Small Flower
Permanent ink
Black ultra fine point Sharpie
Scraper or old credit card
Paintbrush
Embroidery thread and needle
Directions:
Start by drawing your flower onto tissue paper. I started by drawing a small circle with a pencil, and drew 5 petals coming out from it. If you're not comfortable drawing, then try using a flower stamp instead. Just make sure to use a permanent ink, so it doesn't bleed when you add the glue. Once you get the outline of your flower made, go over it with your black Sharpie, but don't outline the circle. Using the circle as your guide, draw lines coming out from it. Now you can erase your pencil marks.

Carefully cut out your flower.

Now use a small flower stamp for the center. I used Bo Bunny's Serenity Stamps.
 I then cut around the flower leaving a little bit of the green tissue showing around the edges.

Using a foam brush I applied the decoupage glue onto the flower and smaller stamped one, using wax paper on the bottom.

Using my scraper, (you can also use an old credit card) I gently lifted the flower off of the wax paper, to prevent it from sticking too bad. If you wait for it to dry then it'll be harder to peel away and you'll be left with glue around the edges that you'll have to trim.

After that dries, apply another coat. Now use the end of a paintbrush to shape the petals.
 After that dries apply a 3rd and final coat, reshaping your petals if necessary. While the glue is still wet, put your stamped flower in the center.
 I finished it off with a french knot, but if you don't know how to make one, you can also use a small bead or make a dot with puffy paint.
 That's all for now. Have a wonderful weekend!

Here's what you'll need.
Tissue Paper
Decoupage Glue
Foam brush
Wax Paper
Scissors
Small Flower
Permanent ink
Black ultra fine point Sharpie
Scraper or old credit card
Paintbrush
Embroidery thread and needle
Directions:
Start by drawing your flower onto tissue paper. I started by drawing a small circle with a pencil, and drew 5 petals coming out from it. If you're not comfortable drawing, then try using a flower stamp instead. Just make sure to use a permanent ink, so it doesn't bleed when you add the glue. Once you get the outline of your flower made, go over it with your black Sharpie, but don't outline the circle. Using the circle as your guide, draw lines coming out from it. Now you can erase your pencil marks.

Carefully cut out your flower.

Now use a small flower stamp for the center. I used Bo Bunny's Serenity Stamps.


Using a foam brush I applied the decoupage glue onto the flower and smaller stamped one, using wax paper on the bottom.

Using my scraper, (you can also use an old credit card) I gently lifted the flower off of the wax paper, to prevent it from sticking too bad. If you wait for it to dry then it'll be harder to peel away and you'll be left with glue around the edges that you'll have to trim.

After that dries, apply another coat. Now use the end of a paintbrush to shape the petals.


Lovely tutorial and great idea for life...tks so much
ReplyDeletelove this tut! thanks for sharing! :)
ReplyDelete