Showing posts with label My Mind's Eye. Show all posts

Monday, October 3, 2016

Bon Voyage Card ~ FotoBella DT

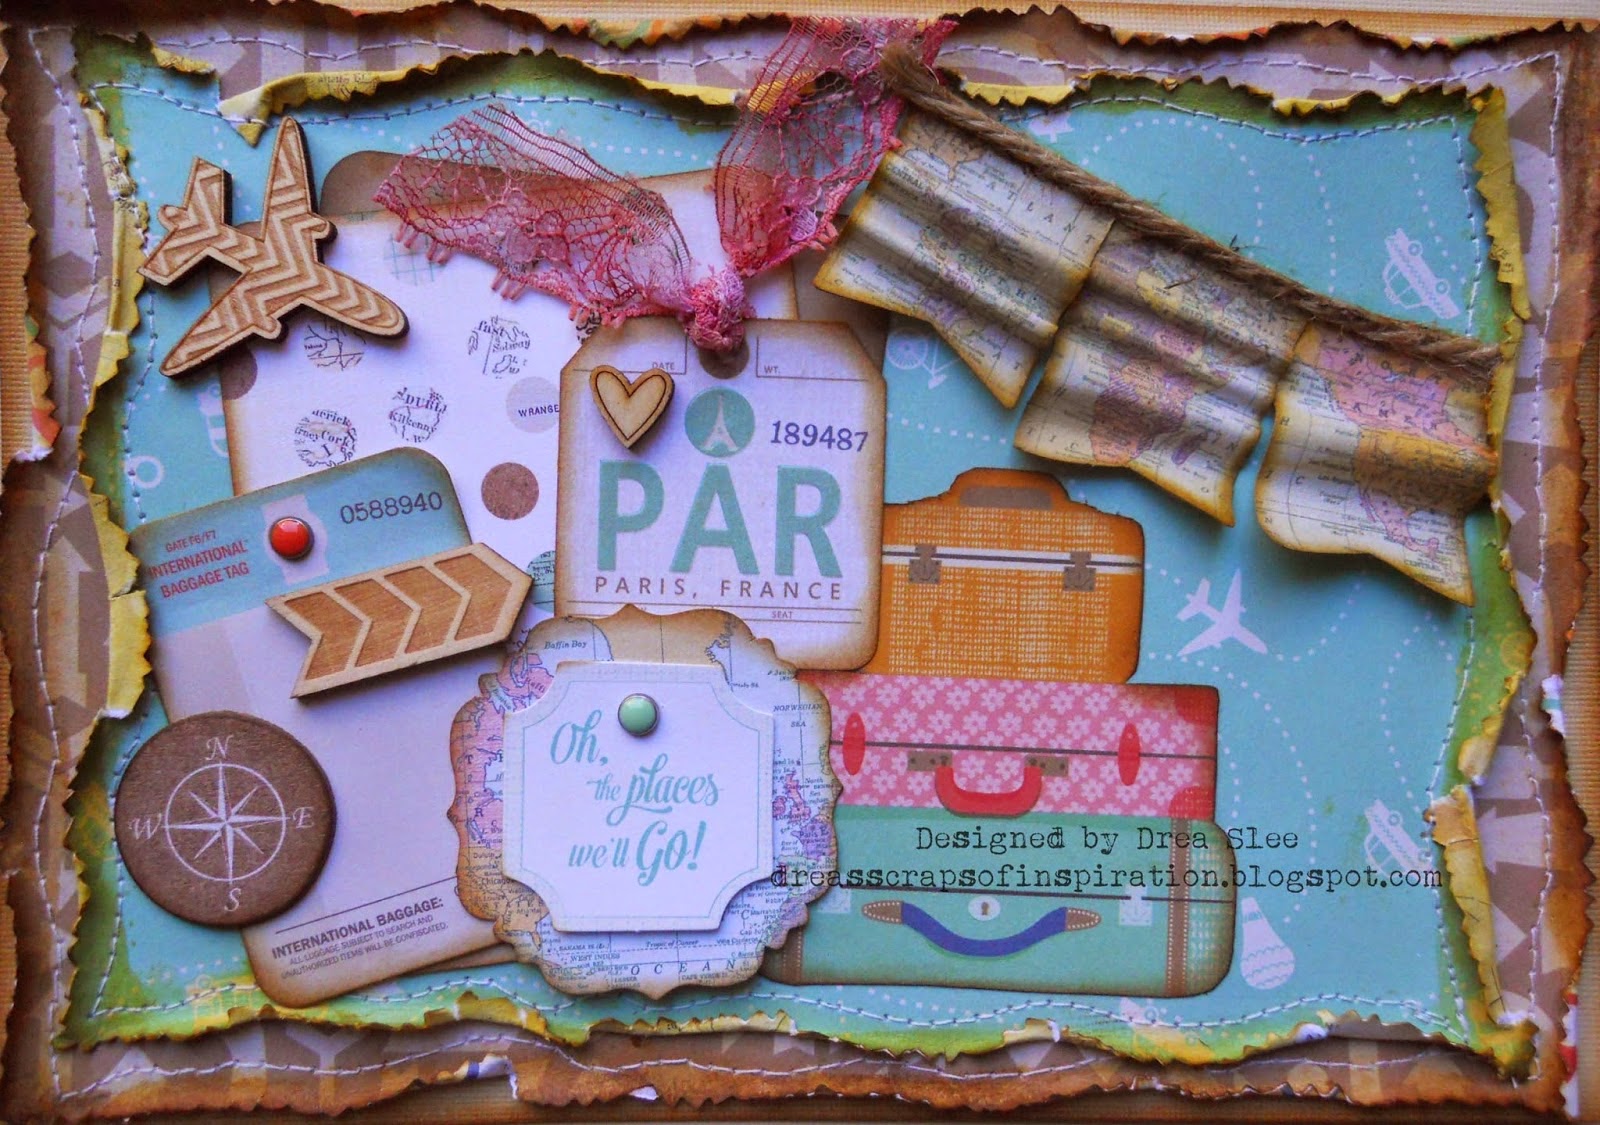
     Did you participate in World Card Making Day? I made this card for FotoBella Design Team, using My Mind's Eye Hello World Journal Cards, Enamel Shapes, Stickers, and Rub-ons from FotoBella.com.


          I took my design inspiration from this sketch, used for the September Sketch Challenge @ Scrapbook.com.


     To make the pattern on the kraft background, I inked a strip of drywall tape with Worn Lipstick Distress Ink, sprayed it with water, and pressed down, repeating the process for full coverage.


     I used a combination of Stickers and Rub-ons for the titlework, and finished my card up with hand-stitching.


     For some more inspiration, and to see what the rest of the team made, visit the FotoBella Blog!

******************************
Challenges:


Thursday, June 30, 2016

Bits Of Bundles 2 Pager ~ FotoBella DT

     Get creative with your old bits and pieces from previous FotoBella Bundles, and combine different manufacturers and collections in a fun and eclectic way, like I did on this 2 pager.


     I took my design inspiration from the June 2 Page Sketch Challenge @ Scrapbook.com.


     Starting with black cardstock, I used Prima Clear Gesso onto my Prima brick stencil, which took a lot of patience in drying time, but was worth it after covering both pages. Once dry, I went over the bricks with Fired Brick Distress Stain twice. Then I applied my new Ranger Brick Antiquities embossing powder over the bricks, and LOVE the results! 

     The wood scraps are from the  Kaisercraft  BaseCoat 12 X 12 Collection; the ribbon, button, and notebook paper, are from Bo Bunny's Pop Quiz I Want It All Bundle; and all of the chalk embellies are a mix of My Mind's Eye Chalk Studio 2 Sticker Icons, Decorative Alphabet, which I used to spell STOP, Tags, Sticker Labels, Chipboard Elements, and Sleigh Bells Ring I Want It All Bundle. 


     I made the banner from chalk washi tape, and drew white lines around the pieces with a white Puffy Pen, adding the alpha stickers to spell JERKY. I also used the same pen to outline the black chalkboard paper that I used behind the photo of my husband.


     And for my journaling. 


     I got the antlers from My Mind's Eye Sleigh Bells Ring Diecuts, and covered it with Tim Holtz' Distress Collage Medium Crazing. Once dry, I went over it with my Brushed Corduroy Distress Ink Pad to pick up the texture, adding a brad from Sleigh Bells Ring, along with the two I  used to string my banner.


          All of the wood pieces were distressed and machine stitched in black. I touched the edges of the pocket watch sticker with Inka-Gold in Platinum, adding a small pewter brad to the hands.


         I also used Platinum Inka-Gold around the stars, after spritzing them with Antique Linen Distress Spray.


 Thanks for stopping by, and be sure to stop by FotoBella to see the new site! 

********************************

Friday, September 18, 2015

MME Christmas On Market Street Mixed Media Technique ~ FotoBella DT

     I'm back with another layout and technique to share with you using the new My Mind's Eye Christmas On Market Street Collection from FotoBella!


     I started by using a dotted stencil with gesso onto the white dotted paper that comes in the 12 X 12 Paper And Accessories Kit.


     Then I sprayed over it with Lindy's Stamp Gang Sprays (Rudolph's Nose Red and Cathedral Pines Green).


     Once dry, add gold embossing powder over the dots and set with a heat gun.


For the September 5 Ingredients + Yours Challenge @ Scrapbook.com I used:
1. 2 Pictures
2. Something Messy (My background)
3. Frame (Made from vellum)
4. Star (On top of the tree cut from the Die Cut Alphas)
5. Stripes (The white and gold striped vellum and Paper Tape going across the page.)

For my own twist for the September Stamping Challenge, I embossed the gold dots on the Chipboard tree, adding some bling from my own stash.


And finally for my other twist for the September Sewing Challenge, I did some straight stitching by hand around the vellum frame. I also hand stitched around the vellum circle and circle photo.


Thanks for your visit!


Monday, September 14, 2015

MME Christmas On Market Street Card Set ~ FotoBella DT

     It's never too early to get started on those holiday cards, and with the new My Mind's Eye Christmas On Market Street Collection from FotoBella, I'll show you just how easy it is to create these four cards.


     Just click on the FotoBella blog for a complete list of supplies and directions! While you're there make sure to become a follower so you don't miss out on any of the fabulous projects from my fellow design team members.


Thursday, September 3, 2015

Christmas On Market Street Stripes And Vellum Layout ~ FotoBella DT

     The new My Mind's Eye collection, Christmas On Market Street, is exactly what I've been saving this special photo of me and my grandpa for! This was from 1990, even though I didn't mark it on the page.


     I combined stripes with some of the beautiful vellum papers to come up with this design, using the 12 X 12 Paper And Accessories Kit. To the photo and dotted vellum, I added the gold photo corners that come in the Sticker Labels. From my own stash, I added lots of ribbons and fibers, which I've been collecting for over twenty five years. In fact, I think I bought the green, sheer ribbon when I was the age I was in the photo. I made a banner using some pieces from the Mixed Bag and Chipboard Elements, and attached Brads to the ends of my fiber. I also hand stitched some green fiber and gold specialty thread onto the the punched papers.


      But I didn't stop there, as I used the same gold thread to stitch around the flower die, which also comes in the Mixed Bag, along with the Christmas Eve banner that I added for my title.


       So head on over to FotoBella to pick up this gorgeous, festive collection, and get an early start on all of your holiday projects!


Friday, March 13, 2015

MME Hello World Masking Technique ~ FotoBella DT

     I have a quick and easy masking technique to show you, using the new My Mind's Eye Hello World I Want It All Bundle from FotoBella! I used some older vacation photos for this layout that I created.


     I started this page by pulling out some of the papers from the 12 x 12 Paper Bundle. I really struggled with the title, until I saw the Let's Go Adventure Journal Card. So I cut off Go and adhered Let's onto red cardstock. To spell EAT I used the Travel Stickers, matting them onto another journal card. Those Journal Cards sure came in handy, as I also used them under the phone booth pic, and for my journaling. You'll also need them to do this masking technique, along with some Distress Inks, and artist's tape.


     Find the yellow Journal Card with the chevrons and punch them out, putting a strip of Artist's Tape across the middle, covering the top of where the chevrons meet. Color in the bottom of the chevrons using a blending tool and Distress Ink (Faded Jeans). I added an extra chevron to my project by simply moving the stencil to the left, and matching up the pattern again.


     Take off your tape and cover up the bottom chevrons, using Distress Ink (Broken China) on top,


Here's the final result, which I think gives a lot more dimension, and so easy to do!


     Since the little double decker bus, that I got from the Travel Mixed Bag, was transparent, I used it on part of my chevrons. I also got the chipboard compass and London tag from there, crossing out the date on the tag, and adding my own. I added the camera from the Chipboard Elements, some Decorative Brads, and some Wood Veneer pieces, which I just LOVE!!


So pick up your bundle and try this quick and easy technique!


Friday, March 6, 2015

MME Hello World 2 Pager ~ FotoBella DT

     These photos that my mom took from the plane, on a flight from Reno to L.A., were just right for the new My Mind's Eye Hello World I Want It All Bundle from FotoBella!


     I started by cutting along the zigzag pattern from two of the papers that come in the 12 x 12 Paper Bundle, and distressed the edges with my Tim Holtz Paper Distresser. Then I added some hand-stitching along the edges. I also distressed the fussy-cut flowers, adding them along the bottom. I used a red Sharpie to write on the clear tag that I got from the Travel Mixed Bag, which has a great mix of embellies. I just added some rope and fibers to it.


     The round embellies come from the All Aboard Flair, and the luggage and "take me with you" arrow from the Chipboard Elements. The arrow in the title is from the Discovery Sticky Notes, and I used Chipped Sapphire Distress Ink around the edges, adding the square alphas from the Travel Stickers. The little blue plane is a sticker that comes in the Beauty Enamel Shapes, and the chevron coming from the arrow, and the arrows on the left page, are Beauty Rubons.


Thanks for stopping by!


Tuesday, March 3, 2015

MME Hello World Card Tutorial ~ FotoBella DT

     The new My Mind's Eye Hello World I Want It All Bundle from FotoBella is so fun, and full of lots of great travel papers and embellies! Here's a card that I made using some of these goodies.


     It has lots of layers and distressing, and detailed instructions and photos can be found on the FotoBella Blog. There's also a toothpick technique that I used to make the banner, so be sure to check it out! Have a great day!


Wednesday, February 11, 2015

My Mind's Eye Chalk Studio 2 Tag ~ FotoBella DT

     I had fun making this quick and easy tag using My Mind's Eye Chalk Studio 2 I Want It All Bundle from FotoBella!


     I started by stamping the tag on the yellow "smile" paper, which I cut with my Cricut Expression using the Plantin SchoolBook cartridge. Then I made the circles with a stencil and some gesso. I adhered the bike sticker, adding the yellow Enamel Dots to the wheels. The Oh Happy Day tag was distressed before adding the Decorative Brad to it.  I also used the grey brad on the banner, and added the twine, ribbons, and hand-made flower from my own stash. 

Thanks for your visit!


Tuesday, February 10, 2015

My Mind's Eye Chalk Studio 2 Birthday Card ~ FotoBella DT

     With my only child about to become a teenager in just a few days, of course I had to make him a birthday card. Since the aqua in My Mind's Eye Chalk Studio 2 I Want It All Bundle from FotoBella is his favorite color, I combined it with black and white.


          I cut the aqua strips from the "home" paper, and painted some white clouds on them with a foam stencil brush. Then I distressed the edges and machine stitched around them onto white cardstock, adding Decorative Tape in between. I added the chipboard airplane and number 13, using Enamel Dots to make a banner with the happy sticker.  TH was fussy-cut from the "alphabet love" paper, and I used a Decorative Brad in between 13. Finally, I spelled out "birthday" using the Decorative Alphabet Stickers.


Thanks for looking!


Friday, February 6, 2015

MME Chalk Studio 2 Wedding Layout ~ FotoBella DT

      I was so happy to scrap some of my wedding photos using My Mind's Eye Chalk Studio 2 I Want It All Bundle from FotoBella! The colors and sentiment on the "Remember" paper were just right!


     I distressed some black and white cardstock adding machine stitching in black and white, as well as on the banners. Here's a closer look!


       The oval floral tag was chalked around the edges using white chalk, and then I attached the grey brads to the chipboard piece with the date, which I wrote with my Souffle 3D white pen. The key and stars are also chipboard pieces that you can get in the Chipboard Elements package. Finally I added the white Prima flower, which I got from my own stash.


Thanks for looking!


Tuesday, January 13, 2015

MME Chalk Studio 2 Thank You 2 Card Tutorial

     This month I get to play with My Mind's Eye Chalk Studio 2 I Want It All Bundle from FotoBella. The soft colors look fabulous with all of the chalkboard elements! Here's the thank you card that I made for my in-laws, using the flower and ribbon from my own stash.


     For complete directions on how to make this, please visit the FotoBella Blog! Thanks for stopping by!