Showing posts with label Halloween layout. Show all posts

Thursday, October 1, 2015

Beware Halloween Layout

     I was so honored to be one of ten winners for the Graphic 45 Challenge at Scrapbook.com last month! My prize was the beautiful and spooktacular An Eerie Tale Collection paper and stamps from Graphic 45, which worked perfectly with this older photo of my son dressed as a ghost on Halloween.


     To make the tag, I used Distress Inks to add some color, and then black embossing powder for the stamping. I backed it with black cardstock, did some hand stitching, and added the purple fibers, ribbons, and home made paper roses, which I scattered throughout the page. 


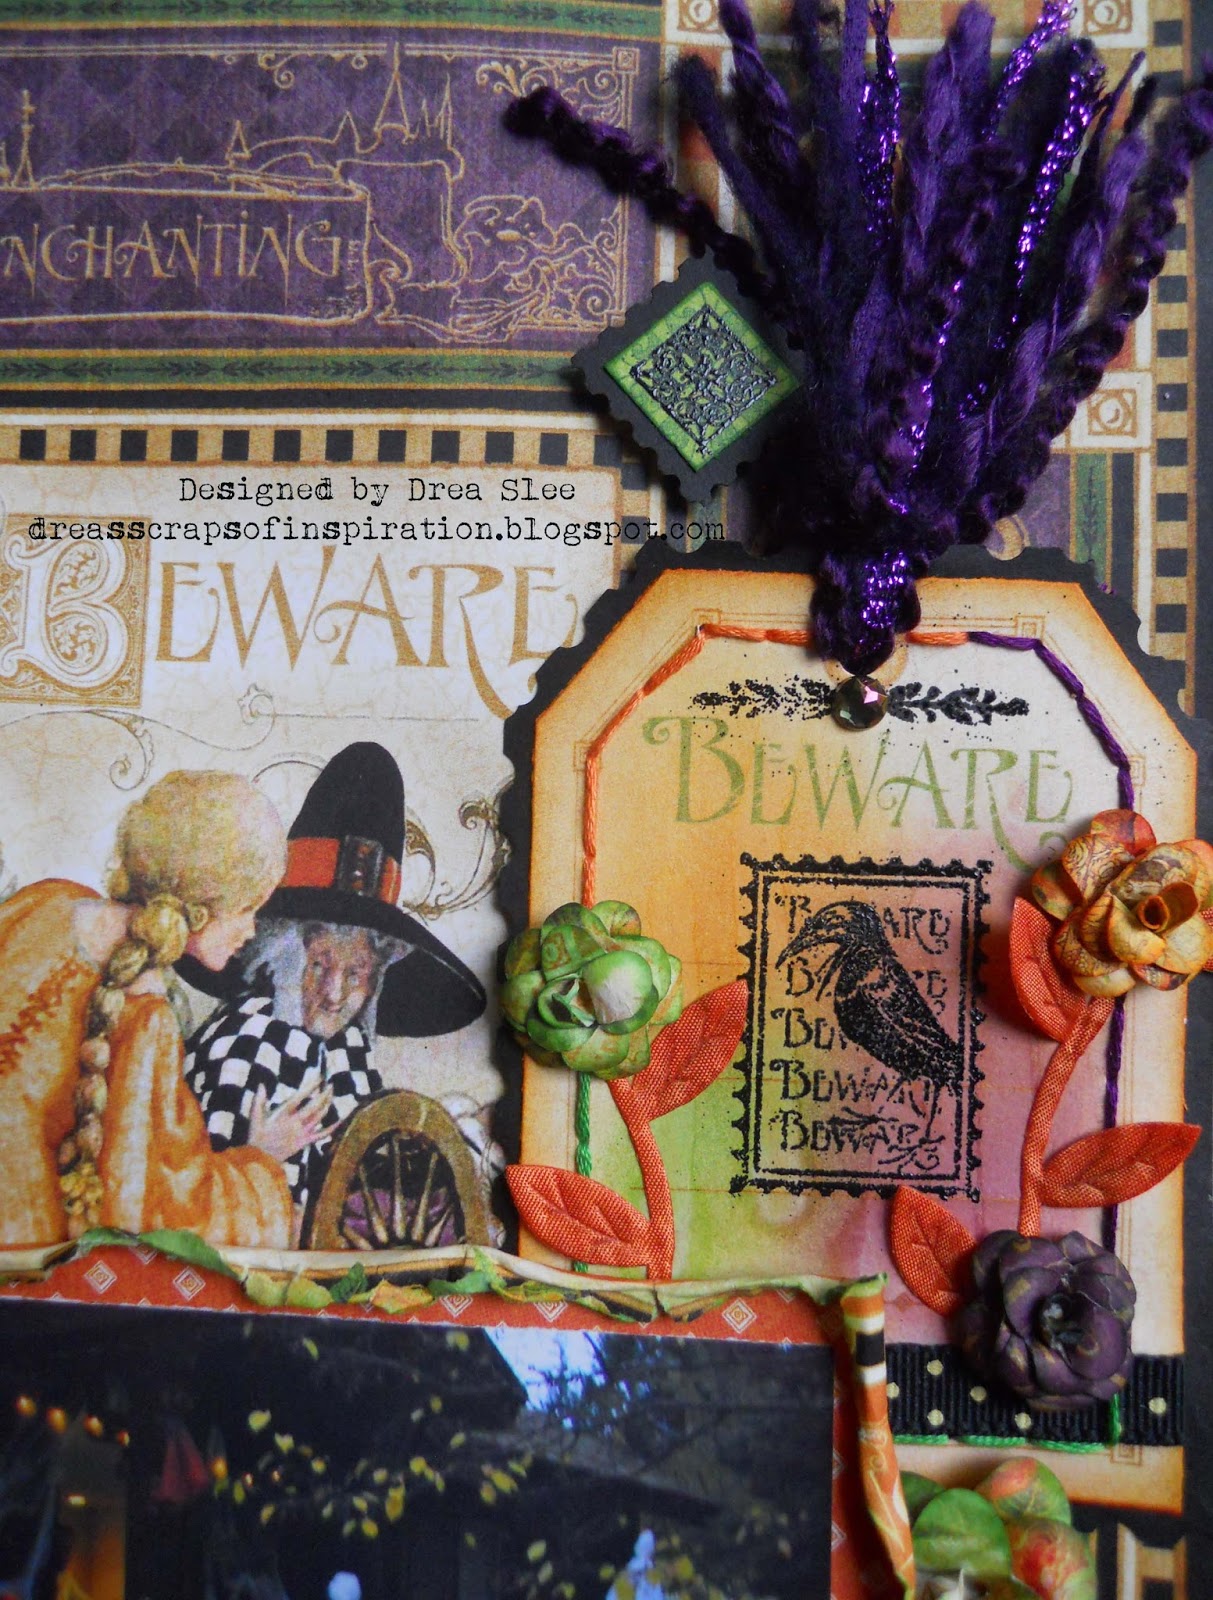
     I also used black embossing powder to stamp the diamonds, backed them with more black cardstock, and popped them up, along with the photo. 


     This is my example with the twist for the October Sewing and Stamping Challenges that I host @ Scrapbook.com. Come join us for all of the Fall fun! 


Saturday, October 26, 2013

Devil's night

With Halloween less than a week away now, I decided to scrap my photos from last year. I struggled a bit with choosing what papers to pick, since my son's red devil costume kept throwing me off. But I finally settled on some old Basic Grey (Indian Summer) and some red papers from even older lines, and this is what I came up with.

My starting point was this AWESOME sketch for the October 2 page Sketch Challenge @ Scrapbook.com. Isn't it cool? I'm sure I'll use it again!

I also wanted some flames on here, so I drew and cut out my own flame stencils, and used them with some Glimmer Mists on white cardstock. The tree on the left was cut out with my Cricut Expression (October 31st) and masked with some black Glimmer Mist. I inked the title with  Distress Inks (festive berries, spiced marmalade, and mustard seed) after cutting it out with my Cricut (Storybook) cartridge.


I used the same Martha Stewart border punch (Garden rail) on both pages, and finished it off with some hand stitching along the right.

Thanks for looking!