Showing posts with label Fotobella I want it all bundle. Show all posts

Saturday, October 11, 2014

Bo Bunny Christmas Collage 2 Pager ~ FotoBella DT

    Happy weekend! Here's a 2 pager I made using the beautiful and festive Bo Bunny Christmas Collage I want it all bundle  from FotoBella. These photos are from my aunt, uncle, and cousin's visit at my parents house. It's always great to see them!


     I took my inspiration from this sketch used for the October 2 Page Sketch Challenge @ Scrapbook.com. 


     I thought this design would be perfect for all of the fun embellishments that come in the bundle, like the Chipboard, Ephemera, Layered Chipboard, and Brads, which I used to make the banner and clustered under the large photo.


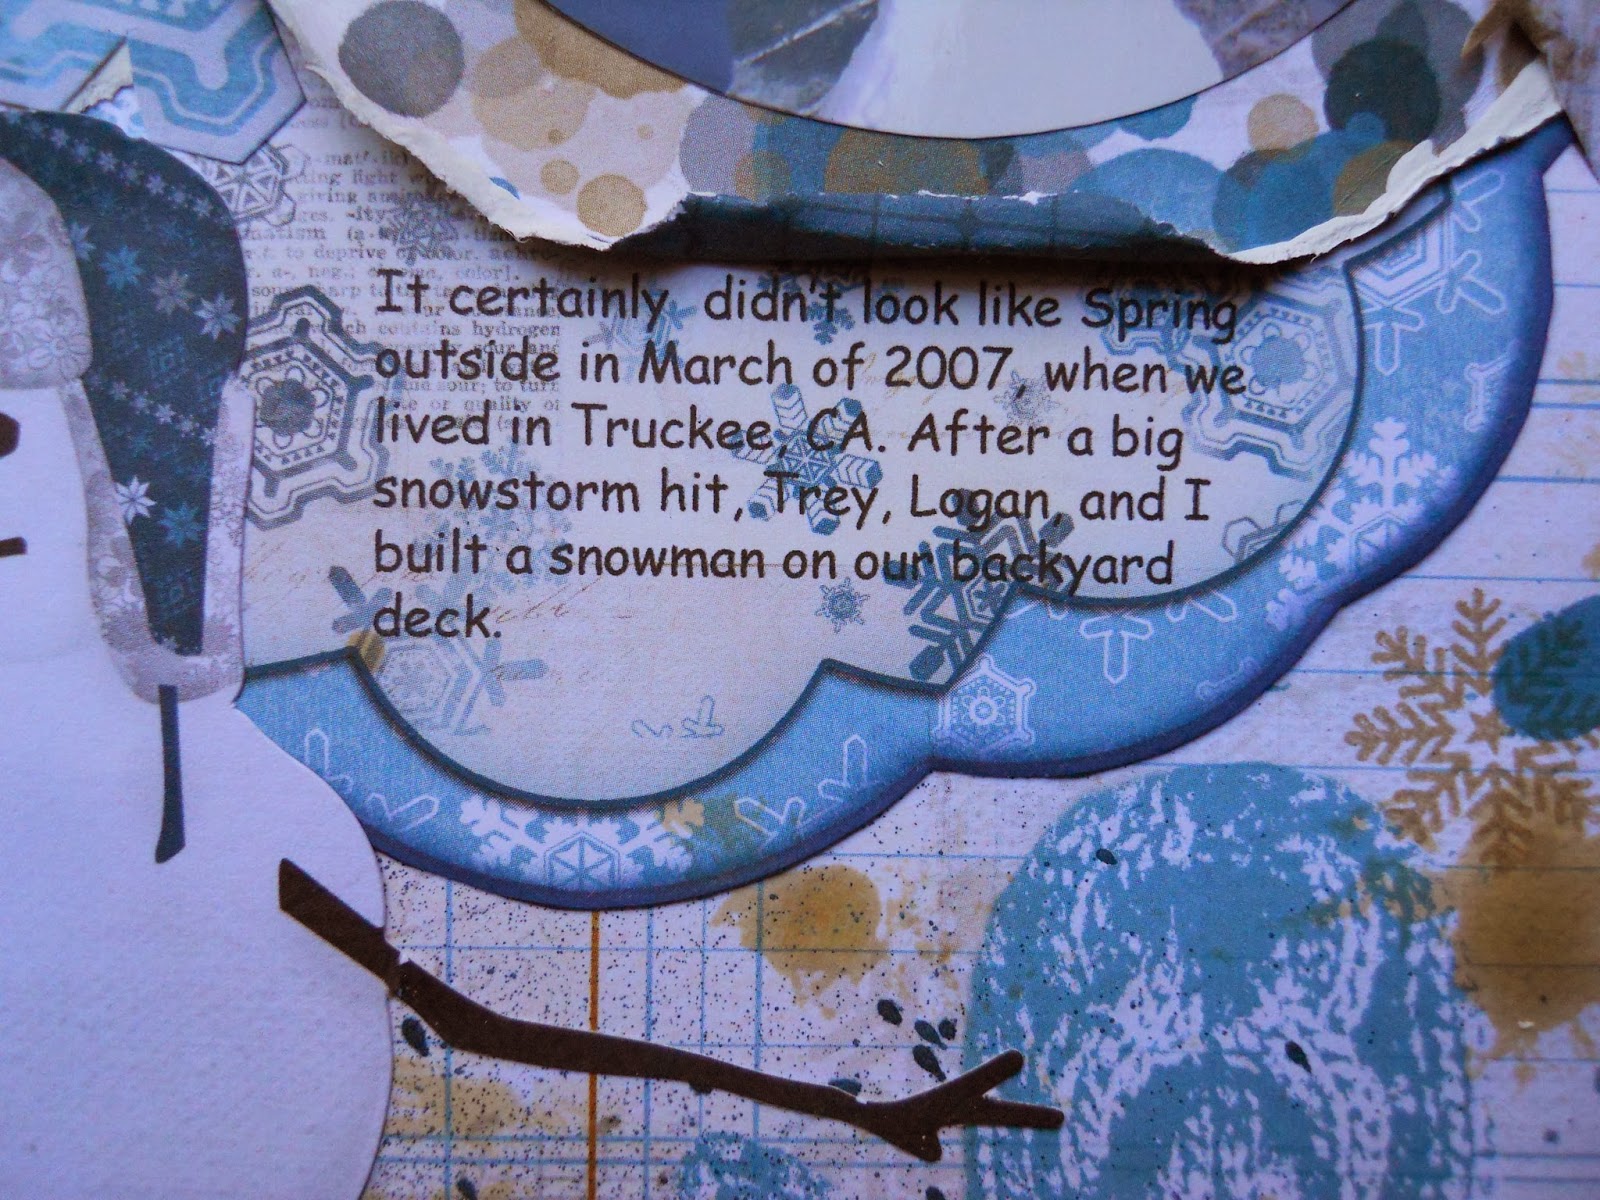
     I fussy cut the scallops and punched holes in the centers using my Big Bite II, inking the edges with Distress Ink (Fired Brick). I also added some machine stitching using red and green thread.
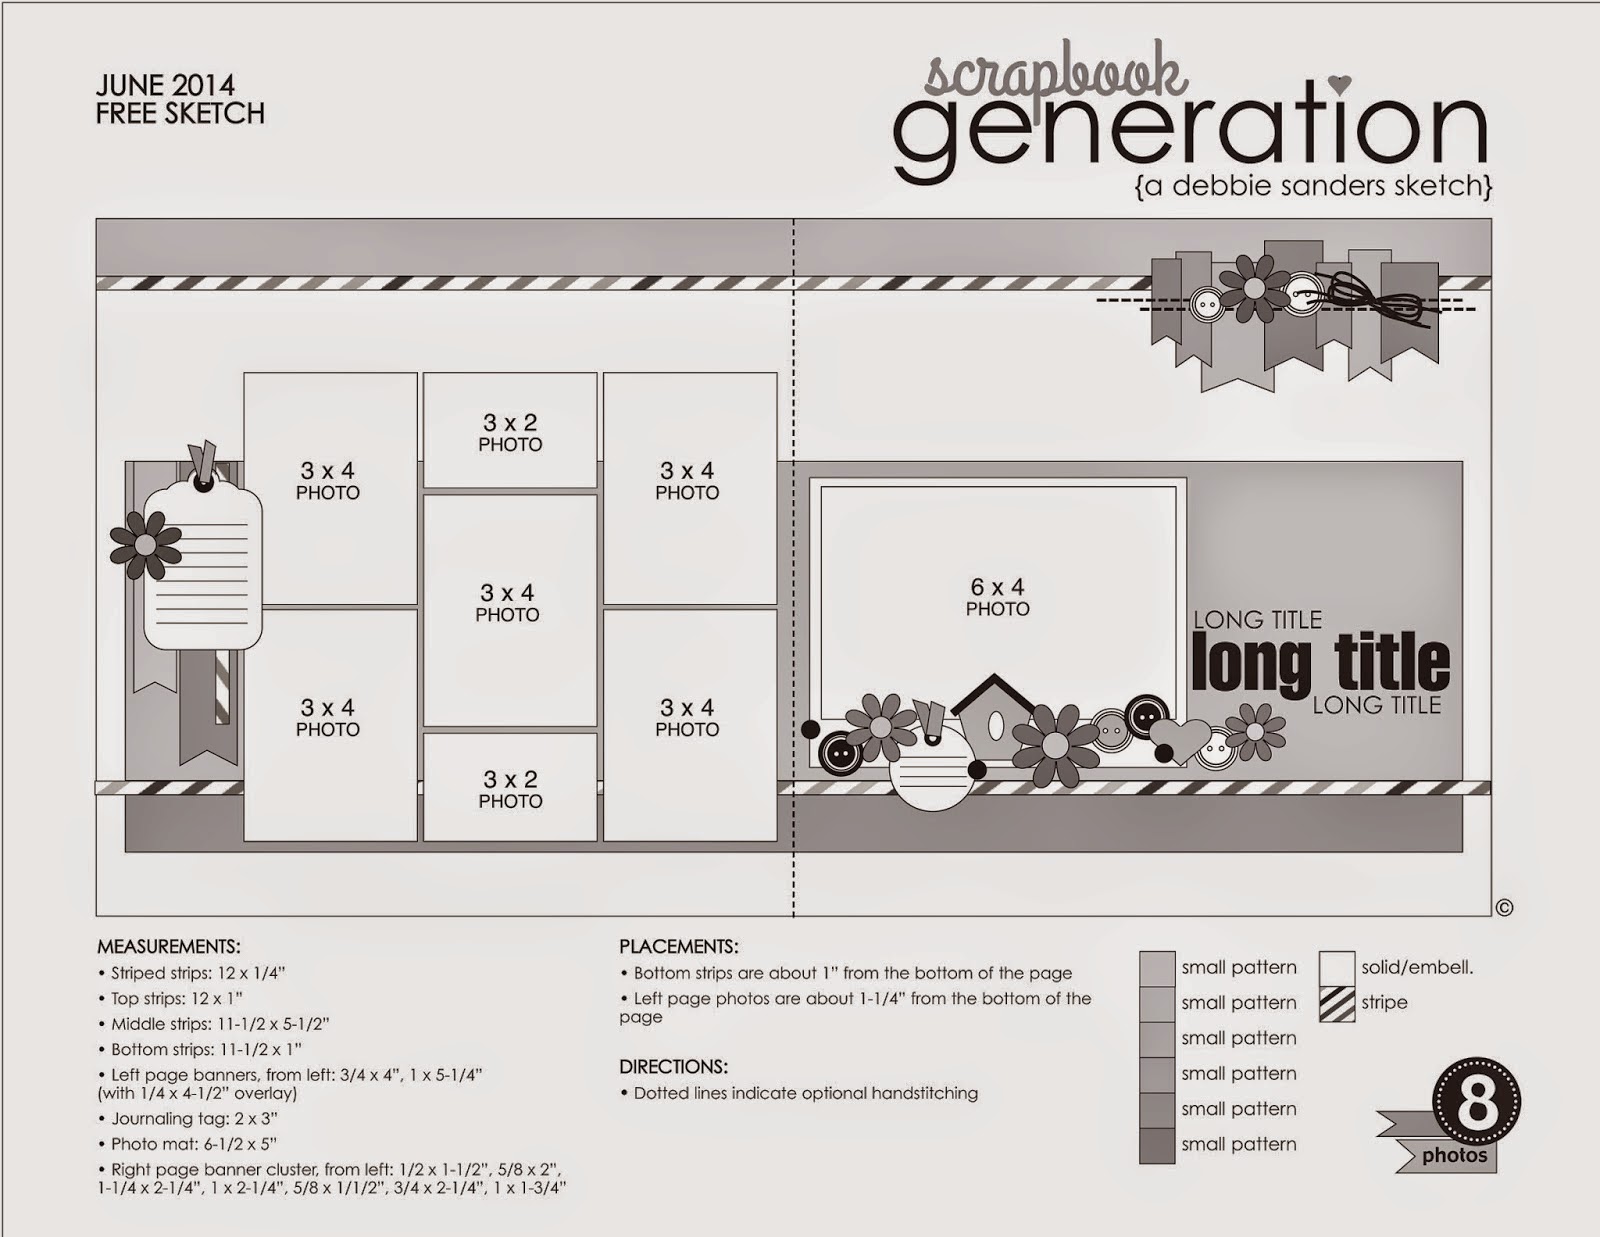


Thanks for looking!

Tuesday, October 7, 2014

Bo Bunny (Christmas Collage) Layout ~ FotoBella DT

     The new Bo Bunny Christmas Collage I want it all bundle was so perfect for this old photo of me and my cousins! I'm the one on the right.


     I started by masking the doily with Distress Ink (Festive Berries). Then I used Tim Holtz' stencil (Dot Fade) with some gesso put randomly on the page. I fussy-cut all of the circles and medallions from paper from the 12 x 12 Collection Pack, and added the buttons on top. The star also comes in the pack of buttons, which I added to the top of the chipboard tree, after adding green ink to the edges.


      I added the date with some stickers from the 12 X 12 Collection Pack over the chipboard banner. I stamped 25 with the stamps that come in the Ephemera package, using Ranger Seafoam White embossing powder. I finished it off with some hand-stitched circles around the photo, date, and image of the girl and tree, that comes in the Noteworthy package.


    You'll love this collection for all of your holiday photos, old and new, from FotoBella!!


Tuesday, December 17, 2013

Woodland Snowflake Tutorial ~ Fotobella DT

I'm so excited to share my first tutorial for Fotobella using Bo bunny's Woodland Winter I want it all bundle! I'm just in LOVE with this collection of GORGEOUS papers and embellies, not to mention the colors!! Perfect with these snow pics of mine.

I started by using some Glimmer Mist (slate) and reninker (antique linen) on the background. Then I used a snowflake stamp. The distressed edges were covered with Gesso. Here's a closer look at the typed journaling, which was one of the ingredients for this month's 5 Ingredients + yours challenge @ Scrapbook.com. The other ingredients were to use the color navy, ribbon, something stamped, and 3 pictures.

To make the snowflakes start by gathering some twigs outside. Using the Woodland Blizzard paper fussy cut out some snowflakes. I decided on this one that I used on the top left of my LO. Then pick another paper and cut out a circle slightly larger than your snowflake. I used Woodland Winter Journal.  Now cover the edges with gesso and glue your snowflake onto it. 

Break your twigs into 6 equal pieces, and cover with Gesso.


Glue the twigs onto your snowflake, using the center design as your guide.

Now find some bling for the center. I used this pearl to mimic a snowball.

Then cut pieces from another snowflake and glue under the circle, in between the twigs. Here's the finished result.

You can get so many different looks just by combining different snowflakes, papers, and gems. Here's the other one that I made.

If you don't have Gesso you could always use white paint. Stickles or Smooch could also work to make your snowflakes sparkle. Just have fun with it!


Thursday, November 21, 2013

Bo Bunny ~ Woodland Winter Brrrthday Card

I'm so excited to show you what I've been up to with my very first post as a design team member for Fotobella.com. I made this card from the fabulous new Woodland Winter I want it all bundle by Bo bunny. I absolutely LOVE this line, and honestly I'm still drooling over it!!

I was inspired by this sketch from Cardabilities. I started by cutting a rectangle 9" x 5" using the reverse side of Woodland Winter Mittens paper. From the reverse side of Woodland Winter Journal paper I cut a piece at 5' X 4 1/2", and distressed all of the edges using my Tim Holtz distresser.

Then I  used some gesso over the edges and immediately added some white glitter to it. I glued the pieces onto this same kraft cardstock that are in these photos, and folded it in half to make a card.

My next idea didn't come out the way I intended it to, but ended up being a happy mistake. I used a doily template on the bottom with a little too much gesso, that you couldn't even see the doily design except for on top, which I knew I would be covering. But because it looks like snow, I think it worked it out OK. As it was still wet I added the snowflake sticker that came in my bundle, and then added more of my white glitter.

Then I cut the diamond shapes out from the Woodland Winter Scarf paper. I inked the edges with some Distress ink (faded denim) and then outlined them with some Stickles (waterfall). I also used the Stickles to make the dots in the centers of the stars.

I wrote on the sticker  frame using a white pen,  and finished it off with the mittens button that I threaded with some white fiber.

Thanks for looking!