Showing posts with label flower tutorial. Show all posts

Thursday, July 16, 2015

Americana Stitched Flower Tutorial ~ Red Rubber Designs DT

     Recently celebrating our independence here in America, inspired me to make these flowers on a card that I made for a dear friend of mine.


     Please visit the Red Rubber Designs Blog to learn how to make them, and to see the rest of the card with stamps from Red Rubber Designs. Here's another teaser for you!


Have a great day!


Thursday, November 13, 2014

Lake Mist Flower Tutorial for Inspirational #146

     Happy Thursday! This week Lynda's hosting at Red Rubber Inspirationals with Inspirational #146 ~ Stitch me up. Here's the example that I made using stamps from Red Rubber Designs.


     I was instantly inspired by this month's beautiful sketch #38 @ Scrap Africa! I was so happy to discover them last month, even though I was too late to enter their sketch challenge.


     Bo Bunny's (Trail Mix) paper was the perfect background to cut into squares, and goes so well with this photo of my son! I stamped Running Stitches around the squares and to create journaling lines.


     The title was stamped with the Alpha Grunge set onto some light blue cardstock. Then I inked the bottoms of the letters with a darker blue, and applied Stickles over them in two shades of blue (Waterfall and Distress Faded Jeans). I also used the Distress Faded Jeans Stickles over the flourish that I cut with my Cricut Expression (Home Decor cartridge), and over the dark blue flower that I made using my Seashell Cheesecloth Flower Tutorial


     The other flowers were made using the George and Basic Shapes cartridge for the Cricut Expression. For this example I made the flower on the right using kraft cardstock, cutting two flowers (using the shift lock button) each at 2", 1 1/2", and 1".


     Then I lightly misted some Glimmer Mists (Jack Frost and Slate) onto some wax paper, and dipped my flowers onto the mists. I scrunched them a little from the middle and opened them up, except for one of the smaller flowers, which I left closed for the center bud, opening just two of the petals. 


     The holes in the center make it easy to layer and glue starting with the larger flowers on the bottom and finishing with the center bud. The lighter blue flower was made with the same mists, but cut from white cardstock. 


     These flowers were really fun and easy to make! I hope you give them a try! 


Sunday, May 4, 2014

Misted Mother's Day Flower Tutorial ~ Inspirational #118

   I had so much fun playing with my mists and sprays on my last Easter Flower Tutorial, that I did another version using the Serenade Cartridge for the Cricut Expression, on this card that I made  for my Mother-in-law! We're celebrating Mom's this week at Red Rubber Inspirationals, with Inspirational #118, hosted by Kendra, to make a Mother's Day card with a sentiment of Mom, Mother, or Mother's Day stamped on it. Be sure to check out the beautiful creations the Inspiration Team came up with.


   I started with some white cardstock and Distress Inks. Then I used water directly on my Well Defined Backgrounds stamp. You can't tell that's it text but it left a cool design. I did the same thing with my Aged Ornaments stamp on the top right, then used Belle Rose Palette Ink, and stamped it on the right side, slightly overlapping the water stamp. Then I added the cameo, which were clip on earrings, that once belonged to my Mother-in-law's Mom. I was so lucky to inherit a lot of her old jewelry, among other things! Using the same pink ink, I stamped the row on the bottom right with Fanciful Vintage stamps. I stamped HAPPY on the orange ribbon using Sophisticated Sentiments,  and Orangerie Palette Ink. Mother's Day was stamped with Belle Rose using Contemporary Greetings, all from Red Rubber Designs.


   I took my inspiration from this photo used for the May Card Challenge @ Scrapbook.com. I just LOVE these colors!!


   This is also my take on  Cardabilities, sketch #98.


To make the flowers cut flower #2 on the Serenade Cricut cartridge out of white cardstock. 
2 at 1 1/2"
1 at 1 1/4
1 at 1"
1 at 3/4


   Then mist your flowers in one to three different colors of mists or sprays. More than three might come out a little muddy.For this demonstration I made the light orange flower on the right side of the large cream Prima flower, by using Lindy's Stamp Gang sprays (Hog's Wart Orange and Clam Bake Beige). Crumple and open, leaving the smallest one slightly closed for your center bud. 


As usual, layer and glue your flower together, starting with the two larger flowers on bottom, and finishing with the smallest in the center. Here's a closer look.


Thanks for looking! I hope you enjoyed the weekend!


Saturday, April 26, 2014

Easter Flower Tutorial

   I got real messy, and had a blast doing it, with this layout that I made for quite a few challenges!


   This is my take on the Monthly Sketch Challenge @ Scrapbook.com using this bonus sketch.


I used Easter and Eggs in my title for the Scrappy Friends April Word Challenge.


   This is also my entry for the Spruce up your Background Challenge @ Scrapbook.com. The wood paper is Base Coat by KaiserCraft  from FotoBella, and the rest is all cardstock that has been misted. And for category 2 of the Four Categories Challenge to use pastels, with the twist of using paints or mists. I did both, but mostly used Lindy's Sprays (Yellow Rose of Texas, Cotton Candy Pink, Bougainvillea Fuchsia, Delphinium Turquoise, Witch's Potion Purple,  and Violaceous Violet), after playing with my new stencils and some gesso for the April Color Challenge @ Lindy's Stamp Gang


   I loved using these sprays to make these flowers out of white cardstock for the April Challenge @ Berry71bleu, to make handmade flowers! I used my Cricut Expression to cut flower #9 with the Mother's Day Bouquet cartridge. One at 2', 1 1/2", 1', and 3/4".


   The fun with these flowers is experimenting with different colored sprays and mists! For this tutorial I made the light pink and blue flower on the right. I started by spraying the flowers with Lindy's Cotton Candy Pink, and scrunched the petals from the centers while wet. I accidently got a little yellow on the large flower here from my hands, but it really doesn't matter with all of the colors that I've used. 


   While your flowers are still damp spray a little of another color onto a plastic grocery bag, and lightly swipe your flowers on top. I used Delphinium Turquoise here.


Then I just layered and glued it together starting with the largest flower on bottom. Here's the finished result.


   Have fun coming up with your own color combinations! Here's a close-up of some more of mine. Or try using one color like the blue one that I made on the bottom right using only Delphinium Turquoise.


Thanks for stopping by!


Friday, March 14, 2014

Spice Market Flower Tutorial ~ FotoBella DT

I absolutely LOVE the new Basic Grey Spice Market I want it all bundle from FotoBella!! It's so exotic and colorful, and packed FULL of papers and embellishments! After making a layout and this card it feels like I haven't even put a dent in it.


I started this card by cutting out the white (cumin) paper with some scallop decorative scissors and spritzing and splattering with some Glimmer Mists. I cut a 4" circle with my Cricut Expression from the red (paprika) paper and adhered the you make me smile sticker onto it. I cut a strip of black cardstock and punched it. To make it go around the circle I cut slits every 1/4" right up to the punching and glued it piece by piece behind the circle.

I made the flower out of a half sheet of the sea salt paper, some black soot Distress Ink, glue, scissors, and chipboard.

Directions:

1. Get out your sea salt paper and using a pencil and ruler, draw a straight line from the end of the red petal to the end of the black stem on both sides.

2.Cut and ink 5 petals using black soot Distress Ink.

3. Cut a small to medium circle from some scrap paper and mark the center with a pencil. Now curl up your petals and glue around the center slightly overlapping each petal as you go.

4. Repeat all the previous steps with the inner blue petals and glue them in between the larger petals.

5. Now just add a small piece of chipboard or even a brad or stud that comes in the bundle to finish it off.

Thanks for your visit!

Thursday, February 20, 2014

Inspirational #108 ~ Get Extra Inky

I'm just LOVING all of the stamps from Red Rubber Designs, and even if you haven't tried them yet, you can still play along in our weekly stamping challenges! This week I'm hosting with Inspirational #108, to get extra inky by using at least 2 different inks on the same stamp. I scrapped this photo of my little Sister Irene on a recent trip to Canada. She looks so cute wearing a beanie, so I had to use her family nickname for the title (Reenie Beanie).

I used the So Splattered stamp set with 2 colors of Palette Ink (Claret and Cote d'Azure). This is one of my favorite stamp sets and I know I'll get good use out of it! For the ring of circles I used the Lotsa Dotsa stamp set using a Q-tip to apply 3 different inks onto the stamp. I made the flowers using my Tattered and Torn Flower Tutorial. But before tearing my flowers I applied Distress Inks (picked raspberry, peacock feathers, and pumice stone) onto white cardstock and splashed it with some water and sea salt. It's very faint but if you look near the bottom left side of the frame you can see some coffee rings that I left with real coffee and my coffee mug for the Play with your food Challenge @ Flying Unicorn. The buttons on here I inherited from my Grandma and Great Grandma. 

All of the colors on this page were inspired by the color challenge at Lindy's Stamp Gang. The paper right under the pink matted photo was made with gesso and a stencil, and then sprayed with a couple of  Lindy sprays (Tibetan Poppy Teal) and (Bougainvillea Fuchsia).I also used those to spray the chipboard frame and the  background of the snowflake paper along with Clam Bake Beige

Here's a closer look at the small flower and gesso work. 


TFL!


Thursday, January 16, 2014

Christmas Chalk Flower Tutorial for Fotobella DT

As much as I tried using Echo Park's Tis the Season Collection  all on it's own, I couldn't help but add their Reflections Christmas Collection. They're both so festive, and work beautifully together! Just perfect for all those holiday photos, like this one that I used of me and my son from 2012!


I did a lot of distressing on this page, and hand stitched the white blanket stitch. I stamped the black scallopy border, as well as the flower, which I'll be showing  you how to do.


Supplies:
~25 Days double sided paper by Echo Park (Tis the Season Collection)
~Be Jolly double sided paper by Echo Park (Tis the Season Collection)
~Echo Park (Tis the Season Collection) Brads
~Black cardstock
~White Ink
~Inkadinkado Stamping Gear Collection Intro Kit
~Glue
~Cricut Expression (Serenade Cartridge) or decorative scissors

Directions:
1.Using Echo Park's Be Jolly paper (the black side) stamp your image 6 times using white ink. I used Inkadinkado's Stamping Gear, but any type of flower stamp would work too. I really think that it's the white ink that makes this look like chalk, as well as the paper which looks like a chalkboard. 

2.Cut out your images and curl your petals up and out.

3.I cut out this scalloped circle from Echo Park's 25 Days double sided paper using my Cricut Expression (Serenade Cartridge flower #3) at 2 1/2",  and then inked the edges with white ink. You could also use decorative scissors to cut around a circle, or simply just use a circle. 


4.Now cut another circle out of black cardstock that's slightly larger than the first one, and glue it underneath. Then you can take your petals and glue them in the center.

5.Now use a brad to finish it off. I inked the scalloped circle that came with this brad to go with the bottom layers. 

Thanks for stopping by!

Sunday, December 22, 2013

Winter White & Gold Flower Tutorial

Season's Greetings!! Somehow, in between wrapping presents, shopping, and everything else,  I managed to create this page that's very dear to my heart.

I was instantly inspired by this GORGEOUS sketch from Alda for Mojo Monday @ Flying Unicorn!

I started by using some old vintage sheet music, which I tore and then painted the edges gold. I masked the tree onto it using Glimmer Mists (Forest Green and Snowy Pine). Then I used gesso to make the dots, applying Diamond Dust to them while they were still wet. I finally used my new Martha Stewart snowflake and flourish border punch set, which I  made sparkle by spraying some Glimmer Mist (Dazzling Diamond) on it. I also punched the green pp and around the big doily for the Punch Fun Challenge @ Scrapbook.com, where we also had to use 2 or more photos and 2 or more lines of journaling. I made a scroll for my journaling and tied it with some gold ribbon.

Here's what it looks like when unrolled.

This is also my entry for the December 4 Categories Challenge @ Scrapbook.com for category 1, to use doilies. The small gold one was stamped and embossed. 
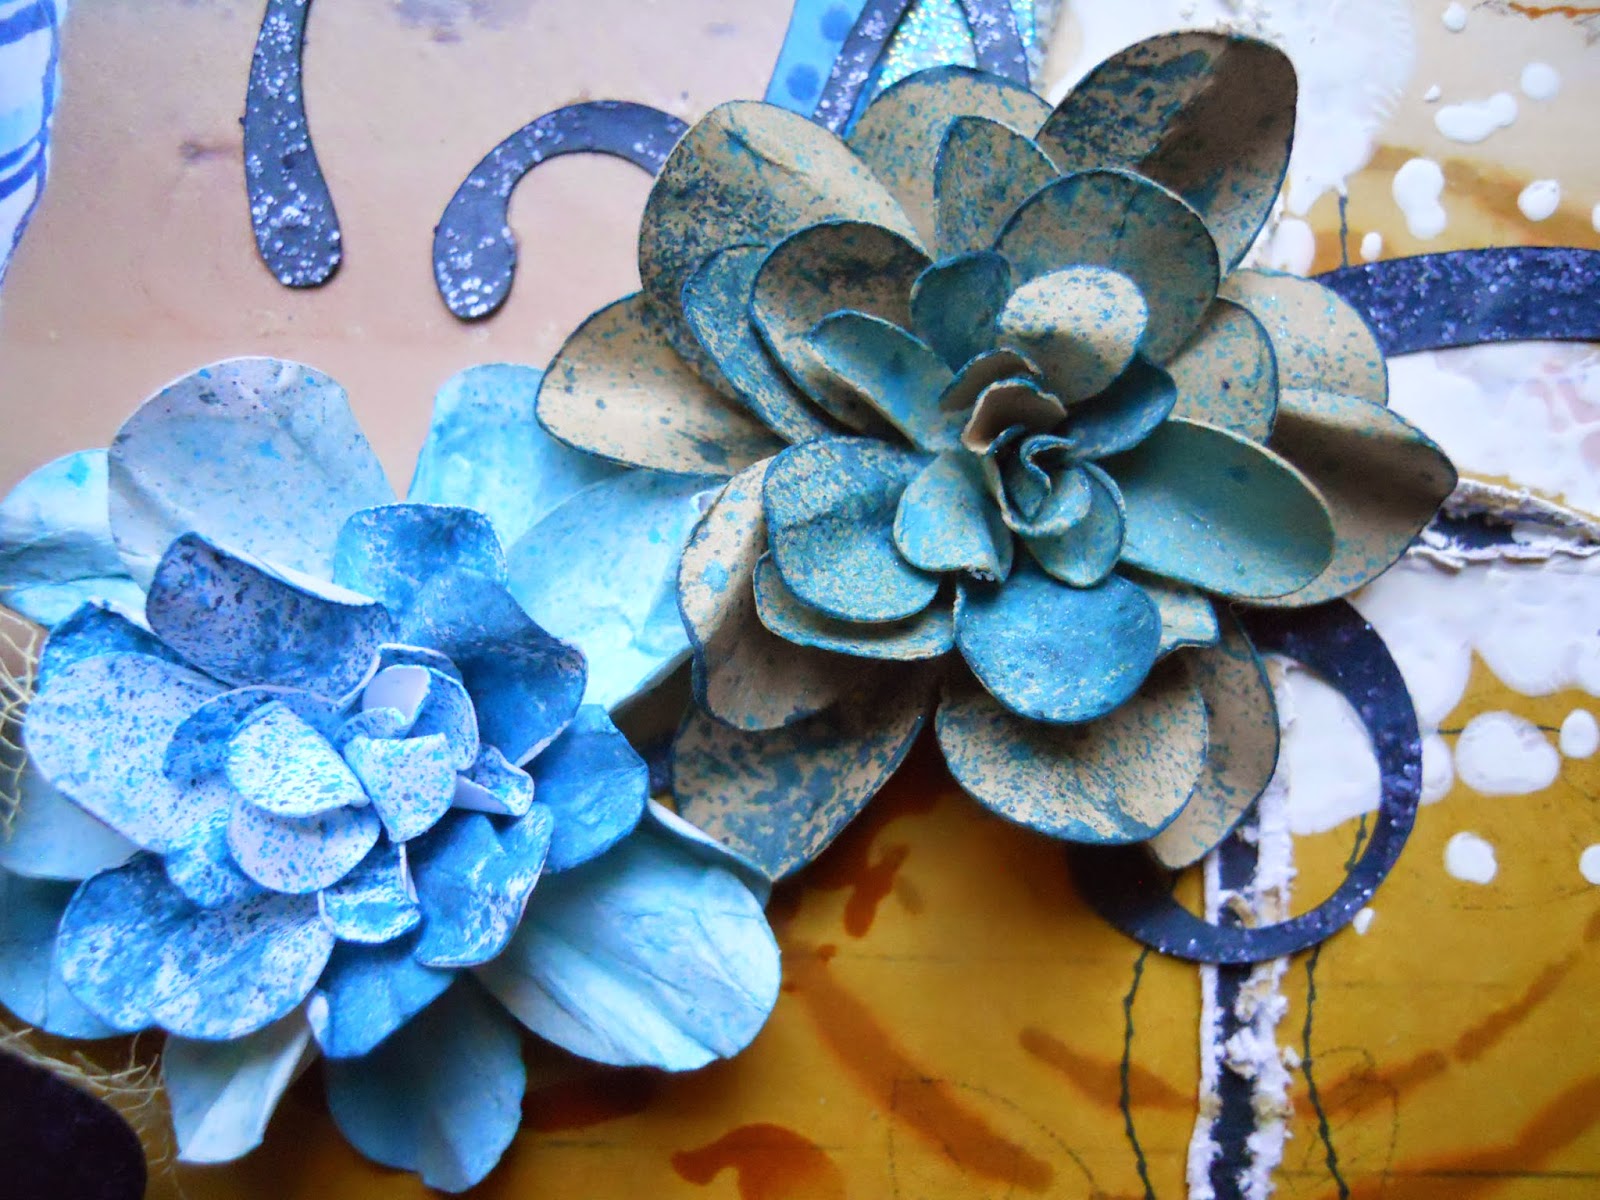
I got the gold flower awhile ago from Michael's, as well as the greenery and red berries. I made the white flowers and will be showing you how I made the larger one. 

Supplies:
Cricut (Mother's Day Bouquet cartridge), white cardstock, glue, gold paint, pearls or bling for the center, and Glimmer Mists (Iridescent Gold and Dazzling Diamonds).

Directions:
1. Using flower #7 on the Mother's Day Bouquet cartridge for the Cricut, cut out 2 from white cardstock at 2 1/2".  Then cut one out at 2".

2.Use a dropper to splatter on some Glimmer Mist (Iridescent Gold).

3. Paint the edges gold. I did this very sloppy for a more distressed look. 


4.Now curl all of your petals up and over like shown in this photo.

5. Layer and glue your flowers together with your smallest one on top.

6.Now spray your whole flower with Dazzling Diamond Glimmer Mist for some extra shimmer. Then I used these Prima pearls for the center.


Here's the other one that I did using a white half pearl in the center, and surrounding it with smaller gold ones. But I really love the large antique pearl button on the left that I inherited from my Great Grandma Dale.

Thanks so much for stopping by, and have a wonderful Christmas!!