Monday, October 8, 2018

KaiserCraft Pen & Ink Tag ~ FotoBella DT

     Have you ever wondered how to use up your extra die cut alpha's? I'll show you how on this tag made with the KaiserCraft Pen & Ink Bundle and KaiserCraft Pen & Ink 6.5" Paper Pad from FotoBella.com.


     After cutting the specialty foil alpha paper from the KaiserCraft Pen & Ink 6.5" Paper Pad into a tag, I adhered it along the right side with a torn piece of dictionary paper. Then I glued down some of those extra alphas, and covered it all with Prima Marketing White Gesso. After drying, I colored it with Kaisermist Spray (Coffee) and Distress Spray Stain (Brushed Pewter), Prima Marketing Metallique Waxes (Old Silver and Rich Copper), embossed it with Ranger Embossing Powders (Silver and Copper), and finished it with a little smudge of Distress Crayon (Black Soot).


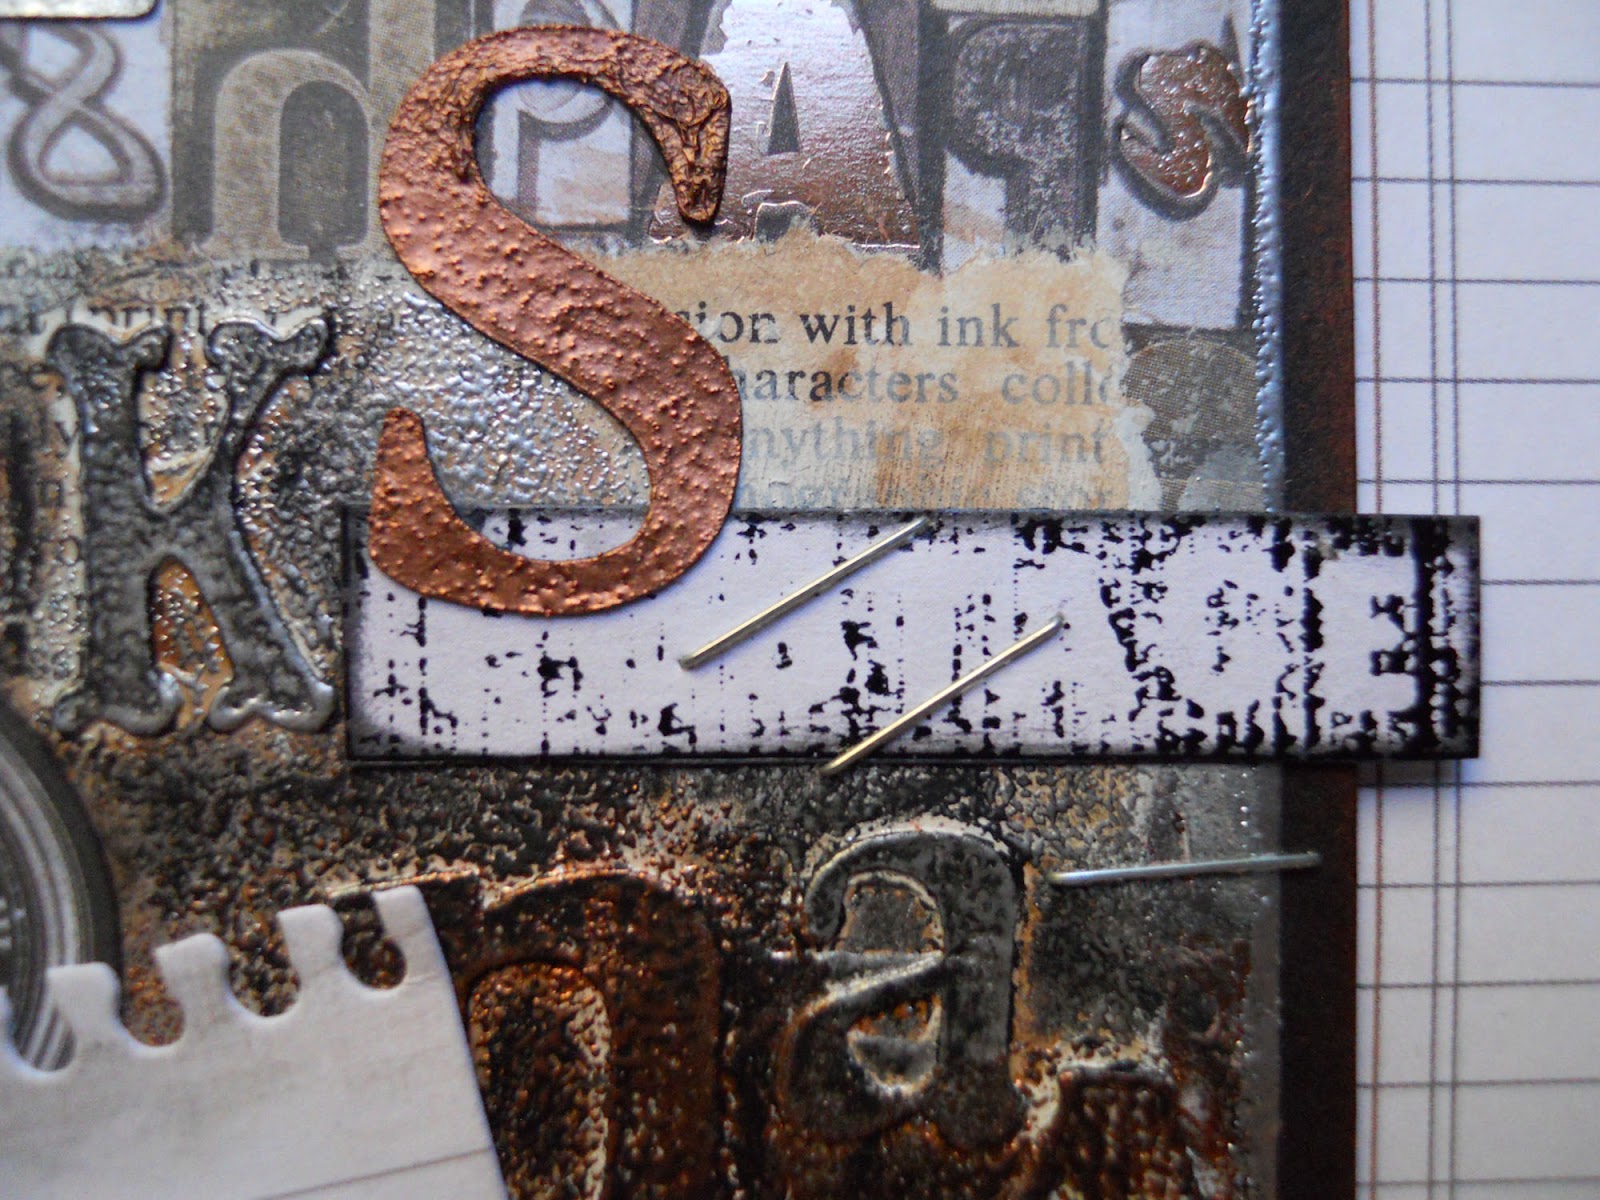
     I popped up the typewriter fussy-cut from the Specialty Black Foil sheet, adding some other embellishments from the dic cuts, inked along the edges with the KaiserCraft Mini Ink Pad (Black). Then to keep with the vintage vibe, I adhered some of the pieces with staples. 


     The wooden feather embellishment included in the KaiserCraft Pen & Ink Bundle, was colored with a spritz of Kaisermist Spray (Coffee), followed with Distress Crayons (Black Soot, Antique Linen, and Picket Fence).


     Finally, I tied it off with some metallic fibers from my stash. 


     Thanks for your visit, and get your KaiserCraft Pen & Ink Bundle at FotoBella.com!

***********************************
Challenges Entered:


Saturday, October 6, 2018

World Card Making Day ~ FotoBella DT

     Happy World Card Making Day! I made a card using the KaiserCraft Pen & Ink Bundle, KaiserCraft Pen & Ink 6.5" Paper Pad, and Prima Marketing Metallique Waxes from FotoBella.com.


      I took my design inspiration from the #109 Sketch at Card Mania Challenges, fussy-cutting the star from the KaiserCraft Pen & Ink 6.5" Paper Pad.

     Starting with a black card base, I applied Prima Marketing White Gesso to the Tim Holtz Gothic Stencil. Once it was dry, I rubbed over it with Prima Marketing Metallique Waxes (Old Silver, Brushed Iron, and Vintage Gold).


     I applied the numbers to the Tim Holtz Numbered Stencil using Prima Marketing Black Gesso, rubbing over it with Metallique Wax (Vintage Gold). HAPPY was cut from one of the stickers, and inked around the edges, along with the star, using the KaiserCraft Mini Ink Pad (Black). The rest of the sentiment was embossed in black with Emerald Creek Onyx Frost Embossing Powder. Then I followed the star design with hand-stitching using gold and silver thread.


     Most of the flowers and leaves are die cuts, but some were fussy-cut from the Specialty Black Foil Sheet included in the bundle.


     Thanks for looking, and to see more cards from the FotoBella Design Team, please visit the FotoBella Blog!

*******************************
Challenges Entered:

Try it on Tuesday ~ Black, White, and one Color (I used black, white, and gold)


Monday, October 1, 2018

National Homemade Cookie Day ~ FotoBella DT

     Grab a glass of milk because today is National Homemade Cookie Day! I love cookies so much my mom used to call me a cookie monster when I was young. Lol! But now I only like homemade ones, so I decided to scrap a photo of some lemon sugar cookies that I made, using the Stamperia Lemons Stencil and the Bo Bunny Serendipity Paper Bundle from FotoBella.com.


     The title was cut with my Cricut Expression, and given a coat of Yellow Stickles to match the sugar on the cookies. Then I used Squeezed Lemonade Distress Ink with my Blending Tool around the edges of the background leaf paper, before machine stitching it.


     The leaf border on the green paper was stamped with the Prima Marketing Garden Fable Stamp using permanent green ink.


     Then I applied Prima Marketing White Gesso to the Finnabair Doily Stencil, smooshed with some Squeezed Lemonade Distress Ink, to place my cookies on.


     I also applied Prima Marketing White Gesso to the Stamperia Lemons Stencil, let it dry, and reapplied the stencil again to color with Dyan Reaveley's Dylusions Paints (Lemon Zest, Pure Sunshine, Fresh Lime, Cut Grass, Dirty Martini, Black Marble, and Melted Chocolate).


     Finally, I tore a page from an old dictionary with some lemon words on it, and inked the edges again with Squeezed Lemonade Distress Ink. Then I gave it a light coat of white gesso, adding the flower from my stash.


     Thanks for looking, and happy National Homemade Cookie Day!

***********************************
Challenges Entered:


Thursday, September 27, 2018

Fantastic Fall ~ Red Rubber Designs DT

     Fall IS fantastic and my favorite season of the year! So I created a spread in my art journal featuring the Luscious Leaves Cling Mounted Rubber Stamps, and the Filled with Blessings, Give Thanks, and Autumn Swirls Unmounted Rubber Stamps from Red Rubber Designs.


     In addition to the cute scarecrow from the Filled with Blessings Stamp, are the plaid and dots that I stamped randomly over two pages of my art journal using Ranger Archival Jet Black Ink. Then I adhered pieces of burlap, followed with Prima White Gesso applied to the Tim Holtz Mini Birch Stencil. Once it all dried, Magicals and sprays were next to create some beautiful autumn colors.


     The rest of the stamping was embossed with Emerald Creek Onyx Frost Embossing Powder, giving it some sparkle, including all of the Luscious Leaves that I fussy-cut.


     The fence stamp is also included in the Filled with Blessings Stamp Set, and the pumpkins from the Give Thanks Stamp, colored with Distress Inks, Magicals, and Distress Sprays.


     The title was stamped and embossed onto a torn piece of white tissue paper with the Autumn Swirls Stamp, and adhered onto the burlap with Prima Marketing Soft Matte Gel. Once it dried, I colored over it with some more Magicals and sprays.


      Such a fun spread to work on, using some of my favorite Fall Stamps from Red Rubber Designs!


***********************************


Challenges Entered:


Monday, September 24, 2018

Happy Family Moments with KaiserCraft Pen & Ink Bundle ~ FotoBella DT

     Hello! I'm back with another vintage layout featuring the gorgeous KaiserCraft Pen & Ink Bundle from FotoBella.com.


     I really love how the Kaisermist Iridescent Spray (Coffee) brings out the warmer tones in the photo, used on the butterflies and background, after applying Prima Marketing White Gesso to the Tim Holtz Gothic Stencil! Once it all dried, I used my fingers to apply Prima Marketing Metallique Waxes  (Old Silver and Brushed Iron).


     Then I tore and curled some of the paper, to reveal the bottom page, where I added a border sticker to the top. The chandelier and butterflies were fussy-cut from the black foil specialty sheet, which also includes images of flowers, leaves, old phones, and typewriters.


     I created the title from Bingo cards cut from one of the papers in the bundle, which has other words and combinations to choose from, and inked the edges with the KaiserCraft Mini Ink Pad (Black).


     I also used the KaiserCraft Mini Ink Pad (Black) on most of the other paper and die cut edges, before machine-stitching the sides.


     The wooden hinge and keyhole embellishments were given a coat of white gesso, a spritz of Kaisermist Spray (Coffee), a rub of Metallique Waxes (Old Silver and Brushed Iron), and finished around the edges, again, using the KaiserCraft Mini Ink Pad (Black).


     I also used the KaiserCraft Mini Ink Pad (Black) to stamp the roses with the stamp included in the bundle.


     Taking inspiration from the Pepsi can in the photo, I dipped and stamped a couple of circles with a Coke can using the Kaisermist Spray (Coffee). Then I finished it up with some of the KaiserCraft Pearls (Pearl), scattered among some buttons inherited from my grandma (the fourth one in the photo with her sisters).


     Thanks for looking, and get the KaiserCraft Pen & Ink Scrapbooking Bundle at FotoBella.com!

****************************
Challenges Entered:


Thursday, September 20, 2018

Warmest Wishes Card ~ Red Rubber Designs DT

     Hello again! I'm back with a card that's fitting for the end of Summer, featuring the Rays of Hope Cling Mounted Rubber Stamp from Red Rubber Designs, embossed with clear embossing powder over Distress Oxide Inks (Fossilized Amber and Spiced Marmalade).


     The background was done with Dylusion's Paints and Ranger's Zigzag Stencil. Then I stamped the black circles with the Build-A-Background Stamp. The tag and vases were cut with my Cricut Expression, and also colored with Dylusion's Paints, but with my fingers. Finally, I embossed the sentiment with the Contemporary Greetings Stamp, using Emerald Creek Onyx Frost EP.


Thanks for looking!


******************************************


Challenges Entered:


Thursday, September 13, 2018

KaiserCraft Pen & Ink Card Set ~ FotoBella DT

     September has always been a month packed full of special birthdays, and the KaiserCraft Pen & Ink Scrapbooking Bundle from FotoBella.com is perfect for all of those vintage loving Virgos! So I made a set of cards for more than just birthdays, as this collection has so many different sentiments to choose from, and lots of them.


     Follow along at the FotoBella Blog, and I'll show you how I used the Kaisermist (Coffee) Spray, which I absolutely LOVE and highly recommend, three different ways in a step-by-step photo tutorial!


*************************************
Challenges Entered:


Tuesday, September 11, 2018

La Liocorne

     As soon as I saw this month's fantasy theme at Art Journal Journey, I knew I wanted to use my new Stamperia Wonderland Stencil from FotoBella.com, which I previously hadn't had a chance to use, on this art journal page.


     And this month's Lindy's Gang Color Challenge inspired the color palette.


      I started by stamping the background with a couple of Prima Stamps using Ranger Archival Jet Black Ink. Then I applied Prima White Gesso to my Stamperia Wonderland Stencil. Once dry, I colored it with Lindy's Magicals (Tears on my Pillow Tangerine and Danny Zuko's Denim from the Go Greased Lightnin' Flat Set and Prima Donna Purple from the Drop Dead Diva Shimmer Set) and Sprays (Delphinium Turquoise Shimmer, Witch's Potion Purple Shimmer, Golden Doubloons Vintage, A Bit O Bubble, and Sidewalk Chalk Flat). Then I used my stencil again over some of script and the butterfly with Hyacinth Blue Jade Embossing Powder, and rubbed it lightly with Prima Metallique Wax (Vintage Gold).


          To highlight the unicorn, and a few other areas of my page, I applied the stencil again to use with Lindy's Purely White Embossing Powder. Like the script, I went over it with Prima Metallique Wax (Vintage Gold). Then I adhered gold and clear sequins and beads.


     The butterflies were stamped and embossed with Hyacinth Blue Jade Embossing Powder onto cardstock that I sprayed with the same background colors, using the Bo Bunny Flutter Stamp.


Thanks for looking!

*********************************
Challenges Entered:


A Inky Mess ~ #23 Anything Mixed Media Goes