Thursday, November 20, 2014

Inspirational #147 ~ Repeat Yourself

     This old photo of my grandparents is really special to me, so I made this page for my Aunt, who has sacrificed so much of her time and money to care for my sick grandfather in her home. My grandma passed away when I was twelve, and I know she's just been waiting for him. My Aunt looks so much like my grandma in this photo! This is my example for Inpsirational #147, which  I'm hosting this week, and want to see any stamped image at least three times.


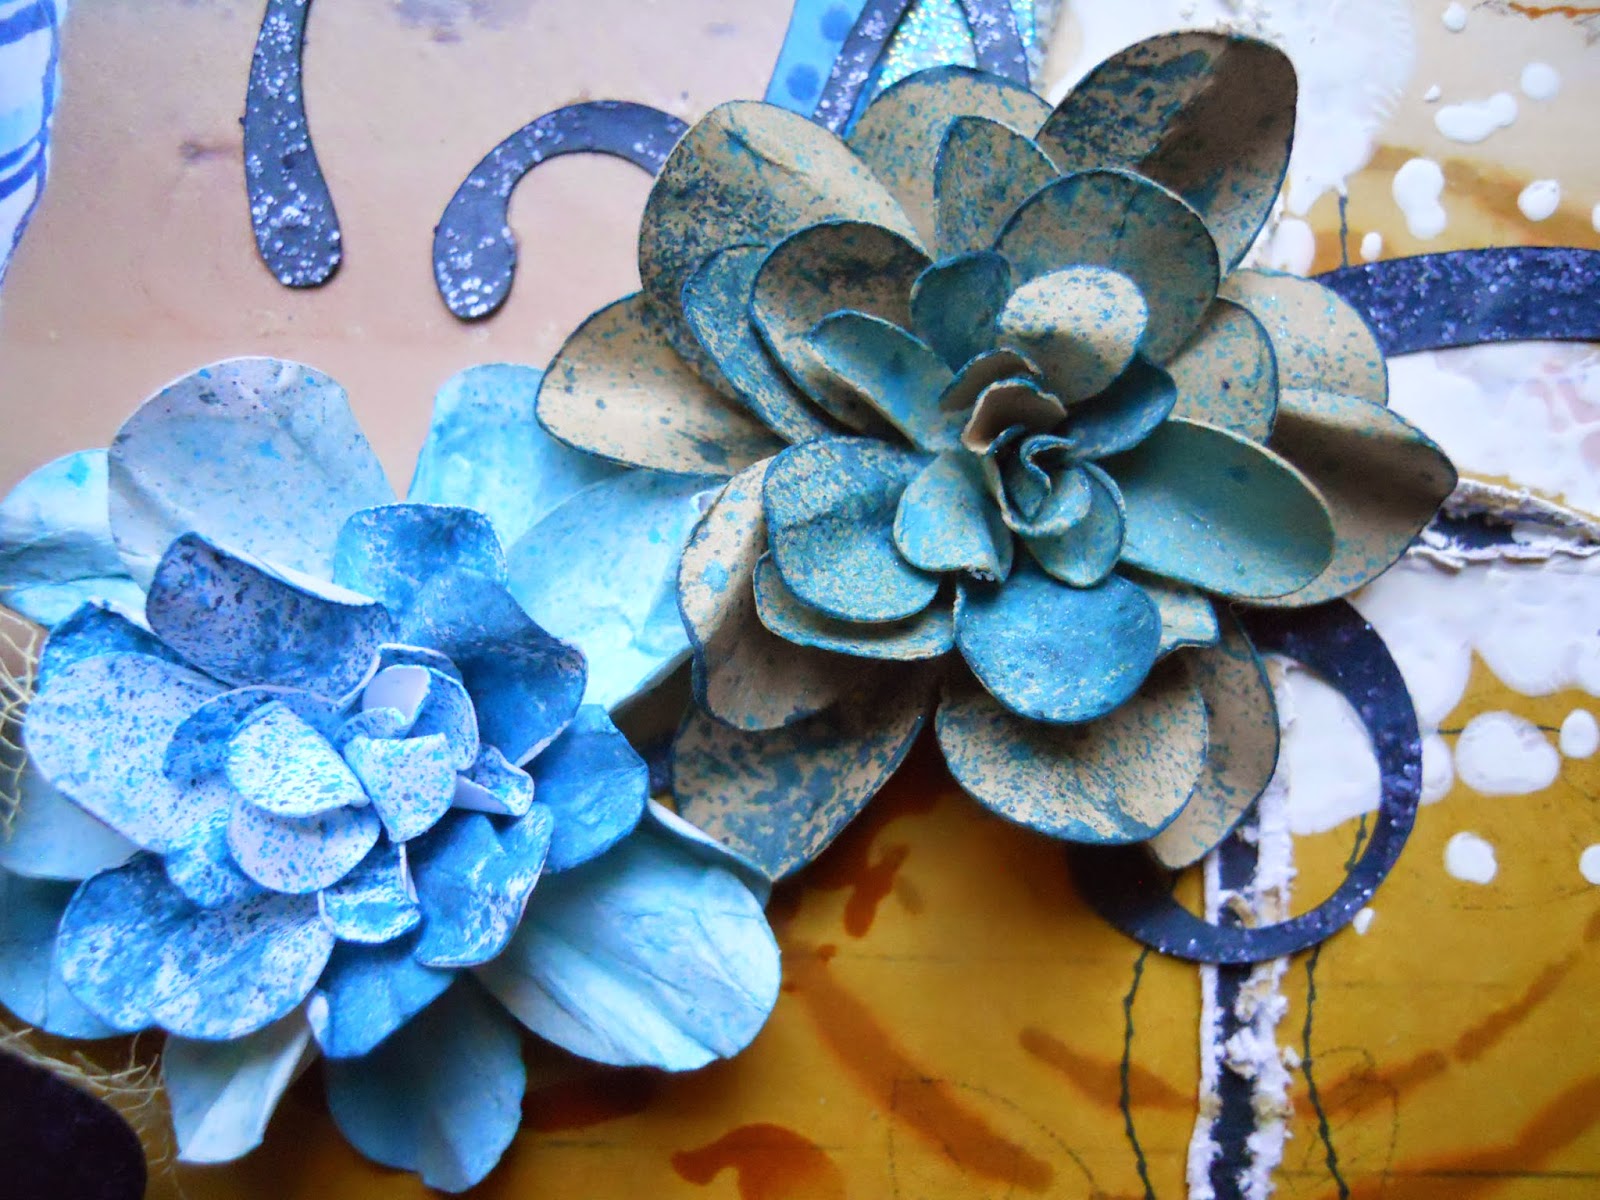
     I started this page with some kraft cardstock, which I misted in various colors. Then I stamped Aged Ornaments  onto different colors of tissue paper, and fussy cut them all out. The black scroll reminds me of the black iron gate they had around their house, so I used it eight times,even though I covered one of them up with my flowers. Then I decoupaged them along the right, using the zigzag stitch from Running Stitches in between the scroll work, which I embossed in black.


     To make the sheet music, I used the Vintage Background stamp six times on each sheet of white cardstock, which I inked with Distress Inks to give it an aged look. The only stamp that I used once, is the sentiment on the top left, using Fanciful Vintage. You can get all of these awesome stamps for a great deal at Red Rubber Designs


     Most of my inspiration came from this beautiful mood board, used for this month's challenge @ Scrap Around the World.


     The colors remind me of my grandma's garden, as she loved working in her garden, and always had flowers in bloom. Obviously I used the sheet music, and the lace, which I misted with some Lindy's Stamp Gang sprays. I was also inspired by the window, which is in my photo, and the base of my design with the stamp work. My grandma made the doily behind the large pink flower, so I had to include it, along with the pink button that once belonged to her.


Thanks so much for stopping by!


Saturday, November 15, 2014

Basic Grey Highline Card ~ FotoBella DT

     Bring a cheerful hello someone's way with this fun and easy card that I made using Basic Grey's Highline I want it all bundle from FotoBella.


     Please click on the FotoBella Blog for step-by-step directions on making this card! Thank you!

Thursday, November 13, 2014

Lake Mist Flower Tutorial for Inspirational #146

     Happy Thursday! This week Lynda's hosting at Red Rubber Inspirationals with Inspirational #146 ~ Stitch me up. Here's the example that I made using stamps from Red Rubber Designs.


     I was instantly inspired by this month's beautiful sketch #38 @ Scrap Africa! I was so happy to discover them last month, even though I was too late to enter their sketch challenge.


     Bo Bunny's (Trail Mix) paper was the perfect background to cut into squares, and goes so well with this photo of my son! I stamped Running Stitches around the squares and to create journaling lines.


     The title was stamped with the Alpha Grunge set onto some light blue cardstock. Then I inked the bottoms of the letters with a darker blue, and applied Stickles over them in two shades of blue (Waterfall and Distress Faded Jeans). I also used the Distress Faded Jeans Stickles over the flourish that I cut with my Cricut Expression (Home Decor cartridge), and over the dark blue flower that I made using my Seashell Cheesecloth Flower Tutorial


     The other flowers were made using the George and Basic Shapes cartridge for the Cricut Expression. For this example I made the flower on the right using kraft cardstock, cutting two flowers (using the shift lock button) each at 2", 1 1/2", and 1".


     Then I lightly misted some Glimmer Mists (Jack Frost and Slate) onto some wax paper, and dipped my flowers onto the mists. I scrunched them a little from the middle and opened them up, except for one of the smaller flowers, which I left closed for the center bud, opening just two of the petals. 


     The holes in the center make it easy to layer and glue starting with the larger flowers on the bottom and finishing with the center bud. The lighter blue flower was made with the same mists, but cut from white cardstock. 


     These flowers were really fun and easy to make! I hope you give them a try! 


Basic Grey Highline ~ FotoBella DT

     Basic Grey's Highline I want it all bundle, from FotoBella is so fun and colorful! It's exactly what I've been saving this 20 year old photo for, of the Betsey Johnson store in San Francisco. I included her business card on the top of the page.


     I started by using some gesso under the banner that I made out of  Vellum Tape and Printed Chipboard Shapes.  On the ends I used the larger brads that come in the Mixed Brads package, and used some of the medium ones as centers for the other flowers. The flowers were cut from black cardstock with my Cricut Expression, using the Mother's Day Bouquet cartridge, and backed with some of the papers from the 12 x 12 Collection Pack. For the smaller flower centers, I used some silver studs out of my own stash. I also used some floral die cuts from the Die Cuts and Transparencies.


      The splotches and drips were masked with some inks.I used white paint on the Chalkboard Wood Tags , and then rubbed them with a little chalk. On the top of the heart I used some more of the vellum tape.


Thanks so much for stopping by!


Sunday, November 2, 2014

Sketchabilities and Tresors de Luxe

     I took a little break from design team work to do something of my own. It felt good to use up some older Bo Bunny (Forever Fall) papers on this layout that I made using one of my son's 5th grade school photos.


     My inspiration came from this awesome sketch #126 at Sketchabilities


     I also got plenty of inspiration from this beautiful mood board used for the first Tresors de Luxe Challenge on Facebook!


       To make the drips I used a mix of sprays. Then I used an old stitch stamp in black to go over the drips. The final touch was some yellow gesso, which I applied to a Tim Holtz stencil (Dot Fade).


     I also used a stencil to mask the notebook paper along the left side of the photo. The flower I've had forever, along with the leaf stamp that's coming from it.


Thanks for looking!


Thursday, October 30, 2014

Inspirational #144: Fall Foliage

     I just LOVE fall, and since my parents 43rd anniversary was a couple of weeks ago, I decided to make them a fall themed card for Inspirational #144, to use fall foliage.


     I took my inspiration from bonus sketch #6 used for the October Card Sketch Challenge @ Scrapbook.com. 


       All of the papers are an older line, Beautiful Life, from Bo Bunny and is still one of my favorites! I started out by making the wreath from a ring of paper, which I wrapped and glued with rafia, adding orange fiber around the outside.  Then I stamped and embossed the leaves using the Filled With Blessings stamp set from Red Rubber Designs.  Inside of the wreath and the swirly background were stamped with Autumn Swirls. The anniversary sentiment was done using Contemporary Greetings, and I added the label plate over Anniversary, which I got as a RAK from my scrappy friend Lisa. So thank you Lisa! 


    And THANK YOU for visiting my blog!


Saturday, October 18, 2014

Christmas Collage Santa Layout ~ FotoBella DT

     I just LOVE this Santa image that's part of the Bo Bunny Christmas Collage paper collection, from FotoBella, so  I used it here on this layout that I scrapped of my son at 6 years old!


     I also wanted to use the film sticker that comes in the I want it all bundle, since I hadn't yet in my previous projects with this line. It worked great with this sketch from Bo Bunny's October Sketch Challenge.


     I used some Lindy's Stamp Gang sprays (Rudolph's Nose Red and Cathedral Pines Green) to mist the top of the Santa paper, and I think the colors match the collection perfectly. I also did some distressing, machine-stitching, and inking on here, including the title stickers, which I inked along the bottom in red, to make it stand out more. The tag was cut from paper and I added fibers from my own stash to it. I also added the candy cane and holly leaves from my stash. The small, yellow button comes in the Buttons pack, and the rest from the Ephemera pack. 


Thanks for looking!


Thursday, October 16, 2014

Inspirational #142: Pumpkin Patch ~ Red Rubber Designs DT

     It's time for a new stamping challenge at Red Rubber Inspirationals! I'm hosting this week's Inspirational #142, to stamp a pumpkin, in honor of Fall, my favorite season. I created this card using the Filled With Blessings stamp set from Red Rubber Designs. I just love the scarecrow with the pumpkin and colored him in with markers, as well as the polka dots and fence! The leaves were misted with different Autumn colors.


     The design inspiration came from sketch #5 used for the October Card Sketch Challenge @ Scrapbook.com.


     I misted the tag and stamped the sentiment using Autumn Swirls.


Thanks for taking a peek!


Monday, October 13, 2014

Christmas Collage Card Tutorial

     I just love the new Bo Bunny Christmas Collage I want it all bundle from FotoBella!! It's so beautiful and festive!! Get an early start on your Christmas cards, like the one I made here.


    For a step-by-step tutorial on how I made this card, please click on the FotoBella blog!
Thank you for looking!


Saturday, October 11, 2014

Bo Bunny Christmas Collage 2 Pager ~ FotoBella DT

    Happy weekend! Here's a 2 pager I made using the beautiful and festive Bo Bunny Christmas Collage I want it all bundle  from FotoBella. These photos are from my aunt, uncle, and cousin's visit at my parents house. It's always great to see them!


     I took my inspiration from this sketch used for the October 2 Page Sketch Challenge @ Scrapbook.com. 


     I thought this design would be perfect for all of the fun embellishments that come in the bundle, like the Chipboard, Ephemera, Layered Chipboard, and Brads, which I used to make the banner and clustered under the large photo.


     I fussy cut the scallops and punched holes in the centers using my Big Bite II, inking the edges with Distress Ink (Fired Brick). I also added some machine stitching using red and green thread.


Thanks for looking!

Tuesday, October 7, 2014

Bo Bunny (Christmas Collage) Layout ~ FotoBella DT

     The new Bo Bunny Christmas Collage I want it all bundle was so perfect for this old photo of me and my cousins! I'm the one on the right.


     I started by masking the doily with Distress Ink (Festive Berries). Then I used Tim Holtz' stencil (Dot Fade) with some gesso put randomly on the page. I fussy-cut all of the circles and medallions from paper from the 12 x 12 Collection Pack, and added the buttons on top. The star also comes in the pack of buttons, which I added to the top of the chipboard tree, after adding green ink to the edges.


      I added the date with some stickers from the 12 X 12 Collection Pack over the chipboard banner. I stamped 25 with the stamps that come in the Ephemera package, using Ranger Seafoam White embossing powder. I finished it off with some hand-stitched circles around the photo, date, and image of the girl and tree, that comes in the Noteworthy package.


    You'll love this collection for all of your holiday photos, old and new, from FotoBella!!


Thursday, September 25, 2014

Inspirational #139 ~ Anything goes

     For Inspirational #139, at Red Rubber Inspirationals, I made this birthday card for my little sister, since the theme this week is anything goes. She's a big shoe lover, so the Darling stamp was perfect for her!


     I took my inspiration from this sketch used for the September Card Challenge @ Scrapbook.com. As soon as I saw the boxes on the left, I thought of a closet full of shoes. I stamped the shoes, colored them with Prismacolor markers, and for shine and dimension, added Glossy Accents.


       The sentiment also comes in the Darling stamp set, and the stitches were done using Running Stitches, which can all be found at Red Rubber Designs.


Thanks for your visit!