Tuesday, January 15, 2013

The Perfect Snowball~The Paper Mixing Bowl

   We've made a few changes at the Paper Mixing Bowl, starting with the dates for the recipes to be due. Our new reveal day is now going to be on the 15th of every month. You still get a month to cook something up with us though. Here's my take on Sushi.

From the utensils I used:
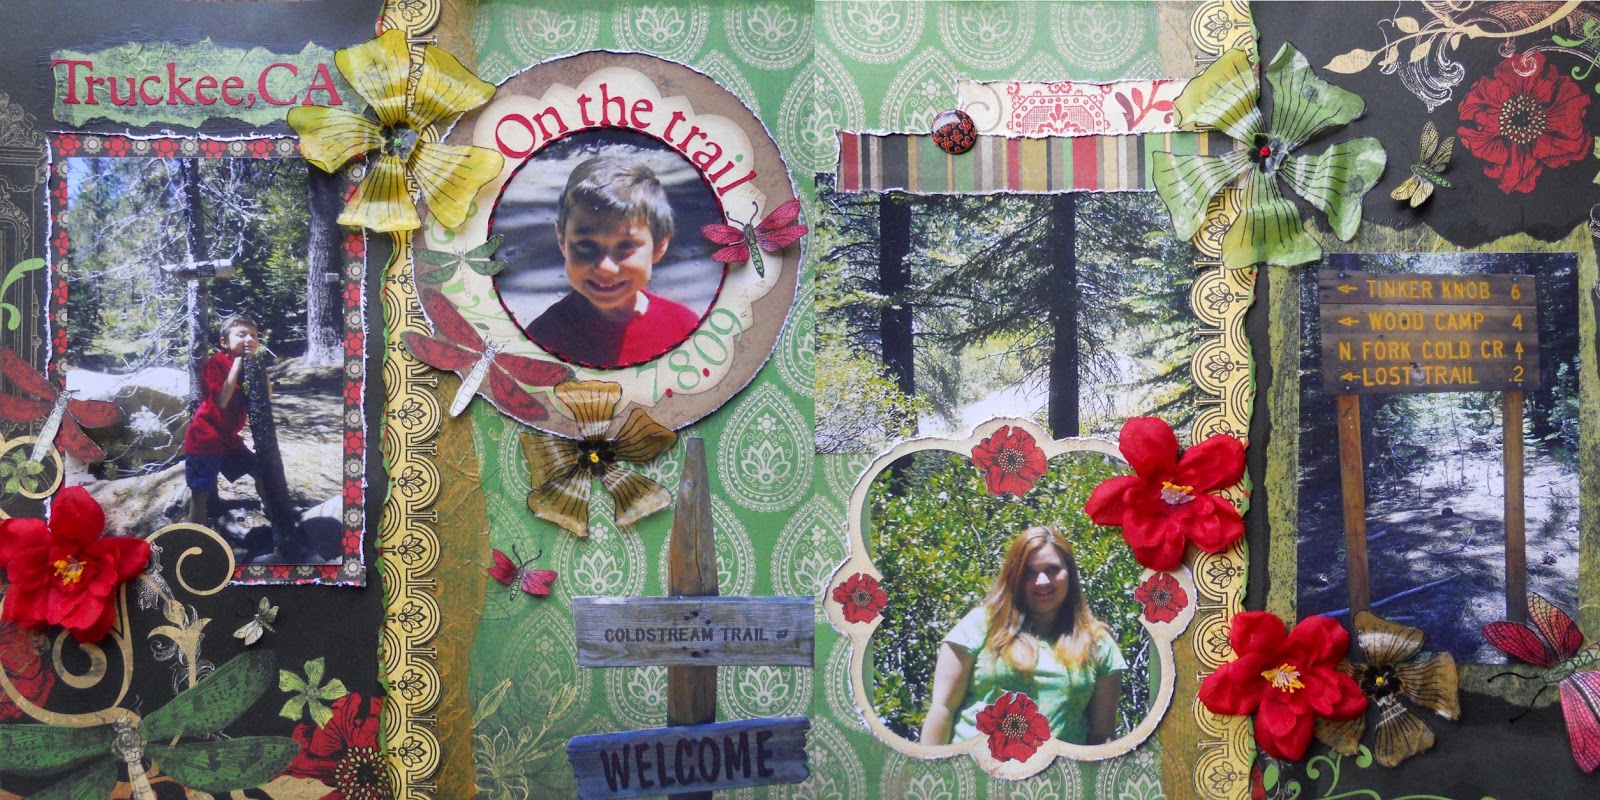
*Splash (Wet medium)- I made the background using mists and paint.
*Metallic elements-I have some silver snowflakes
*Stitch it up-I hand stitched the circle with the title in it.
*Bling it on- I used bling in the centers of some of my snowflakes
*Rolled paper-I rolled the edges of my papers

From the directions I didn't do anything, since it's now OPTIONAL if you want to journal. Great new changes!!

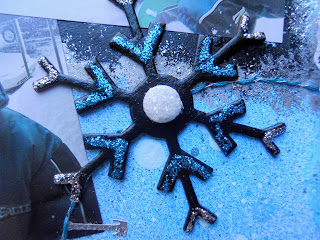
 Here's a close-up of some of my techniques. I used paint, stamps, stickles, and alcohol ink here.
I wasn't sure about the black snowflakes at first, but now I love them! It's my something unexpected for the Winter Wonderland Challenge at Flying Unicorn.
Thanks again for stopping by!
Drea

Sunday, January 13, 2013

A Taste of Winter

 I've been dying to get my  hands on these papers, ever since I bought them last month! I LOVE Bo Bunny and their (Powder Mountain Collection) is awesome for winter pics! I scrapped this photo of my Mom and Sister at Donner Lake, in Truckee, CA.
This was based off of this beautiful sketch by Alda for Flying Unicorn Mojo Monday.
For the following challenges:

January Winter Challenge at Funtoolas. I used bling for the twist. 
Scrap for help January Challenge to use yarn. I used a blue yarn around the border and applied diamond dust over it
January Four Categories at Scrapbook.com. This is a new challenge hosted by my Diva and scrappy friend Lisa. I'm entering this in the category to use blue. 
January Stamping Challenge at Scrapbook.com
I stamped the title, bird, and dark blue snowflake.The large snowflake in the background was masked using Jack Frost Glimmer Mist.
This beautiful and sparkly butterfly was part of a FABULOUS RAK  I got from the very talented Renea Bouquets. She makes wonderful creations that she sells here on Etsy. Thank you again Renea! And thanks for dropping by!
Drea

Friday, January 11, 2013

Tissue Paper Flower Tutorial

   I hope you're all getting ready for a great weekend! I'm just staying warm and cozy, while enjoying the surprise snow that we're getting right now. I wanted to share another 2 pager that I made for the January Color Challenge at Scrapbook.com to use red, green, and yellow, and for the Pass the tissue challenge at Flying Unicorn. I knew I had to do this challenge, since I have a whole box full of tissue papers that I've had since junior high. Every Christmas the box gets fuller, so I decided to use green, yellow and a kraft color to add to these beautiful Bo Bunny papers (Serenade). But the real challenge, for myself, was figuring out how to make flowers from tissue paper, which at one point I almost abandoned.
This was the first one that I made.

Here's what you'll need.
Tissue Paper
Decoupage Glue
Foam brush
Wax Paper
Scissors
Small Flower
Permanent ink
Black ultra fine point Sharpie
Scraper or old credit card
Paintbrush
Embroidery thread and needle

Directions:
Start by drawing your flower onto tissue paper. I started by drawing a small circle with a pencil, and drew 5 petals coming out from it. If you're not comfortable drawing, then try using a flower stamp instead. Just make sure to use a permanent ink, so it doesn't bleed when you add the glue. Once you get the outline of your flower made, go over it with your black Sharpie, but don't outline the circle. Using the circle as your guide, draw lines coming out from it. Now you can erase your pencil marks.

Carefully cut out your flower.

Now use a small flower stamp for the center. I used Bo Bunny's Serenity Stamps.
I then cut around the flower leaving a little bit of the green tissue showing around the edges.

 Using a foam brush I applied the decoupage glue onto the flower and smaller stamped one, using wax paper on the bottom.

Using my scraper, (you can also use an old credit card) I gently lifted the flower off of the wax paper, to prevent it from sticking too bad. If you wait for it to dry then it'll be harder to peel away and you'll be left with glue around the edges that you'll have to trim.

After that dries, apply another coat. Now use the end of a paintbrush to shape the petals.
After that dries apply a 3rd and final coat, reshaping your petals if necessary. While the glue is still wet, put your stamped flower in the center.
I finished it off with a french knot, but if you don't know how to make one, you can also use a small bead or make a dot with puffy paint.
That's all for now. Have a wonderful weekend!

Monday, January 7, 2013

Bright Button Flower Tutorial

I'm back with my first LO for the year, along with a very quick and easy flower tutorial, inspired by the papers I used, which are all My Mind's Eye (On the bright side).
I used this awesome sketch from Paper Haus Magazine and turned it into a 2 pager. 
I did LOTS of machine stitching on here, except for the hand stitching I used to hang the banners. Twine is so popular now, but it's really easy to stitch your own. Just follow these directions on my tutorial for Twisted Stitching. Here's a closer look at the banner and stitching. 

Close-up of the journaling.
Here's the flowers that I made, inspired by the paper in the background.
All you need is some patterned paper, scissors, ink, glue, buttons, and embroidery thread. The first step is to cut out 2 circles by hand, in a medium and small size. As you can see my circles are far from perfect, but that's what  you want. 
Now cut small triangles almost to the center of your flower.
Then ink around all the edges.

Curl your petals up.
Glue the smaller flower on top of the larger one, and add a button. I also used embroidery thread on my buttons, but that's up to you. 
So quick and easy! Thanks for looking!
Drea