Tuesday, January 28, 2014

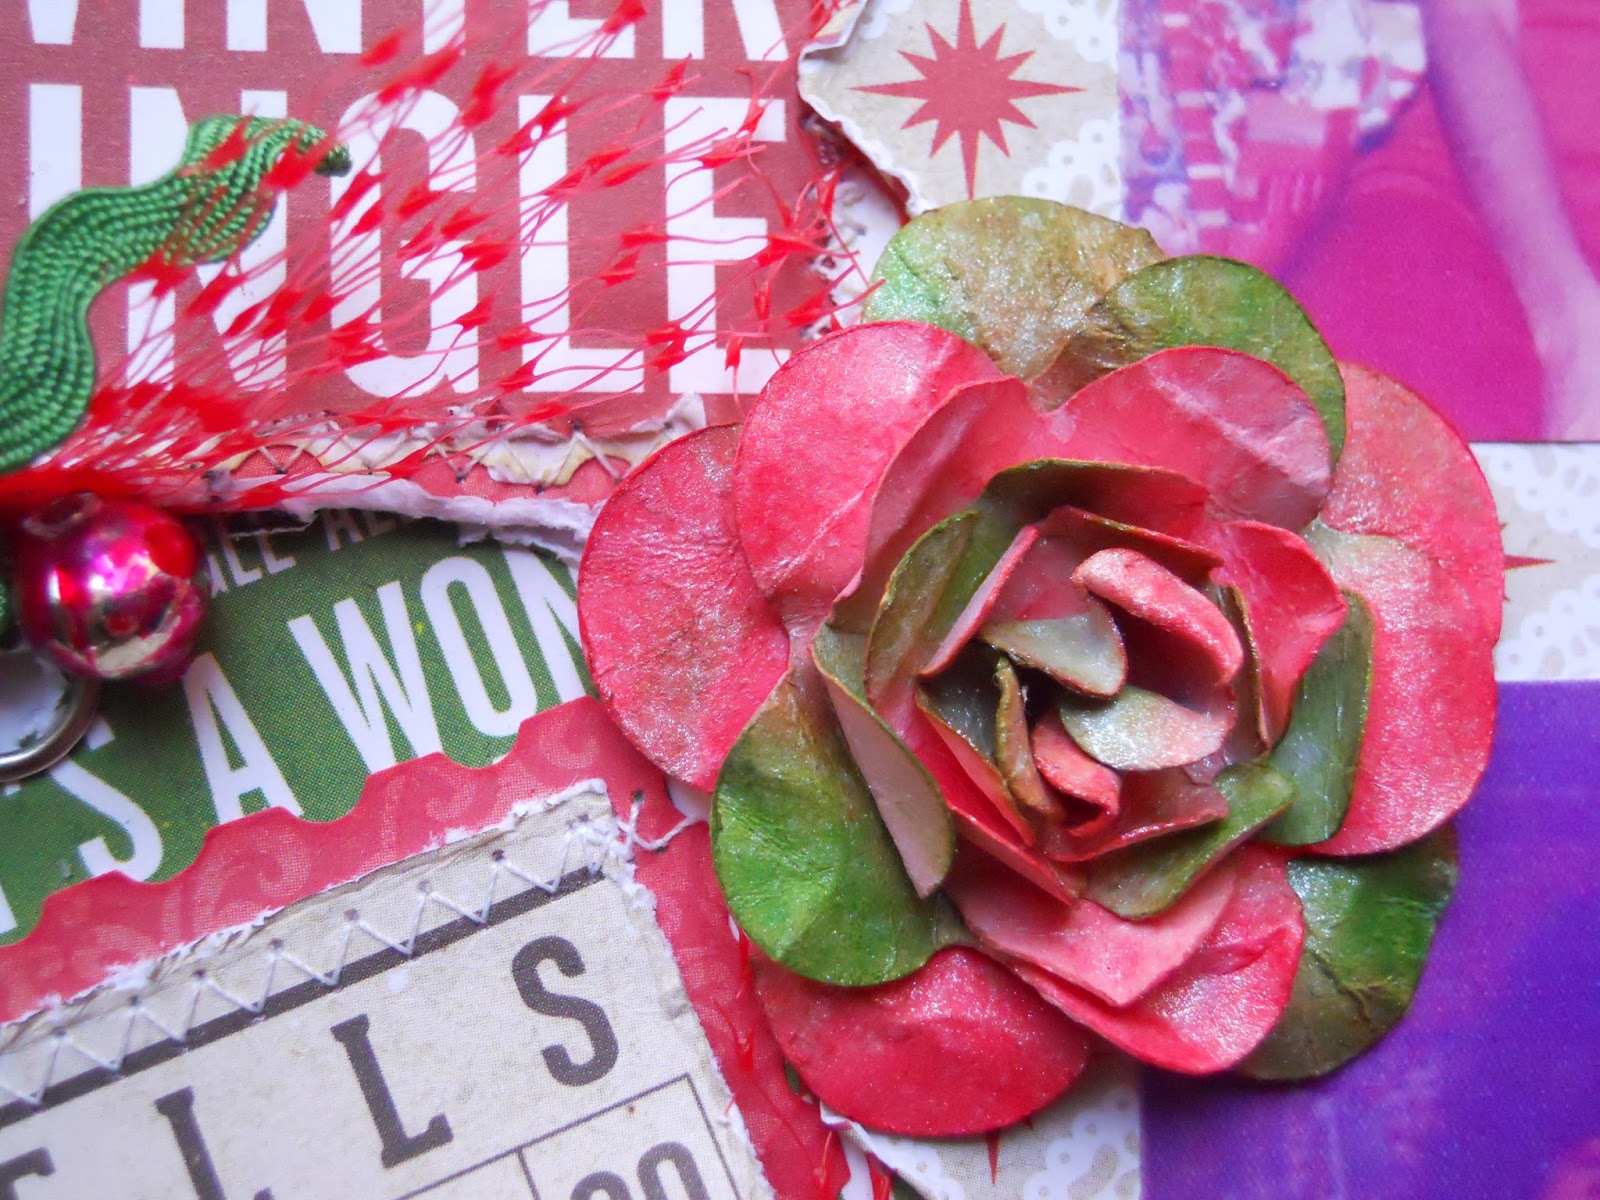
Reflections Christmas Flower Tutorial ~ Fotobella DT

   As soon as I came across these old photos of me and my Mom, I knew they'd be perfect to showcase the beautiful Christmas Reflections Collection by Echo Park. I did use one piece of paper (the background with the candy cane border) from the Tis the Season Collection, as it was perfect to mask my doily stencil on.

I was inspired by this Basic Grey sketch used for the Happy Holidays Sketch Challenge @ Scrapbook.com.

I made 2 large tags, and 2 small ones, which are part of the title, for the January Four Categories Challenge, for category 1, to use at least one tag, with the twist of hidden journaling.

When you lift the Bells Bingo card, which is machine stitched on top,  it reveals my journaling.

I'm also entering this in Rochelle Spear's Tic Tac Toe Challenge. I went diagonal with mists, mini alphas, and flowers, which I made myself.

Here's what you'll need to make the big flower.
1.Cricut (Serenade cartridge)
2.White Cardstock
3.Distress Inks (Festive Berries and Mowed Lawn)
4.Glue
5.Glimmer Mist (Dazzling Diamonds)

Directions:
1.Take your white cardstock and cut out 6 flowers using the Serenade Cartridge (flower #5) for the Cricut. 2 @ 1", 1 @ 1 1/4", 1 @ 1 1/2", 1 @ 1 3/4", and 1 @2".

2.Using a blending tool apply the red and green Distress Ink onto your flowers. One one of the smallest ones I inked both sides.

3.Then one at a time dip them into water, loosely scrunching them, and shaping your petals. The one that you inked on both sides is the center bud. After they dry they'll be a lot lighter, so if you want you can go over them again with some more ink, which I did on the big flower. The smallest one just has one application of inks, and gives an even more faded and vintage look.


4.Glue all of your layers together starting with the largest flower on the bottom, and spray with Glimmer Mist (Dazzling Diamonds), which ages it and gives it some sparkle at the same time.

Try it with different colored inks to custom make this flower for any project.
Thanks for your visit!

Monday, January 27, 2014

Snow Cold

I know most of the country is covered in snow right now, even though we're not here in Reno. We could definitely use it though, so send it our way! Here's an all white page that I scrapped for the 
January Four Categories Challenge for category 2 to use all white. 

I was inspired by sketch #2  used for the January Sketch Challenge @ Scrapbook.com.

I had so much fun playing with the new stencils that I got for Christmas! I started with white cardstock and got messy with my gesso, glitter, and mists. I stamped the flowers with white Versamagic ink onto vellum, and added brads to the centers.

I used some old Heidi Swapp ghost letters for SNOW in my title, and inked the edges with white ink before adhering it with Glossy Accents. It's kinda hard to tell in the photo, but I used some of the negative pieces from some old chipboard alphas to make COLD with gesso and glitter. I'm entering this into Kristy B.'s January Word Challenge, since I used snow in the title. 

Other than my journaling and the silver rim around 2 of the brads, everything here is white. 

Thanks for looking!

Thursday, January 23, 2014

Inspirational #104 ~ Under the tree

I'm so excited to be hosting my very first challenge for the Red Rubber Inspirationals blog! My challenge (Inspirational #104) is to let your stamping sparkle by adding glitter, bling, mists, or Stickles to your stamping, like I did on this page that I made of my nephew peeking under the tree.

I used the Amelia Patterned Cardstock Collection and stamped the the top left and bottom right of the green punched paper using Vintage Script stamp and Brilliance Galaxy Gold ink, which I just LOVE! I used the same ink to cover my chipboard snowflake and then applied Stickles (Goldenrod) over it.

I made the star on the Christmas tree the same way, by stamping it onto white cardstock, cutting it out, and applying Stickles (Goldenrod). I used the tag that came in the collection to stamp my tree on using the Oh Christmas Tree stamp with Memento Cottage Ivy ink. I extended the trunk by stamping it onto the bottom layer of the tag using Palette (Burnt Umber) ink. Then came the fun part of decorating it, which I did by using Stickles for my ornaments. I also used Stickles to make the berries on top.

Be sure to join me and the team for some more inspiration! We'd love to see how you make your stamping sparkle!

Thursday, January 16, 2014

Christmas Chalk Flower Tutorial for Fotobella DT

As much as I tried using Echo Park's Tis the Season Collection  all on it's own, I couldn't help but add their Reflections Christmas Collection. They're both so festive, and work beautifully together! Just perfect for all those holiday photos, like this one that I used of me and my son from 2012!


I did a lot of distressing on this page, and hand stitched the white blanket stitch. I stamped the black scallopy border, as well as the flower, which I'll be showing  you how to do.


Supplies:
~25 Days double sided paper by Echo Park (Tis the Season Collection)
~Be Jolly double sided paper by Echo Park (Tis the Season Collection)
~Echo Park (Tis the Season Collection) Brads
~Black cardstock
~White Ink
~Inkadinkado Stamping Gear Collection Intro Kit
~Glue
~Cricut Expression (Serenade Cartridge) or decorative scissors

Directions:
1.Using Echo Park's Be Jolly paper (the black side) stamp your image 6 times using white ink. I used Inkadinkado's Stamping Gear, but any type of flower stamp would work too. I really think that it's the white ink that makes this look like chalk, as well as the paper which looks like a chalkboard. 

2.Cut out your images and curl your petals up and out.

3.I cut out this scalloped circle from Echo Park's 25 Days double sided paper using my Cricut Expression (Serenade Cartridge flower #3) at 2 1/2",  and then inked the edges with white ink. You could also use decorative scissors to cut around a circle, or simply just use a circle. 


4.Now cut another circle out of black cardstock that's slightly larger than the first one, and glue it underneath. Then you can take your petals and glue them in the center.

5.Now use a brad to finish it off. I inked the scalloped circle that came with this brad to go with the bottom layers. 

Thanks for stopping by!

Friday, January 10, 2014

Santa ~ Red Rubber Designs DT

I am having SO much fun playing with all of my new inks and stamps from Red Rubber Designs! Here's a page I did using the Vintage Santa Rubber Stamp Set.

I got my inspiration from this awesome sketch @ Grand Diva's Creative Corner! As soon as I saw the black and white polka dots on here, I instantly saw Santa's belt, which I made out of a specialty black suede paper, some gold eyelets, and the buckle, which is chipboard that I covered with metallic gold paper.

I traced and cut the scallops from another paper that I had, and used my Crop a dile Big Bite to punch the holes. Then I used Brilliance (Galaxy Gold) ink along the edges and around the punched circles.
The Santa image and script were stamped onto white cardstock. I wanted to make the script look like Santa's list, so I started by making it look like notebook paper by inking the edge of some heavy cardstock with Palette Ink (Chartreuse) to make some faint lines going across. Then I used VersaMagic (Red Magic)  and Memento (Cottage Ivy) inks to stamp the vintage script and ink the edges. I just LOVE this stamp, and it doesn't just have to be for the holidays, so I already know I'll be using this one a lot.

I also used the VersaMagic (Red Magic) ink to stamp the Santa image. The snowflakes were stamped with Versa Magic (Cloud White) and is by far, the best white ink that I've ever used!

I was finally able to get all of my ingredients together for the January 5 Ingredient + yours Challenge @ Scrapbook.com.
1.Dec./Jan. holiday ~ Christmas
2.At least one color that goes with that holiday ~ Red, green, and gold
3.Word(s) that go with that holiday ~ Santa and stamped sentiment
4.Sparkle ~ Santa's belt, the gold punching, and gold eyelets
5. Circle(s) ~ The stitched circle, punched circles, and eyelets

This is also my example with the twist for the January Stamping Challenge that I host. The twist being to use a new stamp, or never before used stamp. I'd love to see you there! Thanks for stopping by!

Wednesday, January 8, 2014

FTC Guidelines

As of December 1, 2009, new FTC guidelines went into effect requiring bloggers to disclose any time they are compensated for endorsing or reviewing products or services. I serve on a couple of design teams (Fotobella and Red Rubber Designs) and participate in various social media sites where I post projects containing components I have received for free, have been compensated for or received perks in return for posts on this blog.


Monday, January 6, 2014

Fotobella Sketch Challenge

There's a new sketch challenge at Fotobella. Get started on your Holiday Scrapbooking with this sketch to win a fabulous I want it all bundle. Post your take to our facebook page and then come back and comment here that you posted it. The deadline is January 15th.


This is my take using Tis the Season 12 x 12 Collection Kit by Echo Park. It came together super fast and easy once I picked out my photos.

I used some gesso on the top left before adding the flourish sticker with the red brad in the snowflake. The candy cane frame along the right is also a sticker. Everything here came in the kit except for the ribbons. 

Thanks for looking!


Thursday, January 2, 2014

Echo Park Reflections Christmas Santa Tag ~ Fotobella DT

Happy New Year!! I just wanted to share this tag that I made using Echo Park Reflections Christmas Collection Kit for the Fotobella design team.

I cut the tag from black cardstock using my Cricut Expression (Plantin SchoolBook Cartridge) at 6". Then I inked the edges with white ink and added a silver grommet to it for the tassle made from cream embroidery thread and previously dyed muslin that I tore up. I added the brads just how they came in the package with the doily and snowflake behind them.  I stamped Dec 25 along the bottom. My FAVORITE part of this tag is the layered Chipboard Santa, which I inked around the edges! This collection is SO perfect for all of your holiday projects! I love it all, and can't wait to show you what else I've been doing with it!