
I'm back with another flower tutorial to accompany my LO for the August recipe at the Paper Mixing Bowl! The flower was one of my number one sellers when I used to have my Etsy shop a few years ago. I actually have a box full of so many different colored ones, but not in this shade of green. It even looks good without ink, using plain old white cardstock, and a spray of Pearl Glimmer Mist for some shimmer.
But first here's a look at my page.
 I used these photos of my husband and I at Fisherman's Wharf in Monterey, CA, taken by our son. They were perfect for a beachy, lime margarita page. Lol! Here's the recipe.

I used all of the utensils:
*Sanding-I started with a green piece of Core'dinations cardstock, which was literally made for sanding. Then I used a piece of netting that I found on a walk to mask it with ink, before I started sanding.
*Cheesecloth-I dyed mine with some distress reinkers to give it a more worn look.
*Shells-I scattered them throughout the page. I also cut out the star fish with my Cricut (Life's a beach) and applied gesso, ink, and paint to them.
*Postcard/postmark-I found the postcard image on line and printed it to place under my title.
*Something transparent-I used a postage stamp punch on some light green vellum to make part of the title, which is stamped and embossed.
*Torn paper-Don't I always have torn paper?
From the directions I journaled about a day at the beach, and used the inspirational word vacation.

I had a blast making this page, and the best part was no hangover! Now onto the flowers.
Supplies:
white cardstock
Cricut (Storybook cartridge)
glue
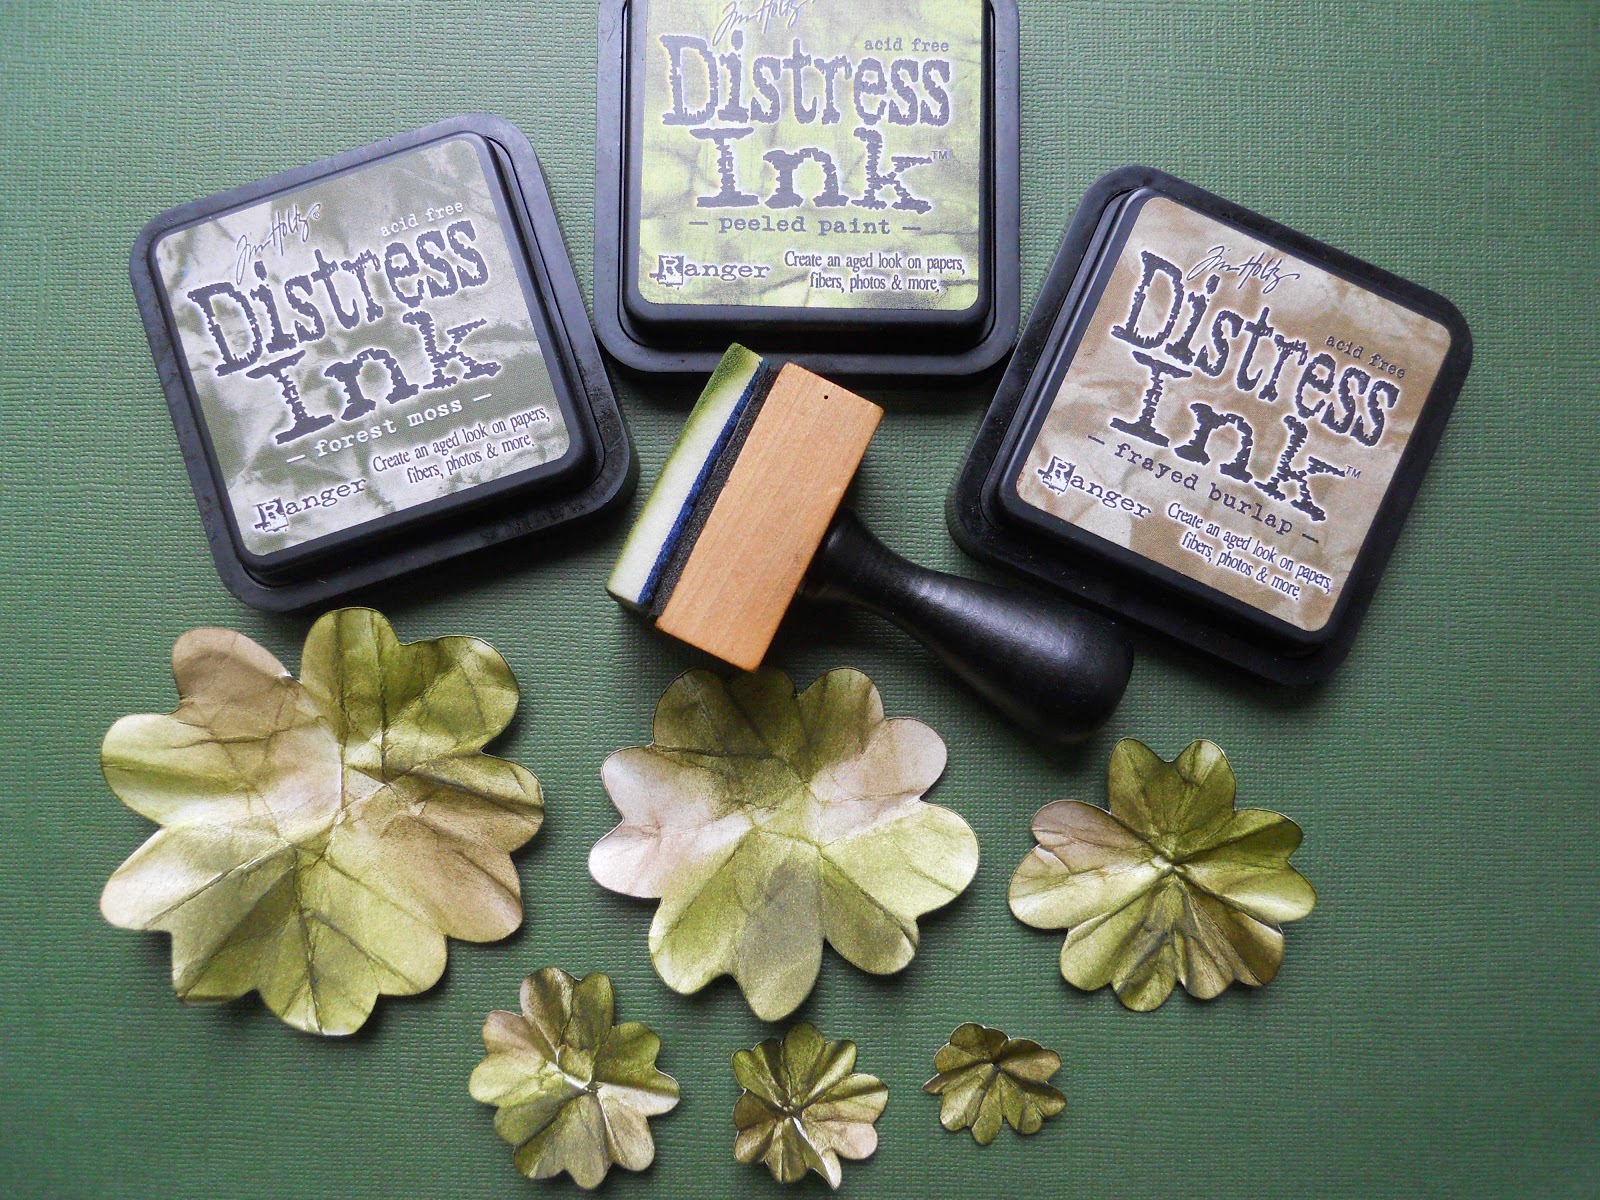
Distress inks (frayed burlap, peeled paint, and forest moss)
blending tool
pearl
Directions:
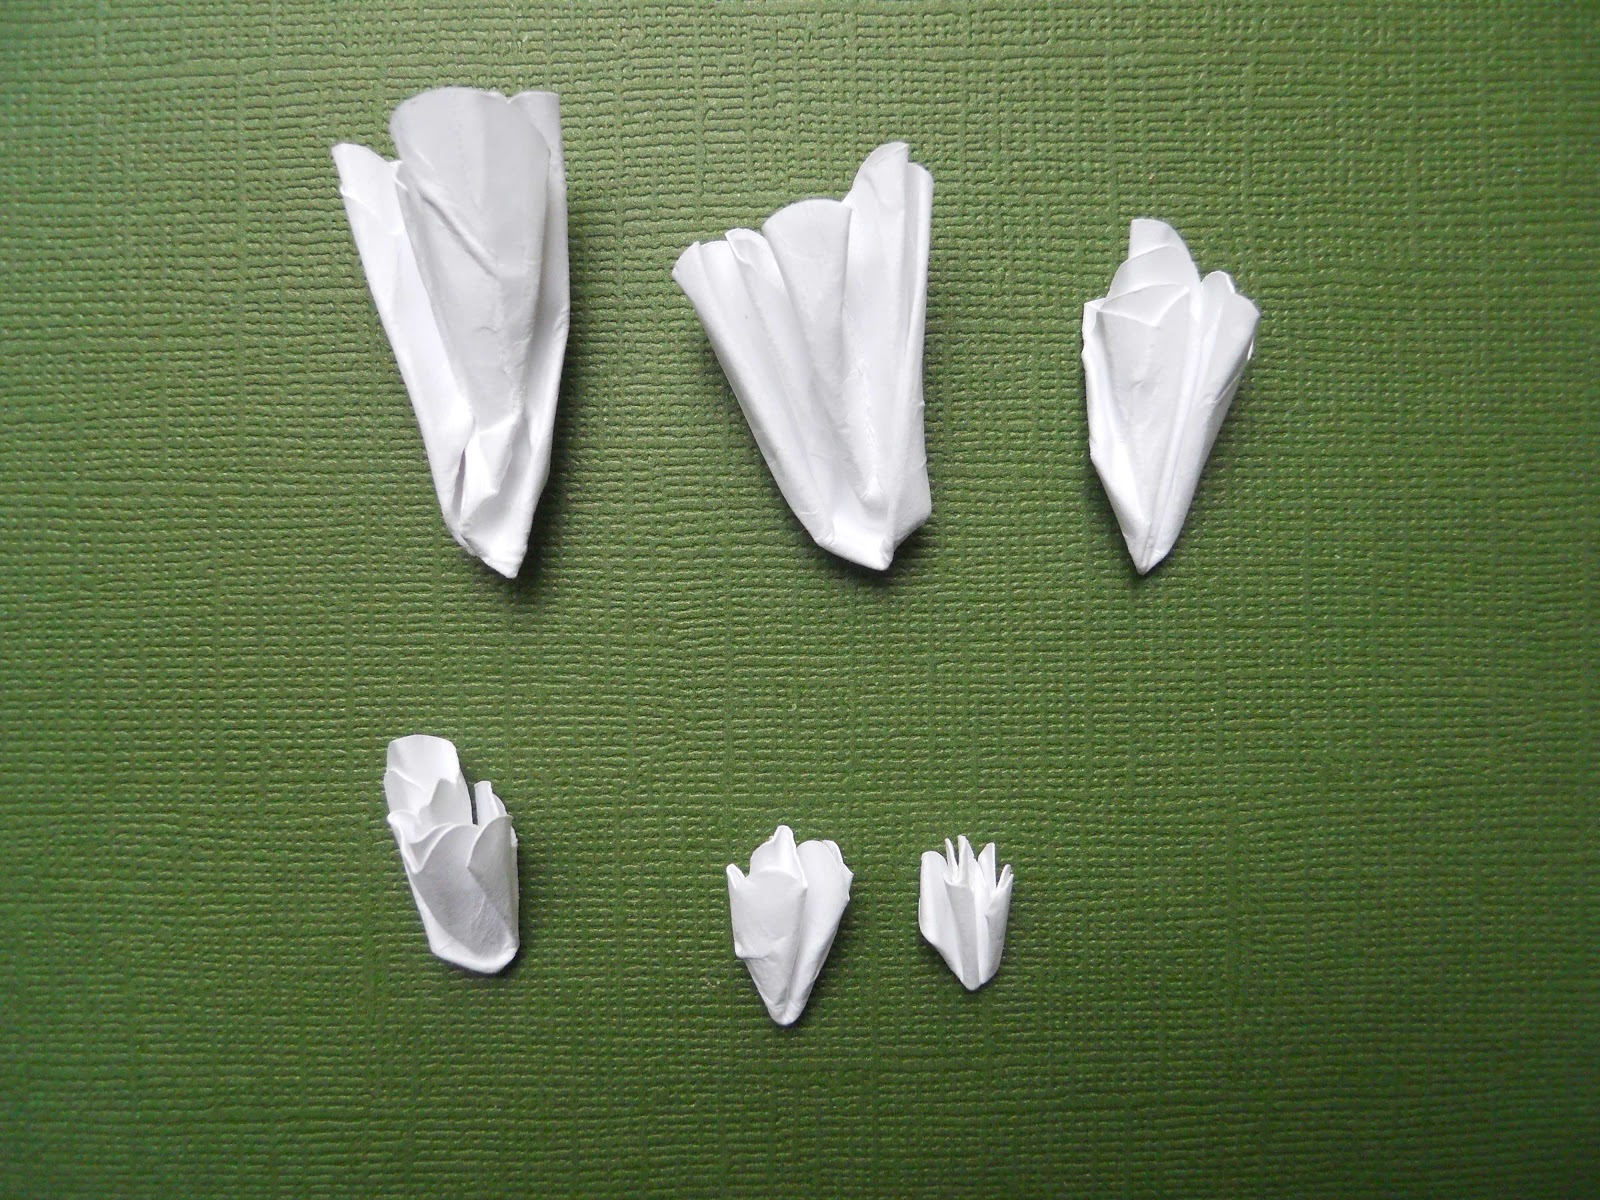
Using your Cricut with the Storybook cartridge, cut your flowers out of white cardstock using the poppy flower, which is the letter A in shift. For the largest flower I cut one at 3", 2 1/2", 2", 1 1/2", 1 1/4", and 1".
 Now crumble them making a point in the center of your flowers.
 Open them up and they should look similar to this.
 Time to get your hands dirty with some ink. Using your blending tool, color your flowers with peeled paint, frayed burlap, and forest moss.
 Use the ink pad to lightly apply forest moss to all your flowers, going over all the lines you created when crumbling.
 Now for the fun part! This never gets old for me. Spray your flowers with water and watch how the water reacts with the inks. Recrumble and dry them with your heat gun, so they look like this.
 Now just layer and glue your flower, starting with the largest flower on bottom. Finish if off with a pearl. It even looks good without.

But first here's a look at my page.


I used all of the utensils:
*Sanding-I started with a green piece of Core'dinations cardstock, which was literally made for sanding. Then I used a piece of netting that I found on a walk to mask it with ink, before I started sanding.
*Cheesecloth-I dyed mine with some distress reinkers to give it a more worn look.
*Shells-I scattered them throughout the page. I also cut out the star fish with my Cricut (Life's a beach) and applied gesso, ink, and paint to them.
*Postcard/postmark-I found the postcard image on line and printed it to place under my title.
*Something transparent-I used a postage stamp punch on some light green vellum to make part of the title, which is stamped and embossed.
*Torn paper-Don't I always have torn paper?
From the directions I journaled about a day at the beach, and used the inspirational word vacation.

I had a blast making this page, and the best part was no hangover! Now onto the flowers.
Supplies:
white cardstock
Cricut (Storybook cartridge)
glue
Distress inks (frayed burlap, peeled paint, and forest moss)
blending tool
pearl
Directions:
Using your Cricut with the Storybook cartridge, cut your flowers out of white cardstock using the poppy flower, which is the letter A in shift. For the largest flower I cut one at 3", 2 1/2", 2", 1 1/2", 1 1/4", and 1".


Andrea that flower looks amazing and you make it look so easy, thanks for sharing.
ReplyDeletebeautiful!!!
ReplyDeleteYou always create the best flowers, lovely page :)
ReplyDeleteBeautiful page. Busy and full of yummies, just how I like them!
ReplyDeleteGreat idea, I never thought of distressing the flowers, thank you
ReplyDelete