Wednesday, May 28, 2014

Carefree

    Even though it's only a half hour away, I really miss living in Truckee, CA, where I was in this photo, on one of my favorite hiking trails overlooking Donner Lake. Due to health issues, I haven't been there since, but I'm hoping to before this Summer. So I guess in a way, it's my inspiration to motivate me to do what I need to get up that mountain again.


    Unfortunately, I missed the deadline for last weeks Mojo Monday @ Flying Unicorn, but used this beautiful sketch by Alda anyway.


    The colors in the photo were just right for the May Four Categories Challenge @ Scrapbook.com, to use magenta and army green, which I just LOVE together! I did the twist of stamping on the ivy leaves, the date on the frame, and the large alcohol ink flowers, with the green pearls in the centers. The rest of the stamping was embossed with white, like the other large pink flower, the chicken wire, and the script and butterfly on the background.


    I made the frame out of  matte board and painted it in three different colors to give it a more distressed look. Then I tore the edges to make another frame from the skewed center of  my Prima Firefly paper. I also used a Prima mask around that frame, spraying it with some Lindy's Stamp Gang Sprays and Glimmer Mist. The title was also masked using the Cargo Stencil from Tim Holtz. It felt really good to use up some of my old Felt Fusion, from Queen & Co. (fall green), which I cut up and lightly inked with Forest Moss Distress Ink! I finished up the page with white machine stitching around my distressed edges.


Thanks for stopping by!


Tuesday, May 27, 2014

Herbs & Honey 2 Pager ~ FotoBella DT

   It's been such a long time since I've done a 2 page LO, but these photos from my little Brother's Birthday party went so well with Basic Grey's Herbs & Honey I want it all bundle from FotoBella, that I had to do one again! Next time I won't wait so long, as I've really missed working on these!


   Between the country charm from the bundle, and this sketch used in the May 2 Page Sketch Challenge @ Scrapbook.com, the inspiration came easily.


   I added some inked cardboard behind the photo of my Brother, which I placed coming out of the Berry Sweet Printed Kraft Bags. I cut the white banner that says Oh Happy Day from the Die Cuts and Transparencies in half, and placed a sticker in between them, where I stuck BIRTH using the Alpha Stickers. Then I covered Oh with the striped Bottlecap Sticker


   I used the leftover flowers from my last Jar of Flowers Tutorial,  around the photo wreath that I made from the Snippets. For the center of the pink flower I added a Mixed Brad, along with the larger ones that I used in the date that I made from the Jumbo Kraft Numbers. I stamped the zigzag on the left and the floral border on the right, coloring the flowers with Prisma Markers. The Rasberries Wood Die Cut and red hand-stitching around the edges was the final touch!


Thanks for looking!

Thursday, May 22, 2014

Inspirational #121 ~ Red Rubber Designs DT

    Today's new challenge @ Red Rubber Inspirationals is More Precious than Pearls, with Inspirational #121. I made this card for my husband, and used pearls on the flower centers and Liquid Pearls to make the heart.


This beautiful sketch #99 from Cardabilities was just the inspiration I was looking for!


    I started by stamping Well Defined Backgrounds onto white tissue paper,and applied it with gesso onto grey cardstock. Then I spritzed it with Pewter Sheer Shimmer Spray. I used Punctuation to stamp the red border using VersaMagic Red Magic Ink. I also used So Splattered, I Heart You, and Pressed Flowers. The sentiment was stamped using A Thousand Thanks, using the dimensional banner technique for the May Card Challenge @ Scrapbook.com. Finally I stamped the flowers with Medallions. Here's a closer look!


Thanks for looking!

Friday, May 16, 2014

Basic Grey's Herbs & Honey ~ FotoBella DT

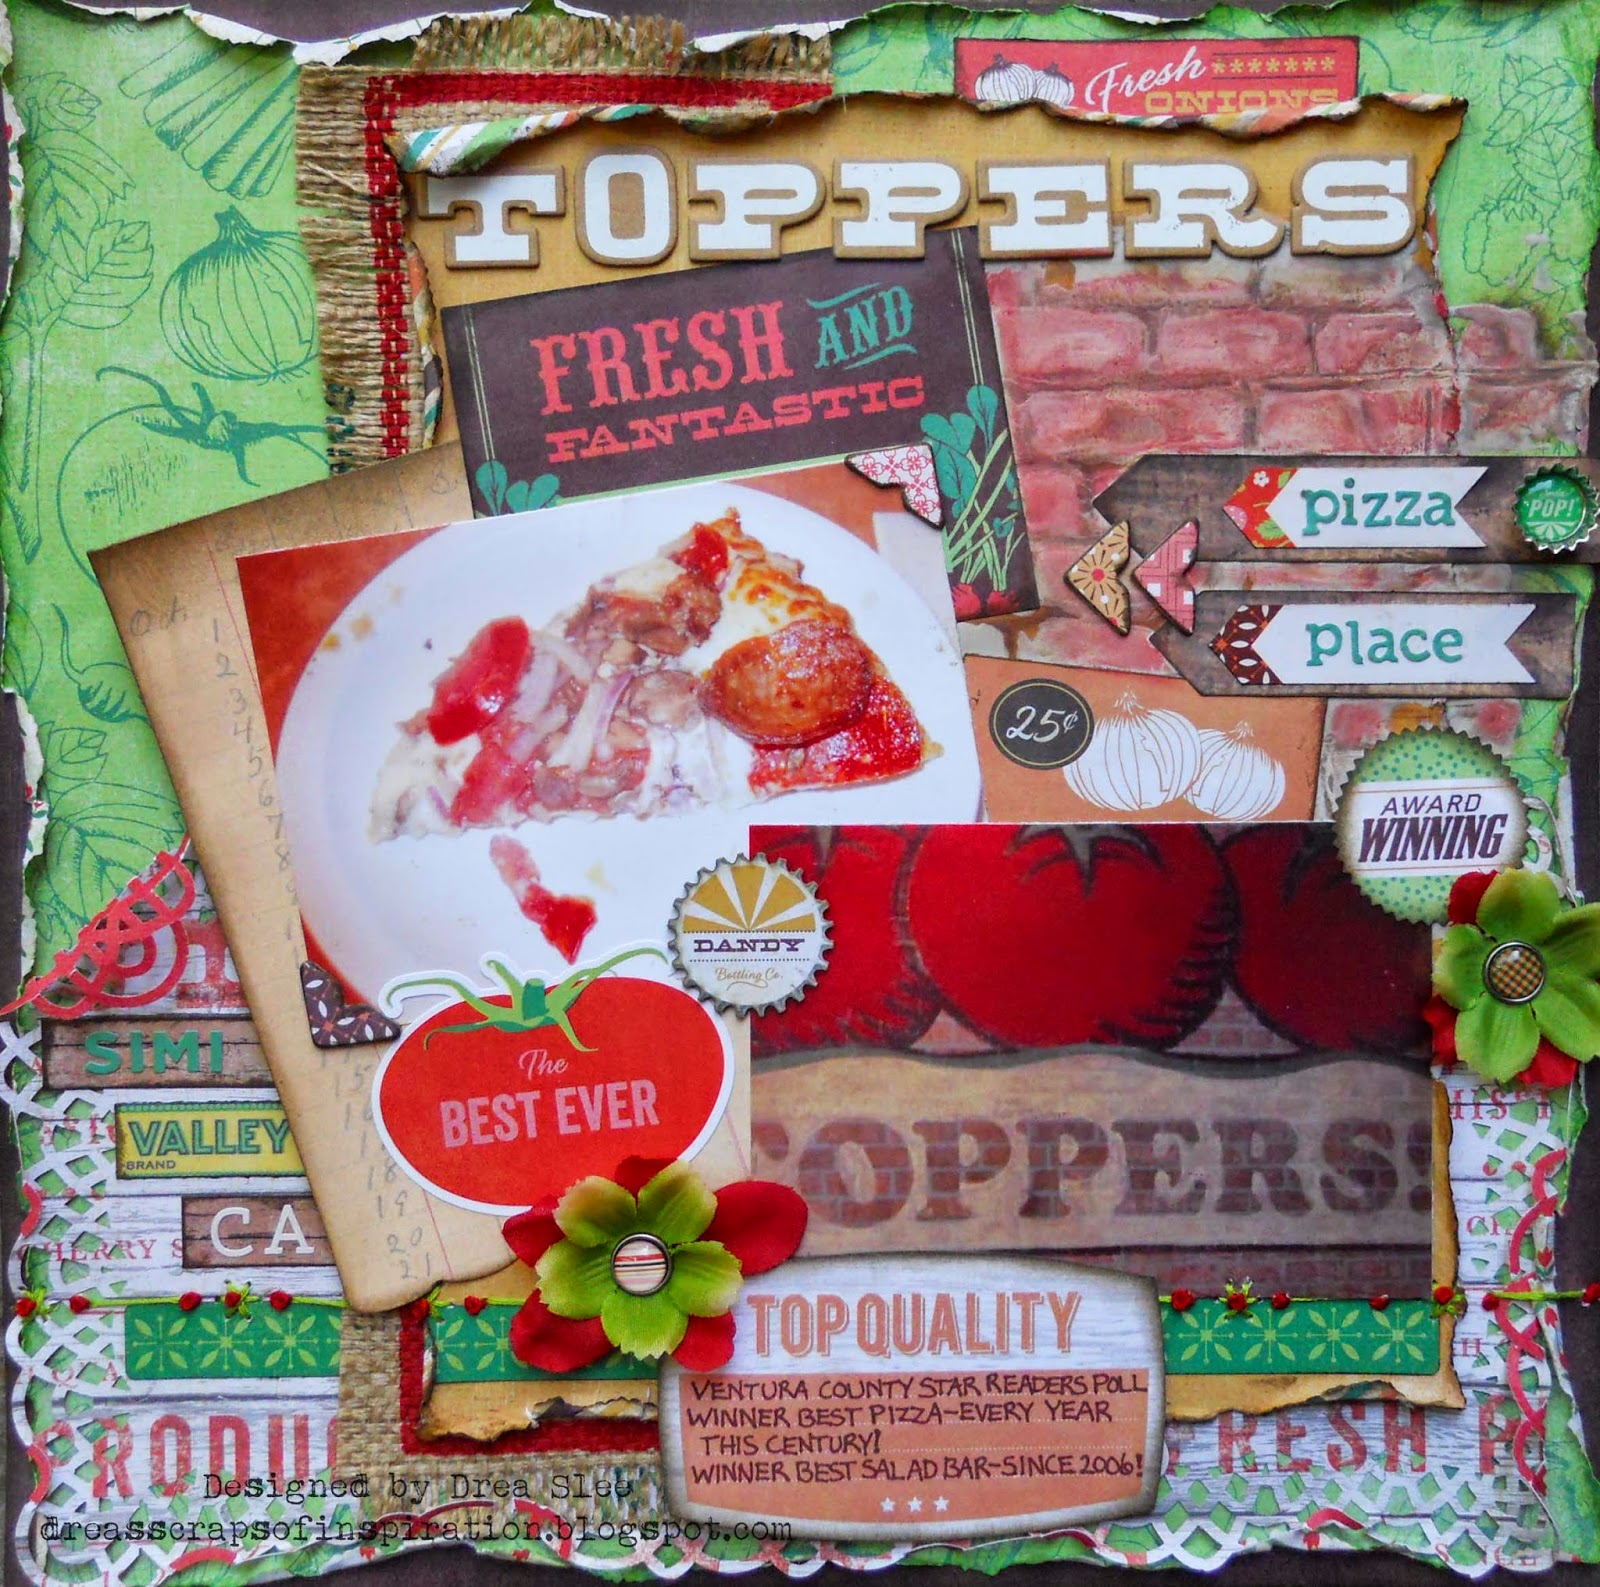
    Basic Grey's Herbs & Honey I want it all bundle from FotoBella is a fun collection of times past! To showcase some of the great vintage food advertisements and embellishments that come in the bundle, I scrapped these photos that my Mom took on a trip back to our hometown of my husbands favorite pizza place. In fact, he wanted me to put this away because it was torturing him just to look at it! Lol!


     The bricks were made with a stencil, gesso, and inks. I used a lot of stickers on here for the May Sticker Challenge @ Scrapbook.com, with the twist of using Alpha Stickers, which there's a whole sheet of in the bundle in six different colors, as well as the waterfall theme pack, which has two different colors. I used chipboard photo corners on the photo of the pizza, and as arrows next to pizza place, for category one of the May Four Categories Challenge, also @ Scrapbook.com. My favorite piece on here is the little green soda pop,  Bottlecap Sticker!


     The flowers are from my own stash, and I just added some brads to them. I also had to add the burlap, that came from an old feed bag that I got from my Mom a few years ago. I hand-stitched the border on the bottom using red french knots, which is the twist this month for the Sewing Challenge that I host, to represent tomatoes.


Thanks for looking!


Thursday, May 15, 2014

Inspirational #120 ~ May Flowers Red Rubber Designs DT

     Your's truly is hosting again this week with Inspirational #120 for Red Rubber Inspirationals. May flowers is the theme and all you have to do is stamp a flower. Here's the sample card that I made.


     I started with some white cardstock, Distress Inks, and water, to make the background using Designer Diamonds. I tore and distressed the outer edges and around the diamond in the middle, stamping my flowers coming out from there using Place in my Heart stamp set with Palette Inks (Orangerie, Bordeaux, Sunflower, Landscape, and Chartreuse).


  I used the same colors, minus the greens, to stamp the border of diamond frames going across using Victorian Embellishments. I added some ribbons, hand-stitching in two different colors, and stamped happy birthday using Celebrate Tags.


     All of the colors were inspired by the May Card Challenge @ Scrapbook.com to use this color palette. I stuck to it pretty closely, other than the green.


Thanks for stopping by!


Sunday, May 11, 2014

Herbs & Honey Jar of Flowers Tutorial ~ FotoBella DT

   Happy Mother's Day to all you Mother's out there!! I instantly thought of my own Mom when I first saw Basic Grey's Herbs & Honey I want it all bundle from FotoBella, so I made her this card with a jar full of flowers that she can keep forever.


   I started with the back of the radish paper that's full of flowers. 


Fussy cut however many flowers that you want to use. I made a few too many, but saved them for another project.


Quickly dip your flowers in water and curl your petals up. You can wait for them to dry or give them a blast with a heat gun. 


Take the jar that comes in the Diecuts and Transparencies and place it where you want on your project. Don't glue it down yet, but trace around it using a pencil. I used a mixture of Alcohol Inks (Stream and Lettuce) with Alcohol Blending Solution, which lightens the colors, on the back of the jar to create water.


Now add some stems with a pencil inside your drawn jar. I hand-stitched mine with green embroidery thread, but if sewing isn't your thing, you could always use a green marker.


Now attach your flowers to the stems, and glue your jar down over them using Glossy Accents, which will dry clear.


The Seeds of Love packet, which comes in the Printed Kraft Bags, is the perfect size to add some cash or a gift card! Perfect for any Mother! Thanks for looking and enjoy your day!


Sunday, May 4, 2014

Misted Mother's Day Flower Tutorial ~ Inspirational #118

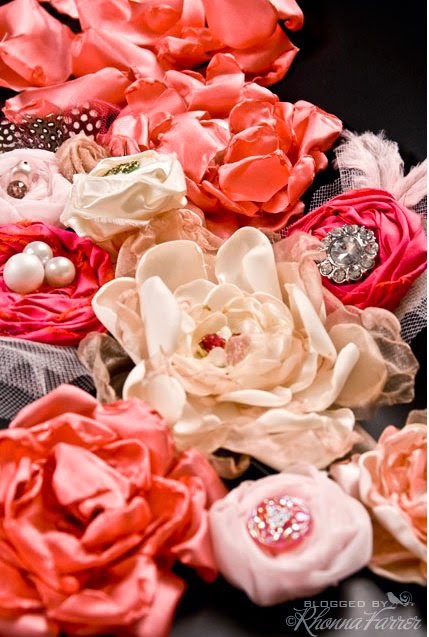
   I had so much fun playing with my mists and sprays on my last Easter Flower Tutorial, that I did another version using the Serenade Cartridge for the Cricut Expression, on this card that I made  for my Mother-in-law! We're celebrating Mom's this week at Red Rubber Inspirationals, with Inspirational #118, hosted by Kendra, to make a Mother's Day card with a sentiment of Mom, Mother, or Mother's Day stamped on it. Be sure to check out the beautiful creations the Inspiration Team came up with.


   I started with some white cardstock and Distress Inks. Then I used water directly on my Well Defined Backgrounds stamp. You can't tell that's it text but it left a cool design. I did the same thing with my Aged Ornaments stamp on the top right, then used Belle Rose Palette Ink, and stamped it on the right side, slightly overlapping the water stamp. Then I added the cameo, which were clip on earrings, that once belonged to my Mother-in-law's Mom. I was so lucky to inherit a lot of her old jewelry, among other things! Using the same pink ink, I stamped the row on the bottom right with Fanciful Vintage stamps. I stamped HAPPY on the orange ribbon using Sophisticated Sentiments,  and Orangerie Palette Ink. Mother's Day was stamped with Belle Rose using Contemporary Greetings, all from Red Rubber Designs.


   I took my inspiration from this photo used for the May Card Challenge @ Scrapbook.com. I just LOVE these colors!!


   This is also my take on  Cardabilities, sketch #98.


To make the flowers cut flower #2 on the Serenade Cricut cartridge out of white cardstock. 
2 at 1 1/2"
1 at 1 1/4
1 at 1"
1 at 3/4


   Then mist your flowers in one to three different colors of mists or sprays. More than three might come out a little muddy.For this demonstration I made the light orange flower on the right side of the large cream Prima flower, by using Lindy's Stamp Gang sprays (Hog's Wart Orange and Clam Bake Beige). Crumple and open, leaving the smallest one slightly closed for your center bud. 


As usual, layer and glue your flower together, starting with the two larger flowers on bottom, and finishing with the smallest in the center. Here's a closer look.


Thanks for looking! I hope you enjoyed the weekend!