Thursday, March 26, 2015

Inspirational #213 ~ Have a Seat

      It's time for some new inspiration with Inspirational #213 (Have a Seat), hosted by Melissa, my newest team member at Red Rubber Inspirationals! Since I didn't have a chair stamp, I decided to stamp on a chair that I made with my Cricut Expression using the Summer in Paris cartridge.


     The chair and cushions were made from cream, textured, cardstock and colored with several sprays. Then I embossed the gold back, using magenta embossing powder and the Victorian Embellishments stamp for the pattern on the cushions.  To make the mirror, I used  Fabulous Frames with some more gold embossing powder, and cut out the rectangle in the middle. I used a few layers of inks around the gold and backed it with a pink, metallic, specialty paper. I did some punching and distressing, stamping the stitching with Running Stitches. To the pink background I did some more spraying and inking,  stamping the Victorian Vines Background on top with Violete Palette Ink, all from Red Rubber Designs. Behind the chair I used a couple of sheer ribbons, and clustered the embellies to the right. I added some beads to the centers of the flowers, and for a true vintage feel, some old buttons that I inherited from my grandma.


I hope you'll join in all the fun this week, and can't wait to see your creations!


Thursday, March 19, 2015

Inspirational #212 ~ Green With Envy

     Come and join me this week @ Red Rubber Inspirationals, where I'm hosting this week's stamping challenge with Inspirational #212! Green with envy is the theme, so make any creation with green as the main color, and upload by March 25th. Here's the birthday card that I made for my dad, and my example for this challenge.


     I started by stamping the large image (Charming Forest) onto some cream cardstock with a linen texture, and then colored it with watercolors. It's been YEARS since I've used watercolors, and it was so much fun! I'll definitely be using them again soon, as I also used them to color the moose and deer, using the Majestic Mountain stamp set, and for the trees, using the Mountain Scenery stamp set, from Red Rubber Designs. The grass was embossed, and then I machine-stitched under it, along with the border of the large image. All of the edges of my stamping are distressed, which is the twist for the other stamping challenge that I host here.  To the background I applied some gesso, mists, and cheesecloth, finishing off my card with the wood button, that once belonged to my late great grandmother.


Thanks for your visit! Have a wonderful day!


Friday, March 13, 2015

MME Hello World Masking Technique ~ FotoBella DT

     I have a quick and easy masking technique to show you, using the new My Mind's Eye Hello World I Want It All Bundle from FotoBella! I used some older vacation photos for this layout that I created.


     I started this page by pulling out some of the papers from the 12 x 12 Paper Bundle. I really struggled with the title, until I saw the Let's Go Adventure Journal Card. So I cut off Go and adhered Let's onto red cardstock. To spell EAT I used the Travel Stickers, matting them onto another journal card. Those Journal Cards sure came in handy, as I also used them under the phone booth pic, and for my journaling. You'll also need them to do this masking technique, along with some Distress Inks, and artist's tape.


     Find the yellow Journal Card with the chevrons and punch them out, putting a strip of Artist's Tape across the middle, covering the top of where the chevrons meet. Color in the bottom of the chevrons using a blending tool and Distress Ink (Faded Jeans). I added an extra chevron to my project by simply moving the stencil to the left, and matching up the pattern again.


     Take off your tape and cover up the bottom chevrons, using Distress Ink (Broken China) on top,


Here's the final result, which I think gives a lot more dimension, and so easy to do!


     Since the little double decker bus, that I got from the Travel Mixed Bag, was transparent, I used it on part of my chevrons. I also got the chipboard compass and London tag from there, crossing out the date on the tag, and adding my own. I added the camera from the Chipboard Elements, some Decorative Brads, and some Wood Veneer pieces, which I just LOVE!!


So pick up your bundle and try this quick and easy technique!


Friday, March 6, 2015

MME Hello World 2 Pager ~ FotoBella DT

     These photos that my mom took from the plane, on a flight from Reno to L.A., were just right for the new My Mind's Eye Hello World I Want It All Bundle from FotoBella!


     I started by cutting along the zigzag pattern from two of the papers that come in the 12 x 12 Paper Bundle, and distressed the edges with my Tim Holtz Paper Distresser. Then I added some hand-stitching along the edges. I also distressed the fussy-cut flowers, adding them along the bottom. I used a red Sharpie to write on the clear tag that I got from the Travel Mixed Bag, which has a great mix of embellies. I just added some rope and fibers to it.


     The round embellies come from the All Aboard Flair, and the luggage and "take me with you" arrow from the Chipboard Elements. The arrow in the title is from the Discovery Sticky Notes, and I used Chipped Sapphire Distress Ink around the edges, adding the square alphas from the Travel Stickers. The little blue plane is a sticker that comes in the Beauty Enamel Shapes, and the chevron coming from the arrow, and the arrows on the left page, are Beauty Rubons.


Thanks for stopping by!


Tuesday, March 3, 2015

MME Hello World Card Tutorial ~ FotoBella DT

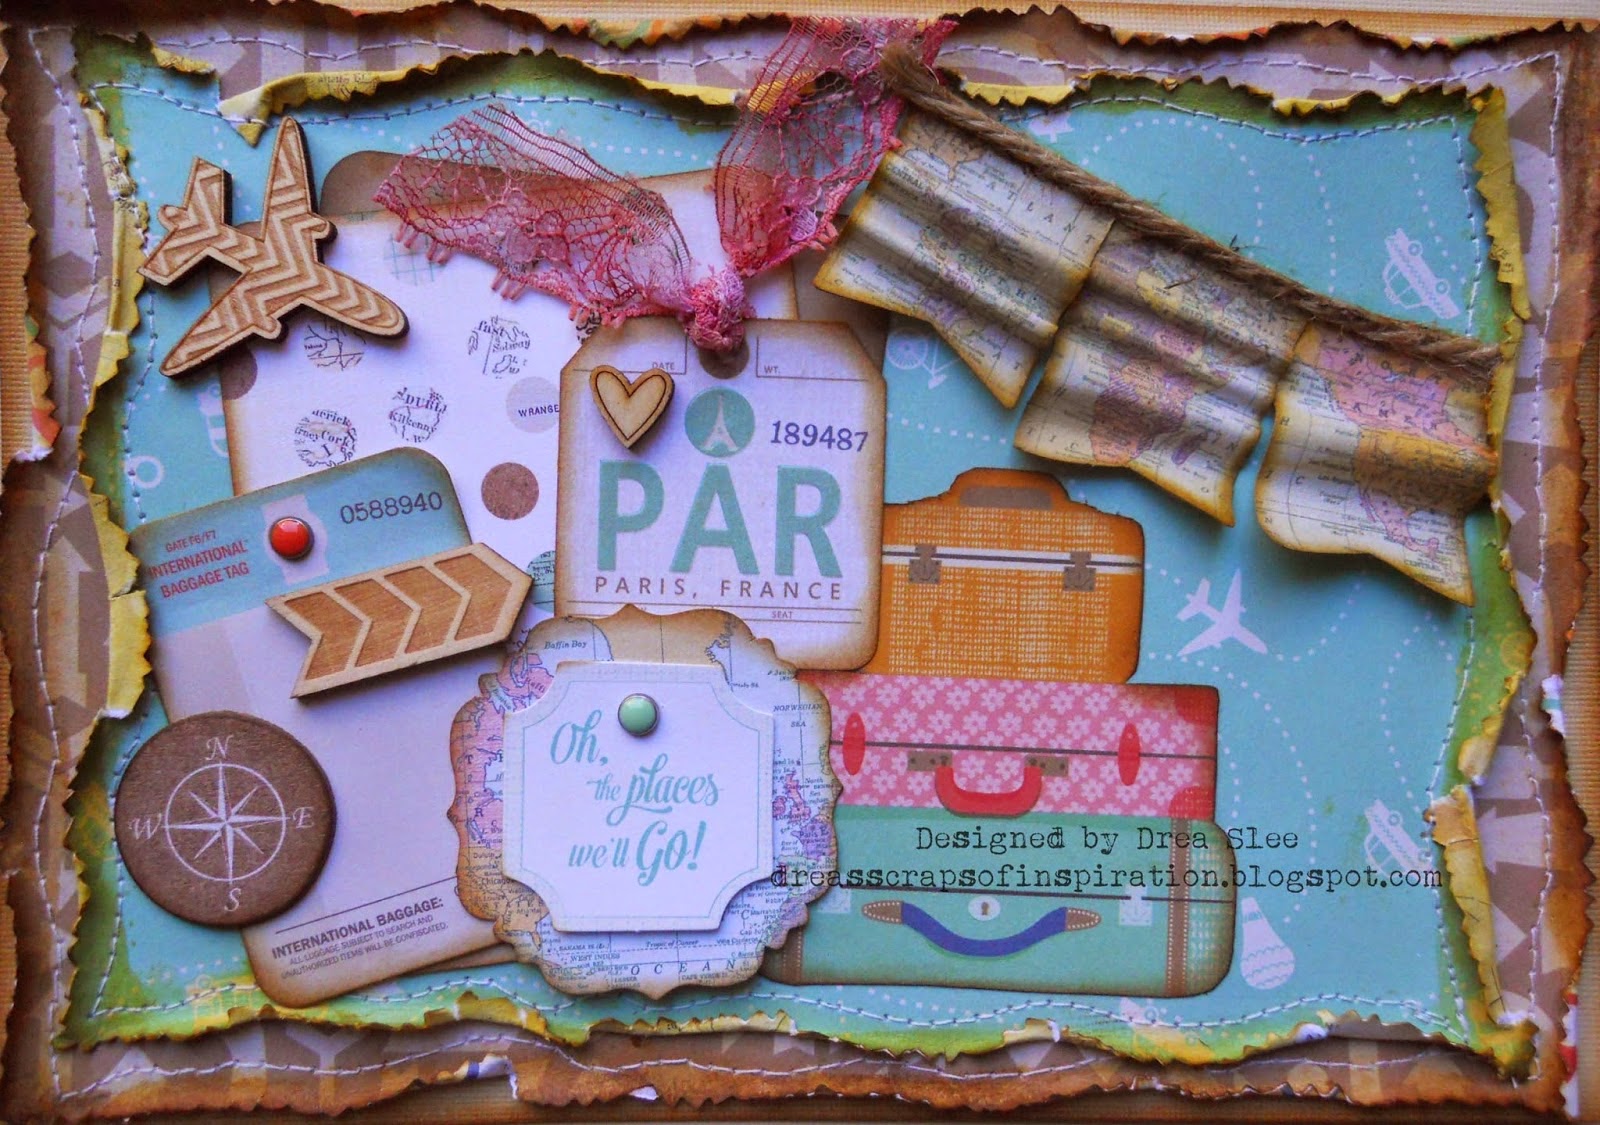
     The new My Mind's Eye Hello World I Want It All Bundle from FotoBella is so fun, and full of lots of great travel papers and embellies! Here's a card that I made using some of these goodies.


     It has lots of layers and distressing, and detailed instructions and photos can be found on the FotoBella Blog. There's also a toothpick technique that I used to make the banner, so be sure to check it out! Have a great day!