Friday, June 16, 2017

Stamperia "Around the World" Layout ~ FotoBella DT

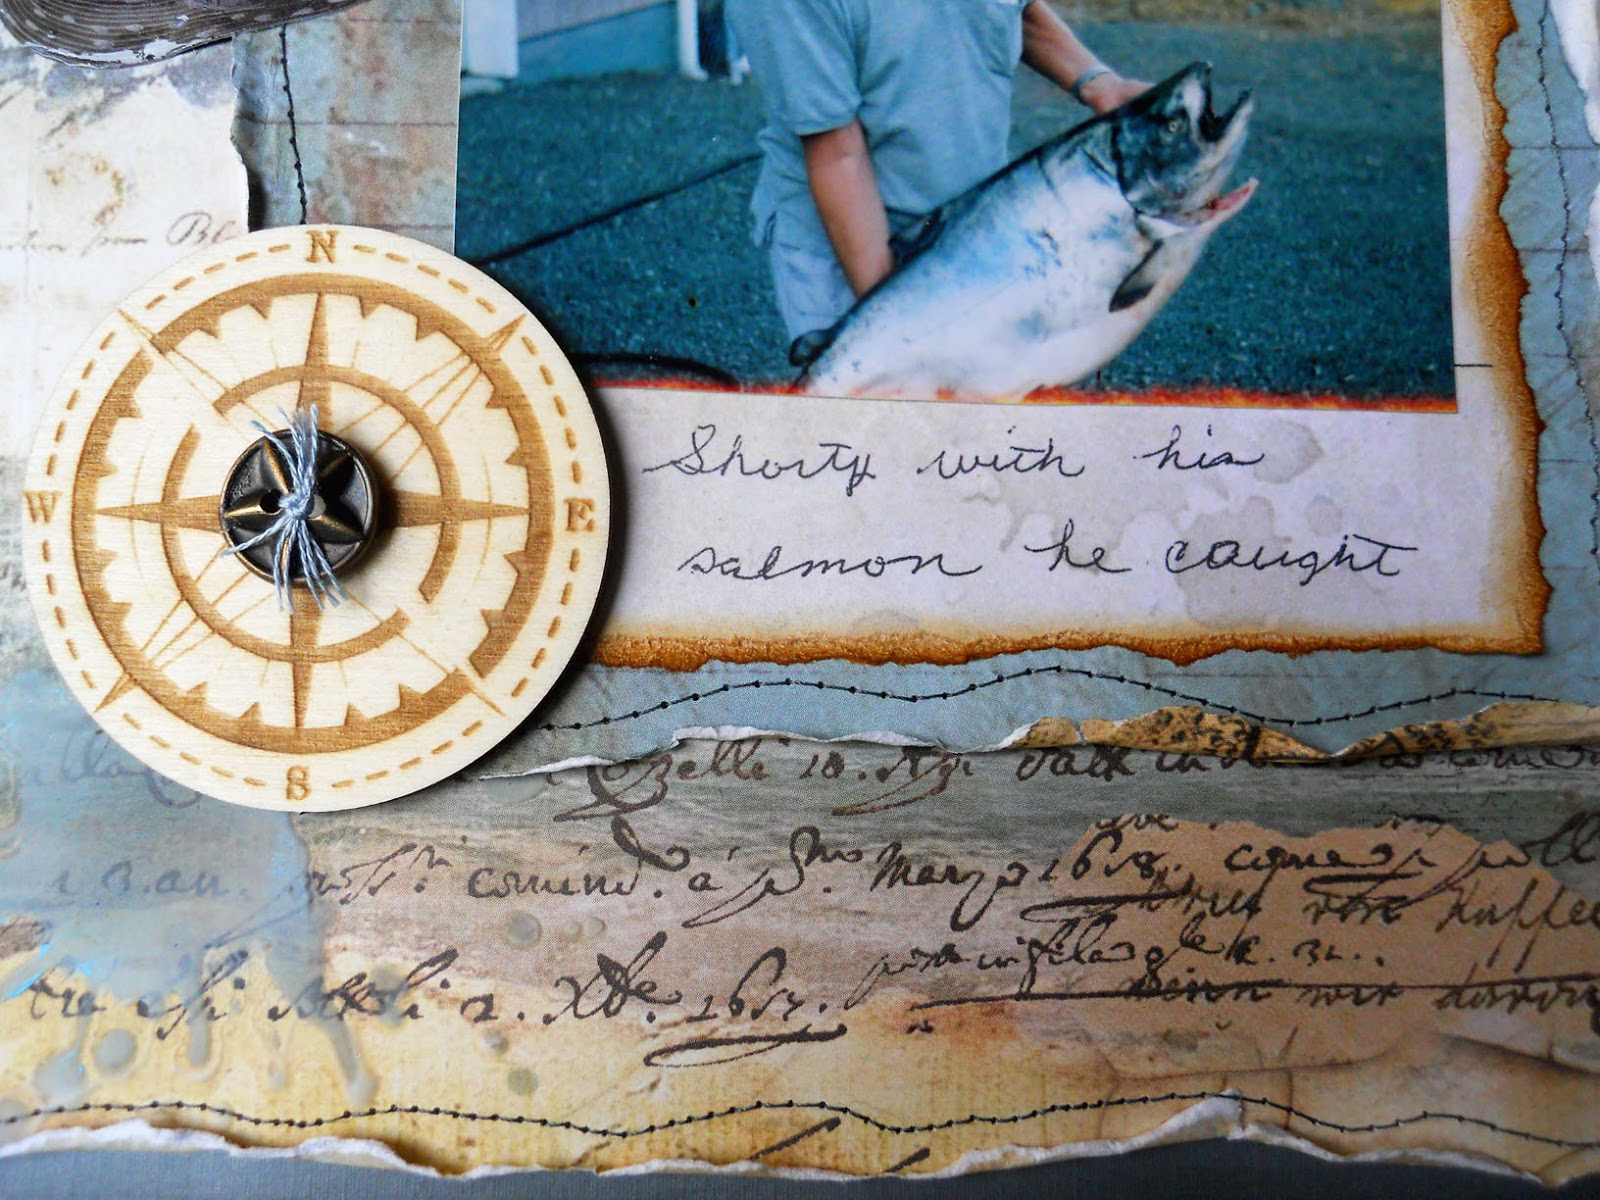
     Happy Friday! I'm back with another layout featuring this great photo of my late grandpa, and Stamperia's Around the World collection from FotoBella.com.


     These awesome papers were just screaming to be torn and distressed! Then I added some splashes with the Tim Holtz Splatters Stencil. For the first layer, I used Weathered Wood Distress Ink applied with my Blending Tool. Next came a coat of Prima Marketing's Clear Gesso for some dimension. And once that dried, I used my finger to smudge a little Tumbled Glass Distress Crayon from Set #5 without the stencil.


     The fish on top was fussy-cut, and inked around the edges with Hickory Smoke Distress Ink, which I also used around half of the paper behind the photo. Then I gave it a coat of Ranger's Glossy Accents for that fresh out of the water look, and popped it up with some foam tape.


      Not wanting to hide the whale with my paper layers, I used an X-acto knife to cut him in half, and also gave him a coat of Glossy Accents.


     I wish I knew the story behind this photo, but was able to preserve my late grandma's handwriting on the back of the photo by printing it onto a torn piece of the cream paper colored along the bottom and right edges with Vintage Photo Distress Ink. I love how closely it resembles the script in the background! I also added one of her buttons to the center of the Wooden Embellishment.


     Thanks for your visit and have a wonderful Father's Day Weekend!


Monday, June 12, 2017

Stamperia "Around the World" Getting Around Layout ~ FotoBella DT

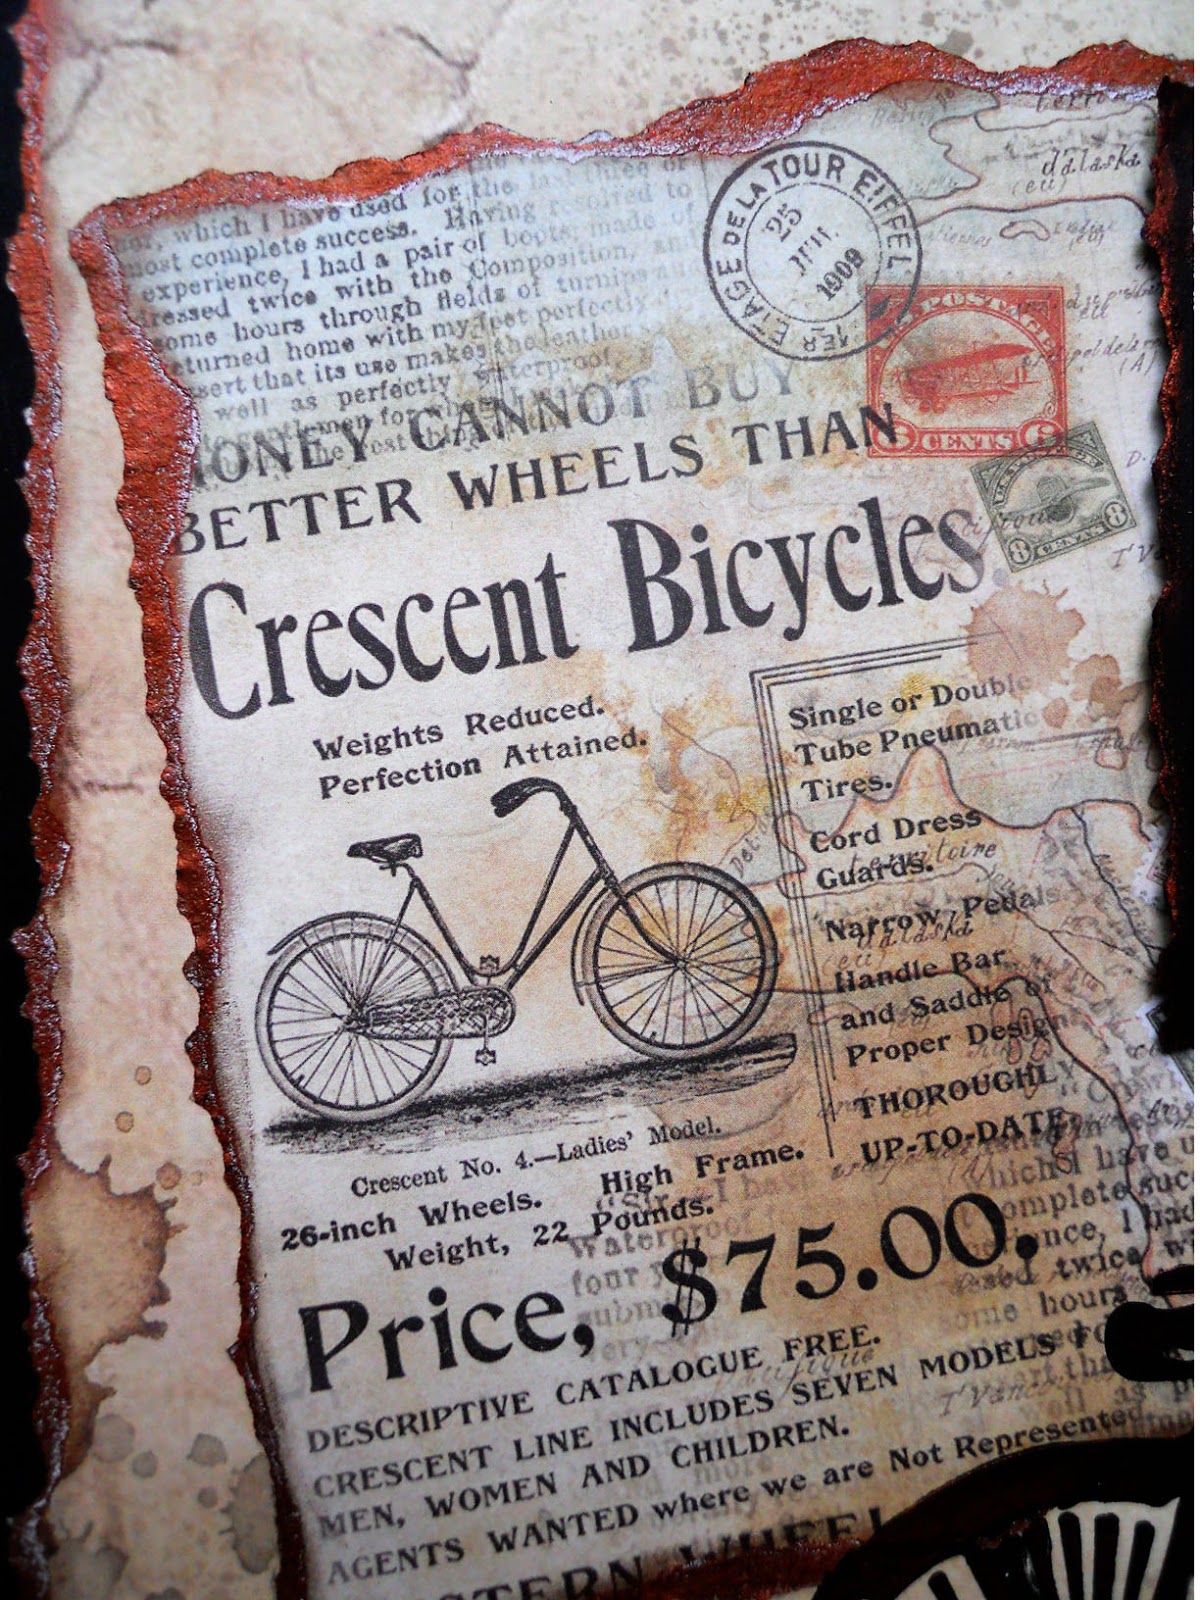
     As soon as I saw Stamperia's Around the World collection from FotoBella.com, I instantly knew I was going to scrap this old family photo that dates back to 1915. Not only does the background paper match the color and texture of the bricks in the photo, but even the style of bikes match perfectly.


     Other than the postcard that I cut right below the photo, inking the edges with Walnut Stain Distress Ink, the rest of the papers from the 12 X 12 Paper Pad were torn, including the black cardstock matting the photo. Then I used my finger to apply Prima Marketing's Metallique Wax (Rich Copper) to the edges.


     I also used the Wax the cover the black alpha stickers that I had stashed away for YEARS now, in my title and for the date, machine stitching the zigzag underneath.


     And finally, I used the Wax over Prima Marketing's Heavy Black Gesso that I applied to the Bicycle Stencil.


     Thanks for looking, and stop by FotoBella.com for these supplies and more!


Sunday, June 11, 2017

Everyday Eclectic Card ~ Red Rubber Designs DT

     It's always a great idea to have an extra card on hand that can be used for almost any occasion! So I left out the sentiment on this card with a focus on color and heat embossing, featuring the Everyday Eclectic and Here I am Unmounted Stamps from Red Rubber Designs.


      The ombre background was made with Dirty Martini, Fresh Lime, and Lemon Zest Dylusions Paints, using Ranger's Mini Round Blending Tool. Then I used black ink with the Here I am stamp, and added clear embossing powder to it. 


     The pears were done in the same way, using the Everyday Eclectic stamp, and colored with Distress Inks. Then I finished the edges with distressing and machine stitching over a strip of sheer ribbon.


    Thanks for stopping by, and check out the new and improved Red Rubber Designs store now open for business!

*******************************************


Challenges:


Thursday, June 8, 2017

Everyday Eclectic Card Sneak Peek ~ Red Rubber Designs DT

      The Red Rubber Designs store is now open again, and looking better than ever! With larger images, it's much easier to see and navigate. So go check it out, and then go to the Red Rubber Designs Blog to see the full card that I made for almost any occasion. I used the Everyday Eclectic and Here I am stamps to create it.


     Thanks for looking!

*****************************************
Featured Red Rubber Designs Stamps:

Everyday Eclectic 
Here I am

Monday, June 5, 2017

Stamperia Around the World Art Journal ~ FotoBella DT

     If you like travel and anything vintage, like I do, then you're going to LOVE Stamperia's Around the World Collection from FotoBella!  I did a page in my art journal using the 12 X 12 Paper Pad, Bicycle Stencil, and Geography Stamp with a step-by-step tutorial on the FotoBella Blog.


     The quote from the stencil was perfect for this page!


And here's a close-up of the stamping, colored with Distress Crayons.


Thanks for stopping by, and go to the FotoBella Blog for the tutorial.

Challenges:


Monday, May 29, 2017

Bo Bunny Aryia's Garden Classic Beauty Layout ~ FotoBella DT

     Happy Memorial Day! Thank you to all of you who are serving or have served our United States of America! My late grandma was no war hero, but was a hero to our family, so I scrapped this vintage photo of her to go with Bo Bunny's Aryia's Garden Collection Bundle from FotoBella.


     I started by choosing some of the white and grey papers from the 12 X 12 Collection Pack, and the orange and floral papers from the Ephemera. To match the tag, made previously for the Aryia's Garden Tag Set Tutorial, I rounded some corners with a punch, and finished some of the edges with Bo Bunny's White Gesso and machine stitching. Then I placed the Bo Bunny Harvest Orange Zinnia Flower in between the photo and tag to draw the eye towards the photo with the bright color. The white rose behind it comes in the Noteworthy.


     For the title, I cut "Classic" out of black cardstock with my Cricut Expression, and coated it with Copper Stickles to match the Double Dot Citrus Brads used on the banner from the stickers.


     Above the banner I hand-stitched some orange and white twine. The edges of the orange paper matting the photo were rubbed with Prima Marketing's Metallique Wax (Vintage Gold).


     The fun part was making this shaker window from the Chipboard, filled with Prima Marketing's Mica Flakes (Frosted).


     Thanks for stopping by, and shop FotoBella.com to get these supplies and more!


Wednesday, May 24, 2017

Spring Bird Art Journal Page ~ FotoBella DT

     Hello! Today I'm sharing my latest art journal page using Dyan Reaveley's Dylusions Paints from FotoBella.com. These paints are so creamy and vibrant in color, unlike any I've ever used before, and I highly recommend them!


     For this page I used my fingers and Ranger's Mini Ink Blending Tool to apply Bubblegum Pink, Funky Fuchsia, Black Marble, and White Linen to some of my stencils. Tim Holtz' Blossom Stencil along the left, was layered a couple of times with the pinks, and the dots with White Linen using Prima Marketing's Salvage District Clocks Stencil. In the middle of it all, is this adorable clip art bird that I printed onto white cardstock and cut out.


     On the top left and bottom right corners, I applied Prima Marketing's Heavy White Gesso and Heavy Black Gesso to Tim Holtz' ZigZag Stencil for some texture.


     Then I used some old stamps to emboss the title and the chicken wire on the bottom left.


     Thanks for your visit, and shop FotoBella to get your own Dylusion's Paints that are sold individually or in sets.


Challenges:


Monday, May 15, 2017

Bo Bunny Aryia's Garden Joy Layout ~ FotoBella DT

     Happy Monday! I hope you had a great Mother's Day weekend! My gift to my wonderful Mother-in-law was this layout made with love using Bo Bunny's Aryia's Garden I Want It All! 12 X 12 Collection Bundle with Coordinating Double Dot Paper Bundle from Fotobella.com., displayed in a shadow box that my dad made. I wish I had taken a photo of it, but here's the page that's inside.


     The first step was giving the "Delightful" paper a few spritzes of Worn Lipstick Distress Spray Stain. Then I cut 1/8" from the edges, rounded the bottom corners with a punch, and finished the edges with Bo Bunny's White Gesso. Once dry, I machine stitched it to the "Bashful" Double Dot paper after cutting the roses in the corner with an X-acto Knife, where I tucked the wood "Poetry" paper colored with Brushed Corduroy and Walnut Stain Distress Inks.


     The tag was made previously with my Aryia's Garden Tag Set Tutorial, but I deepened the color of the Lace Laser Cut Chipboard Tag with Distress Crayons, using Picked Raspberry and Spiced Marmalade from Set #1, and Festive Berries from Set #2.


     I used Worn Lipstick Distress Spray Stain again with Bubble Gum Pink Dylusions Spray to color the Petaloo Mixed Textured Blossoms that I had in my own stash. Then I clustered the Chipboard rose, the Bo Bunny Harvest Orange Zinnia flower, and the Layered Chipboard banner topped with a Double Dot Citrus Brad.


     Besides spelling JOY on the tag, the Clear Stickers were also used as a border. 


     I topped it all off with this beautiful strip of shiny vellum!


     Thanks for your visit! To get this gorgeous collection visit FotoBella.com.


Wednesday, May 10, 2017

Bo Bunny Aryia's Garden 2 Pager ~ FotoBella DT

    The beautiful florals and colors in Bo Bunny's Aryia's Garden I Want It All! 12 X 12 Collection Bundle from FotoBella.com was worth waiting to scrap these photos of my mom for! I love how the papers in the 12 X 12 Collection Pack compliment her "flower bed", especially the "Iron" paper, fussy-cut along the floral border!


     At the end of the border, I placed this adorable Chipboard wheelbarrow full of roses. 


     The edges of the fence "Poetry" paper were inked with Brushed Corduroy and Gathered Twigs Distress Inks, where I added the date onto the Noteworthy banner.


     To the front of the HAPPY tag, made previously with a tutorial from my Aryia's Garden Tag Set, I placed the glittery Bo Bunny Harvest Orange Zinnia, which inspired the drops of Sprinkled Sugar Stickles that I added to the Noteworthy roses, peeking out behind the tag.   


     From the "Notes" paper, I cut my journaling card, rounding the top corners with a punch. Then I used a bigger punch to round the top corners of the "Iron" paper, finishing the edges with Bo Bunny's White Gesso and machine-stitching.


     To the ends of the Sticker banner, I placed White Gesso covered buttons from the Ephemera, in between hand-stitched twine. I also used paper from the Ephemera to cut the title with my Cricut Expression, finishing the edges with Aged Mahogany Distress Ink. 


     Thanks for looking, and grab the gorgeous Bo Bunny Aryia's Garden I Want It All! 12 X 12 Collection Bundle at Fotobella.com!


Saturday, May 6, 2017

NSD Recycled Copper Containers ~ FotoBella DT

     Happy National Scrapbook Day! This year, as part of the FotoBella Design Team, we decided to recycle, which is near and dear to my heart! So I had my supplies on my scrap table intending to cover a shoebox, when I went in the kitchen to get my coffee, and got this idea instead. As I was patiently (lol) waiting for my coffee, and staring at this espresso box, I figured it was just the right size to hold my brushes/pens, and other mixed media supplies, yet still big enough to showcase this old roll of embossed wallpaper that I've had. I'm so pleased with the results, and it was fairly quick and easy to make!


Supplies:

Coffee or K-kup containers
Embossed wallpaper (any kind of embossed paper will work)
Black Paint
Glue 
Krylon Matte Finish

Directions:

1. Cut lid from coffee box. These boxes are 1/2" apart in height, with the smallest one measuring 4 1/8" X 4 1/8", and the largest 4 1/8" X 5 1/8". 


2. Cut smaller side of lid, which will be the top of your divider, so your pens and brushes don't flop around, and for more stability. Run glue along bottom and sides, and adhere to the center of box.


3. Paint divider and inside of box with black paint. Cover outside of box with embossed paper, and paint black.


4. Now for the fun part! Use your fingers to apply Prima's Metallique Wax (Vintage Gold) all over the embossed paper, leaving spots of black in the background. Then go over it with Prima's Metallique Wax (Rich Copper), and seal with some clear matte spray. 


I hope you'll give this a try, using Prima's new Metallique Waxes from FotoBella! To see what the rest of the Design Team recycled, please visit the FotoBella Blog.