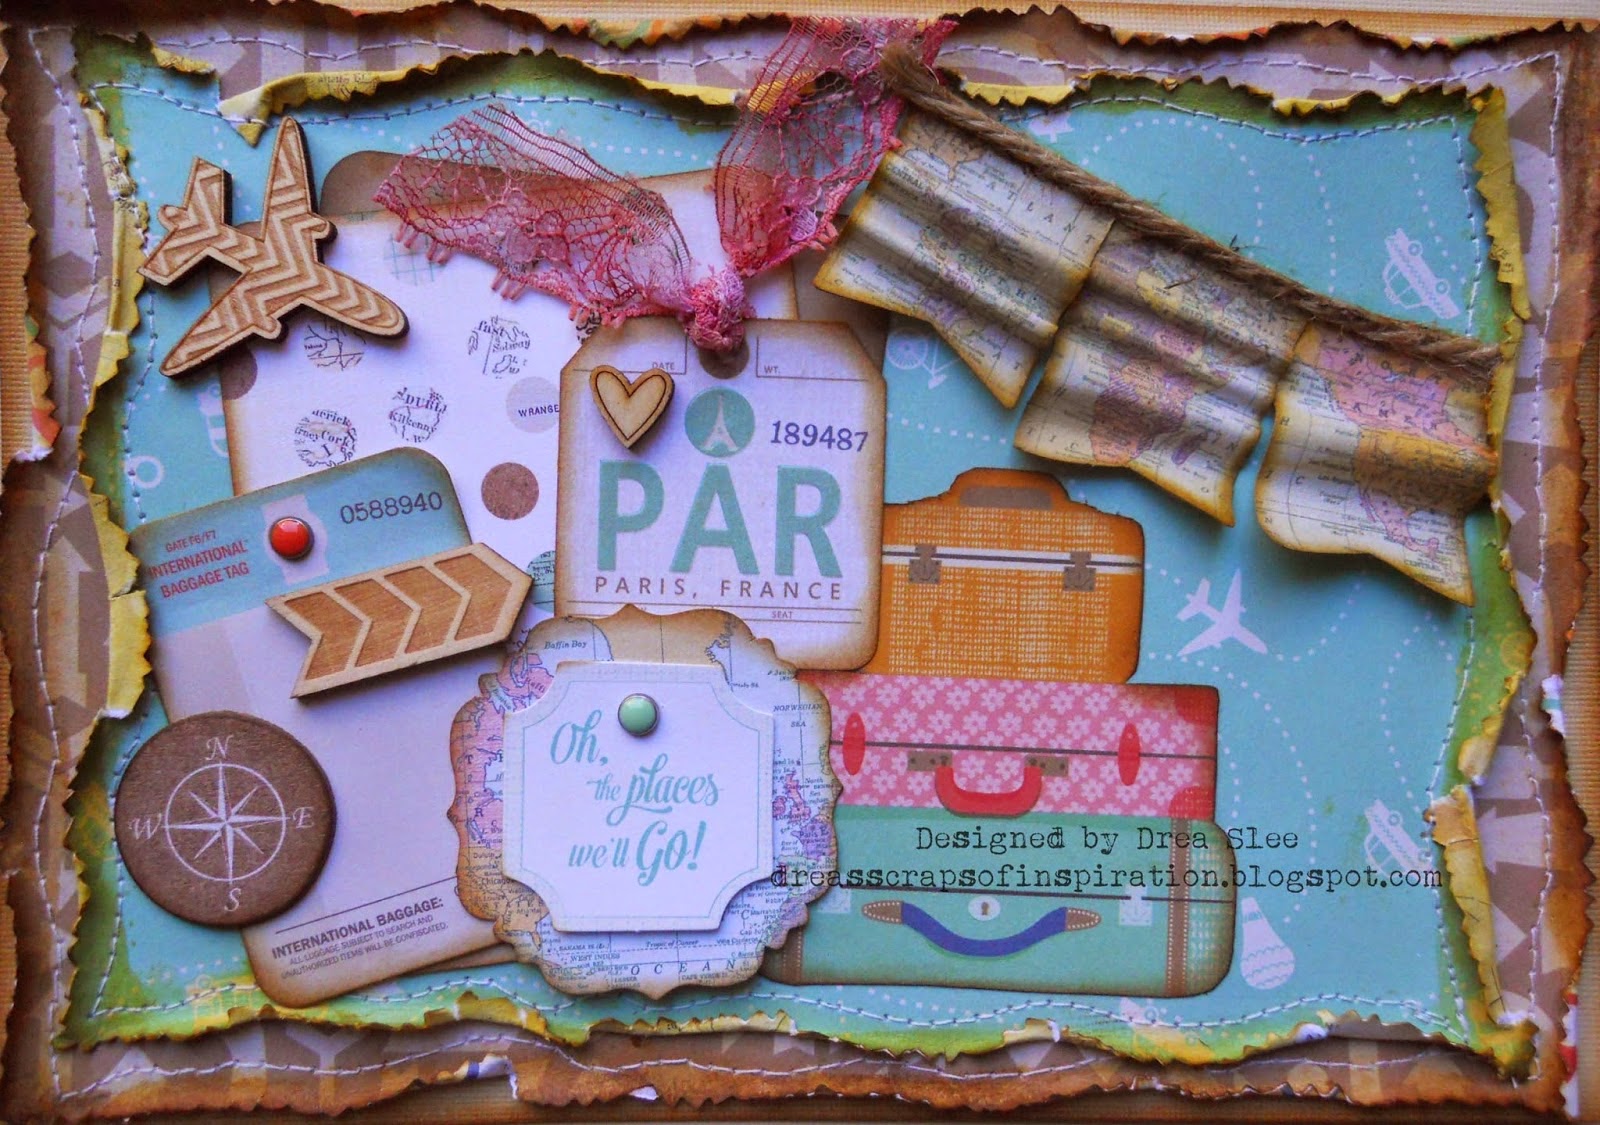
Thursday, March 26, 2015

Inspirational #213 ~ Have a Seat

      It's time for some new inspiration with Inspirational #213 (Have a Seat), hosted by Melissa, my newest team member at Red Rubber Inspirationals! Since I didn't have a chair stamp, I decided to stamp on a chair that I made with my Cricut Expression using the Summer in Paris cartridge.


     The chair and cushions were made from cream, textured, cardstock and colored with several sprays. Then I embossed the gold back, using magenta embossing powder and the Victorian Embellishments stamp for the pattern on the cushions.  To make the mirror, I used  Fabulous Frames with some more gold embossing powder, and cut out the rectangle in the middle. I used a few layers of inks around the gold and backed it with a pink, metallic, specialty paper. I did some punching and distressing, stamping the stitching with Running Stitches. To the pink background I did some more spraying and inking,  stamping the Victorian Vines Background on top with Violete Palette Ink, all from Red Rubber Designs. Behind the chair I used a couple of sheer ribbons, and clustered the embellies to the right. I added some beads to the centers of the flowers, and for a true vintage feel, some old buttons that I inherited from my grandma.


I hope you'll join in all the fun this week, and can't wait to see your creations!


Thursday, March 19, 2015

Inspirational #212 ~ Green With Envy

     Come and join me this week @ Red Rubber Inspirationals, where I'm hosting this week's stamping challenge with Inspirational #212! Green with envy is the theme, so make any creation with green as the main color, and upload by March 25th. Here's the birthday card that I made for my dad, and my example for this challenge.


     I started by stamping the large image (Charming Forest) onto some cream cardstock with a linen texture, and then colored it with watercolors. It's been YEARS since I've used watercolors, and it was so much fun! I'll definitely be using them again soon, as I also used them to color the moose and deer, using the Majestic Mountain stamp set, and for the trees, using the Mountain Scenery stamp set, from Red Rubber Designs. The grass was embossed, and then I machine-stitched under it, along with the border of the large image. All of the edges of my stamping are distressed, which is the twist for the other stamping challenge that I host here.  To the background I applied some gesso, mists, and cheesecloth, finishing off my card with the wood button, that once belonged to my late great grandmother.


Thanks for your visit! Have a wonderful day!


Friday, March 13, 2015

MME Hello World Masking Technique ~ FotoBella DT

     I have a quick and easy masking technique to show you, using the new My Mind's Eye Hello World I Want It All Bundle from FotoBella! I used some older vacation photos for this layout that I created.


     I started this page by pulling out some of the papers from the 12 x 12 Paper Bundle. I really struggled with the title, until I saw the Let's Go Adventure Journal Card. So I cut off Go and adhered Let's onto red cardstock. To spell EAT I used the Travel Stickers, matting them onto another journal card. Those Journal Cards sure came in handy, as I also used them under the phone booth pic, and for my journaling. You'll also need them to do this masking technique, along with some Distress Inks, and artist's tape.


     Find the yellow Journal Card with the chevrons and punch them out, putting a strip of Artist's Tape across the middle, covering the top of where the chevrons meet. Color in the bottom of the chevrons using a blending tool and Distress Ink (Faded Jeans). I added an extra chevron to my project by simply moving the stencil to the left, and matching up the pattern again.


     Take off your tape and cover up the bottom chevrons, using Distress Ink (Broken China) on top,


Here's the final result, which I think gives a lot more dimension, and so easy to do!


     Since the little double decker bus, that I got from the Travel Mixed Bag, was transparent, I used it on part of my chevrons. I also got the chipboard compass and London tag from there, crossing out the date on the tag, and adding my own. I added the camera from the Chipboard Elements, some Decorative Brads, and some Wood Veneer pieces, which I just LOVE!!


So pick up your bundle and try this quick and easy technique!


Friday, March 6, 2015

MME Hello World 2 Pager ~ FotoBella DT

     These photos that my mom took from the plane, on a flight from Reno to L.A., were just right for the new My Mind's Eye Hello World I Want It All Bundle from FotoBella!


     I started by cutting along the zigzag pattern from two of the papers that come in the 12 x 12 Paper Bundle, and distressed the edges with my Tim Holtz Paper Distresser. Then I added some hand-stitching along the edges. I also distressed the fussy-cut flowers, adding them along the bottom. I used a red Sharpie to write on the clear tag that I got from the Travel Mixed Bag, which has a great mix of embellies. I just added some rope and fibers to it.


     The round embellies come from the All Aboard Flair, and the luggage and "take me with you" arrow from the Chipboard Elements. The arrow in the title is from the Discovery Sticky Notes, and I used Chipped Sapphire Distress Ink around the edges, adding the square alphas from the Travel Stickers. The little blue plane is a sticker that comes in the Beauty Enamel Shapes, and the chevron coming from the arrow, and the arrows on the left page, are Beauty Rubons.


Thanks for stopping by!


Tuesday, March 3, 2015

MME Hello World Card Tutorial ~ FotoBella DT

     The new My Mind's Eye Hello World I Want It All Bundle from FotoBella is so fun, and full of lots of great travel papers and embellies! Here's a card that I made using some of these goodies.


     It has lots of layers and distressing, and detailed instructions and photos can be found on the FotoBella Blog. There's also a toothpick technique that I used to make the banner, so be sure to check it out! Have a great day!


Friday, February 13, 2015

Water Under the Bridge ~ Red Rubber Designs

     Happy Friday the 13th! Here are some photos that I scrapped on a hike through the Eagle Falls trailhead, in Lake Tahoe, CA.


     The February mood board at Scrap Around the World inspired this paper that I made from white cardstock. The design inspiration came from Sketch #132 at Sketchabilities.


      I masked some leaves and pine needles with some sprays, and then stamped the leaves using the  My Sunshine stamp set. Then I used a stencil with some white paint and brown ink. Over the white rings, I used white embossing powder with Autumn Swirls. For part of my title, I used Alpha-Tiles stamped onto vellum. All of these stamps can be purchased at Red Rubber Designs.


     I'm also entering this into the February Four Categories Challenge at Scrapbook.com, for Category One, to use a wood embellie. I used wood embellies along with real bark from a pine tree, including two photos for the twist. The netting was recycled from some fruit, and the fiber around the circle photo came in a little bag with a sweater I recently bought. I still have a little left too!


Thanks for looking!


Thursday, February 12, 2015

Inspirational #207 ~ So Sentimental

     It's time to get sentimental this week, with my new Inspirational #207, at Red Rubber Inspirationals! The theme is to stamp any kind of sentiment on your project. I hope you'll join us!
Here's the sample that I made.


     I lightly misted the woodgrain paper and stamped the background using Vintage Background and Burnt Umber Palette Ink. Then I embossed the rest of my stamping using Ranger's Verdigris embossing powder, which I also used on the brads and copper button.  I made the flowers using Medallions, the border using the For Everything stamp, and the sentiment with the Thank You stamp. Then I stitched the lace on and added the trim. I got even more sentimental by adding the buttons and stone that the trim is through, because it once belonged to my MIL's mother, and this card is for her. I love adding special touches like that!


     Make sure to stop by Red Rubber Designs for a fabulous selection of stamps at great prices!


Wednesday, February 11, 2015

My Mind's Eye Chalk Studio 2 Tag ~ FotoBella DT

     I had fun making this quick and easy tag using My Mind's Eye Chalk Studio 2 I Want It All Bundle from FotoBella!


     I started by stamping the tag on the yellow "smile" paper, which I cut with my Cricut Expression using the Plantin SchoolBook cartridge. Then I made the circles with a stencil and some gesso. I adhered the bike sticker, adding the yellow Enamel Dots to the wheels. The Oh Happy Day tag was distressed before adding the Decorative Brad to it.  I also used the grey brad on the banner, and added the twine, ribbons, and hand-made flower from my own stash. 

Thanks for your visit!


Tuesday, February 10, 2015

My Mind's Eye Chalk Studio 2 Birthday Card ~ FotoBella DT

     With my only child about to become a teenager in just a few days, of course I had to make him a birthday card. Since the aqua in My Mind's Eye Chalk Studio 2 I Want It All Bundle from FotoBella is his favorite color, I combined it with black and white.


          I cut the aqua strips from the "home" paper, and painted some white clouds on them with a foam stencil brush. Then I distressed the edges and machine stitched around them onto white cardstock, adding Decorative Tape in between. I added the chipboard airplane and number 13, using Enamel Dots to make a banner with the happy sticker.  TH was fussy-cut from the "alphabet love" paper, and I used a Decorative Brad in between 13. Finally, I spelled out "birthday" using the Decorative Alphabet Stickers.


Thanks for looking!


Friday, February 6, 2015

MME Chalk Studio 2 Wedding Layout ~ FotoBella DT

      I was so happy to scrap some of my wedding photos using My Mind's Eye Chalk Studio 2 I Want It All Bundle from FotoBella! The colors and sentiment on the "Remember" paper were just right!


     I distressed some black and white cardstock adding machine stitching in black and white, as well as on the banners. Here's a closer look!


       The oval floral tag was chalked around the edges using white chalk, and then I attached the grey brads to the chipboard piece with the date, which I wrote with my Souffle 3D white pen. The key and stars are also chipboard pieces that you can get in the Chipboard Elements package. Finally I added the white Prima flower, which I got from my own stash.


Thanks for looking!


Thursday, February 5, 2015

Inspirational #206 ~ Love is in the air

     Love is in the air this week, with Inspirational #206, hosted by Lynda, for Red Rubber Inspirationals! The challenge is to stamp a heart, so I created this card for my dear husband!


     I started by stamping the Script Background onto white and black cardstock. Then I stamped the hearts using the I Heart You set, and cut around them with some scallop scissors. I folded them in half and machine stitched them down the middle, adding the silver embossed buttons from the Sew Thoughtful set, in between. I also used silver embossing powder for "I" and "YOU", which is also from the I Heart You set, and can be found at Red Rubber Designs.


Thanks for your visit! I hope you'll join us at Red Rubber Inspirationals!


Wednesday, January 21, 2015

Red Rubber Designs is looking for 2 new members to join our team!!


Red Rubber Designs is looking for two new members to join our Inspiration Team at Red Rubber Inspirationals, our weekly stamping challenge blog!

Deadline for submitting your application is January 31, 2015.

Inspiration Team Member Requirements:

> Host one challenge (Inspirational) per month, along with the various duties included in hosting a Red Rubber Designs stamping challenge: Creating samples, posting on the Red Rubber Designs blog, promoting your challenge, commenting on participants submissions, etc., per the Team guidelines.
> Submit a project featuring stamps from Red Rubber Designs in at least one outside challenge per month.
> Promote Red Rubber Designs and its stamps through your blog, social media and online papercrafting forums, galleries & communities.
> Commit to serving for a period of 12 months, starting March 2015.

What I'm looking for in a Team Member:

> You love rubber stamping and love sharing stamping ideas and inspiration with others!
> Not only do you create fabulous stamped projects, you also know how to photograph them well for internet publication, and are familiar with watermarking and photo editing.
> You are a professional, committed to the team and to promoting Red Rubber Designs and its stamps.
> You are proficient and active in social media, including Facebook, Pinterest, blogging, Twitter, Instagram, etc., and you feel comfortable actively promoting Red Rubber Designs through these channels throughout your term. This is a must!
> You have a blog, update it regularly with your stamping projects and have a good following.
> You actively participate in at least one large online stamping community (posting in the forums and adding your stamping projects to the gallery).
> You enjoy stamping challenges and participate in them regularly.
> You don't have other design team responsibilities that will interfere or conflict with your Red Rubber Designs Inspiration Team job.
> You are aware that as a member of the Inspiration Team, you represent my company and my product to other stampers, crafters and even the general public, and therefore conduct yourself (online and offline) in a way that positively promotes Red Rubber Designs.
> You must reside within the United States, as international shipping is cost prohibitive at this time.

Compensation:

> High-quality Rubber Stamps from the Red Rubber Designs store!
> You are eligible - and encouraged - to participate in the Red Rubber Designs Publication Incentive Program.
> A substantial discount to the Red Rubber Designs and Pickled Potpourri (Digital) Designs online stores.
> Experience for your resume and more exposure for you, your brand and your blog.

How to apply:

Send an email to "team AT redrubberdesigns DOT com" with the following information -

> The subject line of your email should read "InT CALL - <your name>"
> Your full name, address and email address
> Links to all of your blogs
> Links to the online craft/stamping forums, galleries and/or online communities that you participate in, along with your username for each.
> Links to your Facebook, Twitter, Instagram and Pinterest pages. Please include your usernames.
> Any additional social media links (with usernames, if applicable) that you are active in.
> Links to a minimum of three posts on your own blog of projects you created within the last month (specific post URLs only, not the main URL to your blog). Choose projects which best show your style and skills using stamped images.
> Please copy the following questions into your email and include your answers:

      •    Where did you see our Inspiration Team call?
      •    Do you work for any craft manufacturers, stores, or direct sales companies?
      •    Are you currently on a Design Team? If so, please list the team(s) and your start and end dates:
      •    Have ever been on any previous design teams?
                   If so, please list the team(s) and your start and end dates:
      •    Have you applied for any other Design Teams within the last 3 months?
                   If so, please list the team(s) and date you applied, along with the call deadline.
      •    What other design teams are you planning on applying for in the next 6 months?
      •    What online challenges do you regularly participate in? Please list the links.
      •    Please tell me why you are the best candidate for our Inspiration Team.
      •    Please provide any additional information you'd like to share that pertains to a position on our Team.

Thursday, January 15, 2015

Inspirational # 203 ~ Birthday Bash

     Come join in my first Inspirational of the year at Red Rubber Inspirationals! We're celebrating our first year of Inspirationals with a birthday bash, using any kind of birthday stamp, like the ones I used here on a birthday card for my aunt, whose birthday is today. Happy Birthday Aunt Nana!!


     I used lots of stamping with red and black embossing powders onto white cardstock. The heart border was done with the I heart You stamp set, and the gifts and confetti with the Gift For You set. I did the sentiment with the  Darling stamp set, all from Red Rubber Designs. I used some bling for January's birthstone of garnet, with some red Stickles on the red card and gifts.  I finished it up with some machine stitching, and the large beaded heart that originally had green ribbon coming out from the rose. I cut it out and added the black trim instead.


Thanks for looking, and have a great day!


Tuesday, January 13, 2015

MME Chalk Studio 2 Thank You 2 Card Tutorial

     This month I get to play with My Mind's Eye Chalk Studio 2 I Want It All Bundle from FotoBella. The soft colors look fabulous with all of the chalkboard elements! Here's the thank you card that I made for my in-laws, using the flower and ribbon from my own stash.


     For complete directions on how to make this, please visit the FotoBella Blog! Thanks for stopping by!


Tuesday, January 6, 2015

Victory ~ Inspirational # 201

     Happy 2015!! Our first Inspirational this year at Red Rubber Inspirationals is all about using a new stamp, so I decided to use my new Chicken Wire stamp for my husband's baseball album, which I only work on occasionally, and here's the result.


     Since I'm not really into sports I always struggle with these kinds of photos, and can never find the right papers for them, so I played around with some inking, stamping, misting, and embossing on plain cardstock to come up with this 2 pager. The strip across the middle was stamped with Running Stitches. and for the background I used Background Dots, Speckle Background, and Build-A-Background, which I used to emboss the little white stars. Then I took my new chicken wire stamp across the top half of both pages using silver embossing powder. I just LOVE this stamp!!


Thanks for looking, and be sure to visit Red Rubber Designs to get your new stamps!


Friday, December 26, 2014

Oh Christmas Tree Card ~ Red Rubber Designs DT

     I hope you had a wonderful holiday!! Here's the Christmas card that I made for my parents using stamps from Red Rubber Designs!


      This is also my entry for the December Card Sketch Challenge @ Scrapbook.com using Bonus Sketch #6.


     I used the Amelia papers from Red Rubber Designs with gold embossing powder on the edges, and to stamp the tree using Cheery Christmas, and the stars with Build-A-Background. I just LOVE the tree stamp and colored it with some Prismacolor markers and added some Stickles to the ornaments and angel on top. I also used a few dots of Stickles on the green paper on the bottom. 


Thanks for looking!